Showing posts with label December. Show all posts

Wednesday, 27 December 2017

Twist & Pop Card - Scrap Shotz Blog

I am back on the Scrap Shotz Blog today and I am sharing a twist & pop card.

Head over the Scrap Shotz Snap Shotz Blog for all the details, products used and a video.


Thursday, 21 December 2017

Christmas 1956 - Scrap Shotz Snap Shotz

Merry Christmas!

I am on the Scrap Shotz Snap Shotz Blog today sharing a 12x12 layout I created using product available at the online store.

Check out all the details here.


Saturday, 24 December 2016

Merry Christmas!

Merry Christmas, my crafty friends! 
I'm here to share my December and final Technique Remix tag for 2016.
Click on the pic below to check out Tim's tag.

It's been a wonderful year of combining techniques in new ways & this month was no exception.

I decided to use Prima Color Bloom Sprays in Pressed Petal & Deep Teal with the Holiday Knit Layering Stencil. 

I used the Stitched Rectangles die set from Sizzix to make a few 'tiles' for my tag.


Here is finished tag - all ready to join its 11 friends. 


submitted to:


Wednesday, 14 December 2016

Watercolour Christmas Card

Hello friends! I am here today to post a quick Christmas card I made this week.
December kind of snuck up on me and I had to get a dozen cards Christmas made and mailed in about 24 hours. 

I had found some inspiration on Pinterest - check out this gorgeous Christmas Tree card from Branch Studio.

Here is one of my finished cards:

I knew that if wanted a dozen cards done as quickly as possible that painting a tree with watercolour freehand was not going to work - I'm too much of a perfectionist. 

I decided to use my Mini Woodland Stencil from Tim Holtz/Stampers Anonymous and Color Burst in Pthalo Green. I used some painters tape to tape off the stencil image that I wanted to use.

I sprinkled a little bit of the Pthalo Green powder over the image.

A couple sprays of water and those gorgeous blue/green colours just come alive!

After removing the stencil I took a fine brush and  pushed the colours around until I was happy with it. I love this technique because every card turned out a bit different.

After the tree dried I added some grey paint to look like snow & shadows. Then splattered the cards with blues, yellows & reds.

A couple hours later and I had a 16 backgrounds ready to be made into cards.


Thursday, 17 December 2015

Merry Christmas & Happy Holidays from Paradise Lost & the Emerald Creek Design Team

2015 is quickly coming to an end and what a year it has been for me!
If someone had told me a year ago that I would be living in Edmonton, Alberta,  have my own blog and be on a design tem I would thought they were crazy! 
But here I am and I am so happy! 
I hope, that no matter how you spend this holiday season, you are able to spend time with your family & friends making memories! I really appreciate each and every single of you that follow or visit my blog ~ you bring crafty inspiration into my life and I am forever grateful!

Now on to my Holiday project for Emerald Creek Craft Supplies.
This project is a bit of a de-stash project, with  a whole lot of Sizzix dies, Tim Holtz Idea-ology and my favourite charms & embossing powders from Emerald Creek.
 I used a 6 frame shadow box from KaiserCraft that I had in my stash. The 'Merry Christmas' sign sitting on top is also a KaiserCraft and a long time lurker in my stash.
Let's take a closer look at each box and some of the techniques I used.


Oh! Look! More KaiserCraft! I decided that these wood veneer 'ornaments' would make a great base for a wreath. I first used Barn Door & Lucky Clover Distress Stains to add colour before using Walnut Stain Ink to tone down the bright colours. Festive Foliage die set was used for the wreath and I added a few Pinecone charms from Emerald Creek Craft Supplies.


I bought a set of Tim Holtz Holiday LetterPress just for this project. I added some Distress Paint before dipping my letters in Distress Crackle Clear Rock Candy. I just love the look of this stuff when it dries!

I just love bottle brush trees. I usually will tint my trees with Distress Stain but for this project I decided to leave them natural. Except in the next frame - I decided to add some Soft Fallen Snow Embossing Powder from Emerald Creek Craft Supplies to the tips to give my tree a frosty feel.
make the perfect decoration for my mini tree. I added some Poppy Red alcohol ink from Ranger for a bit of colour.
The burlap panel is hard to see in the background but here is another photo of it while I was working on it. I used some Soft Fallen Snow embossing powder mixed with transparent 3D gel to add a snow texture to the edges of this panel. I used the same mixture with my snowflake layering stencil.


Here is the snowflake panel used in another frame with some stacked snowflakes dies and Snowflake charms from Emerald Creek
I couldn't resist using a few Found Relatives for this Holiday project & Festive Ephemera
 from Tim Holtz.

Thank you so much for visiting my blog today and I wish you and your loved one an very Merry Christmas and a happy holiday!

Please take some time to visit the rest of the Emerald Creek Design Team for more holiday inspiration.
Check out the new challenge at the Emerald Creek Challenge blog 
for a chance to win a $25 credit to the online store
http://blog.emeraldcreek.ca/
 

Wednesday, 16 December 2015

It's the most wonderful time of the year....my Tim Tag for December

It really is the most wonderful time of the year!
I'm looking forward to spending time with kids who are both back 
home from college ~ we have plans to decorate the tree & bake cookies!
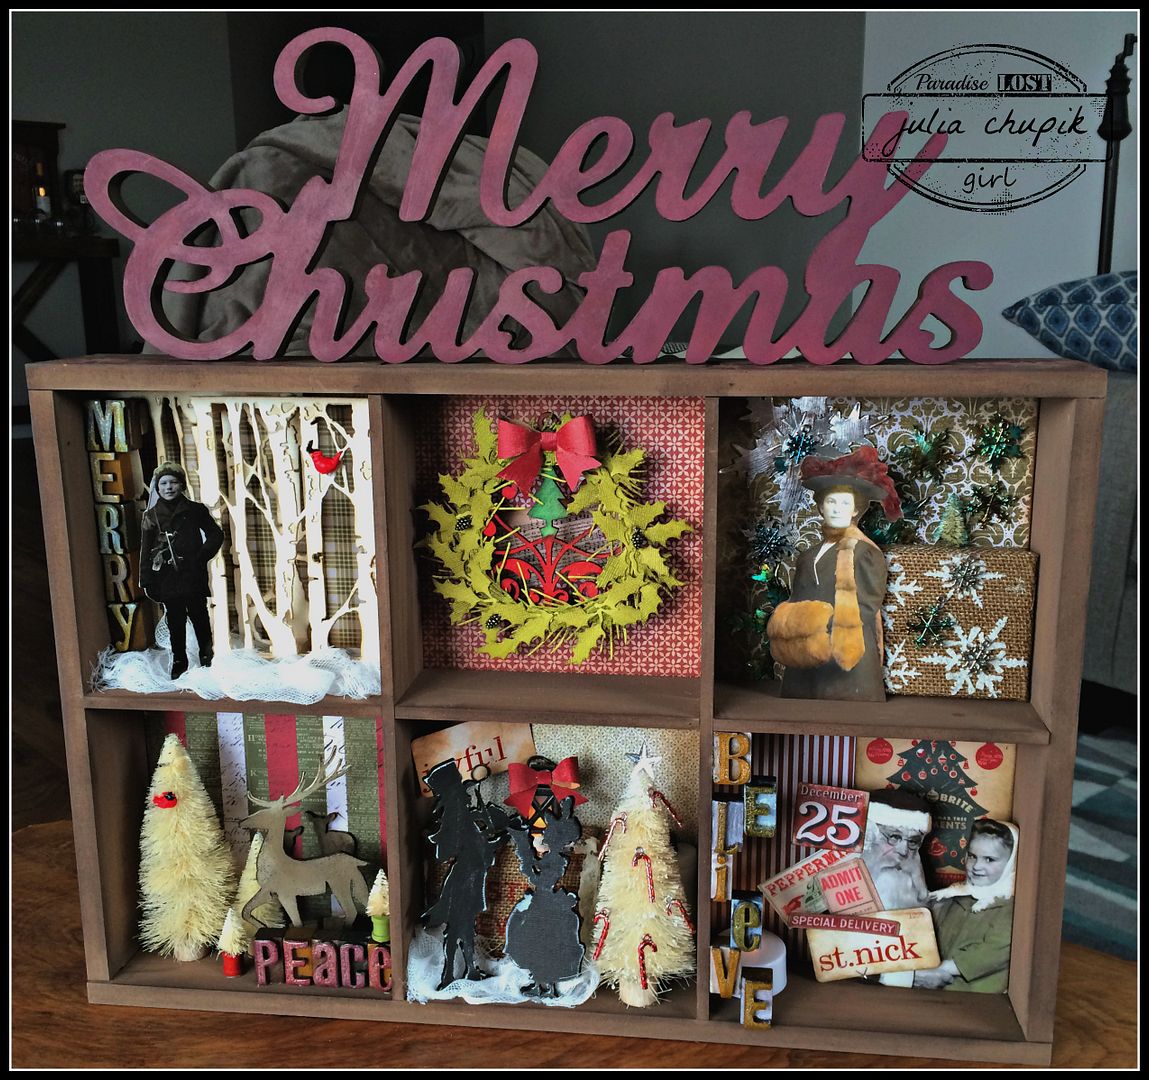
Before I pack up the car and head back to Calgary, I wanted to share my take on Tim's tag.

Here are my tag bases I did. I wasn't sure which one I was going with at first but I 
decided to save the lucky clover argyle one for another project.
The tree is from an old Sizzix die I had and I think its called Christmas Tree #2. That was going to be the base for my next technique.


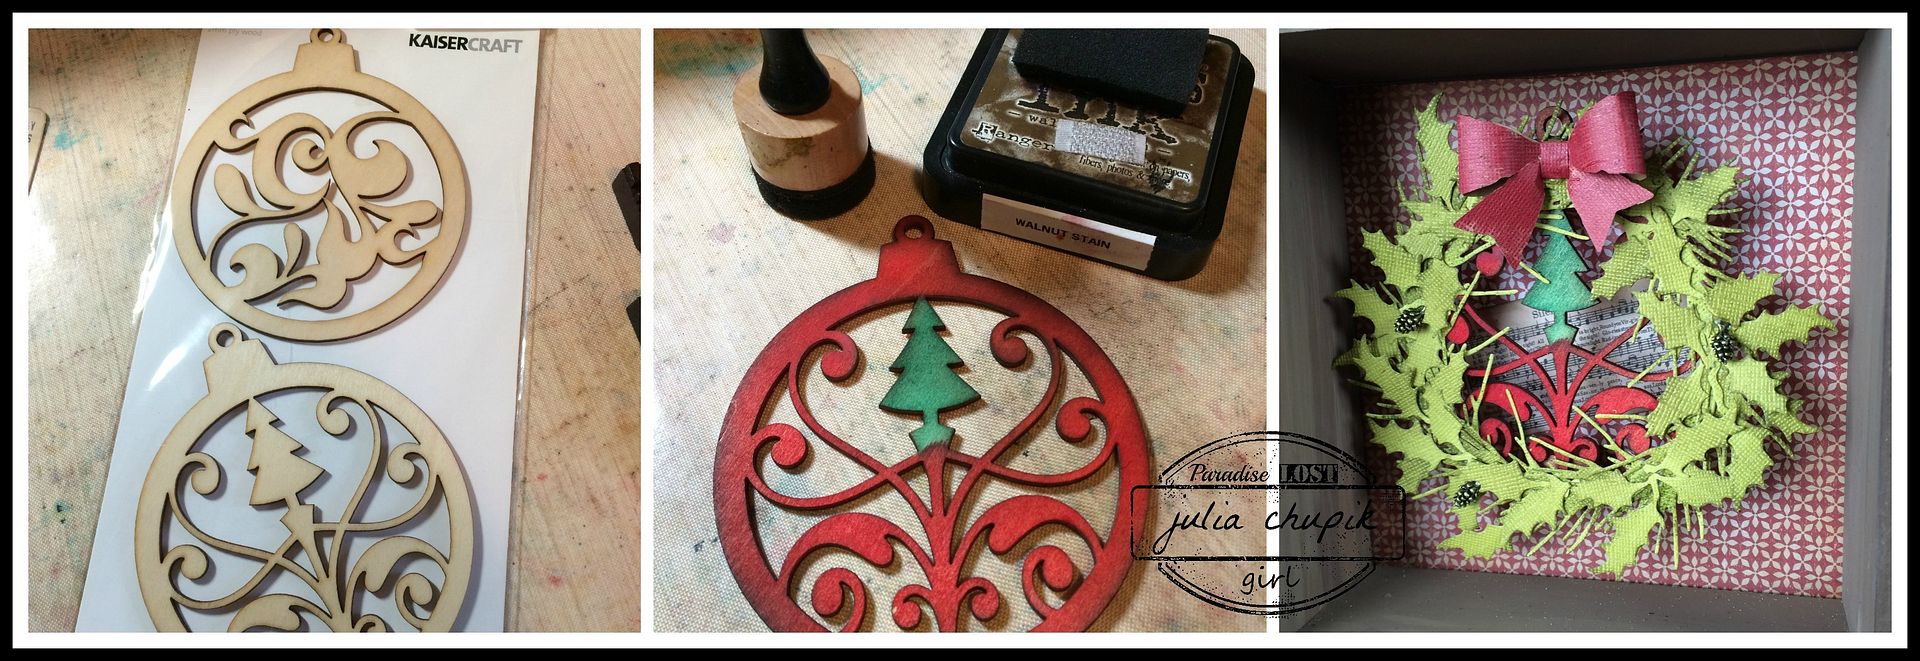
This is the same technique Tim used to make his wreath except I used my Holiday Greens Thinlit dies to make my tree.
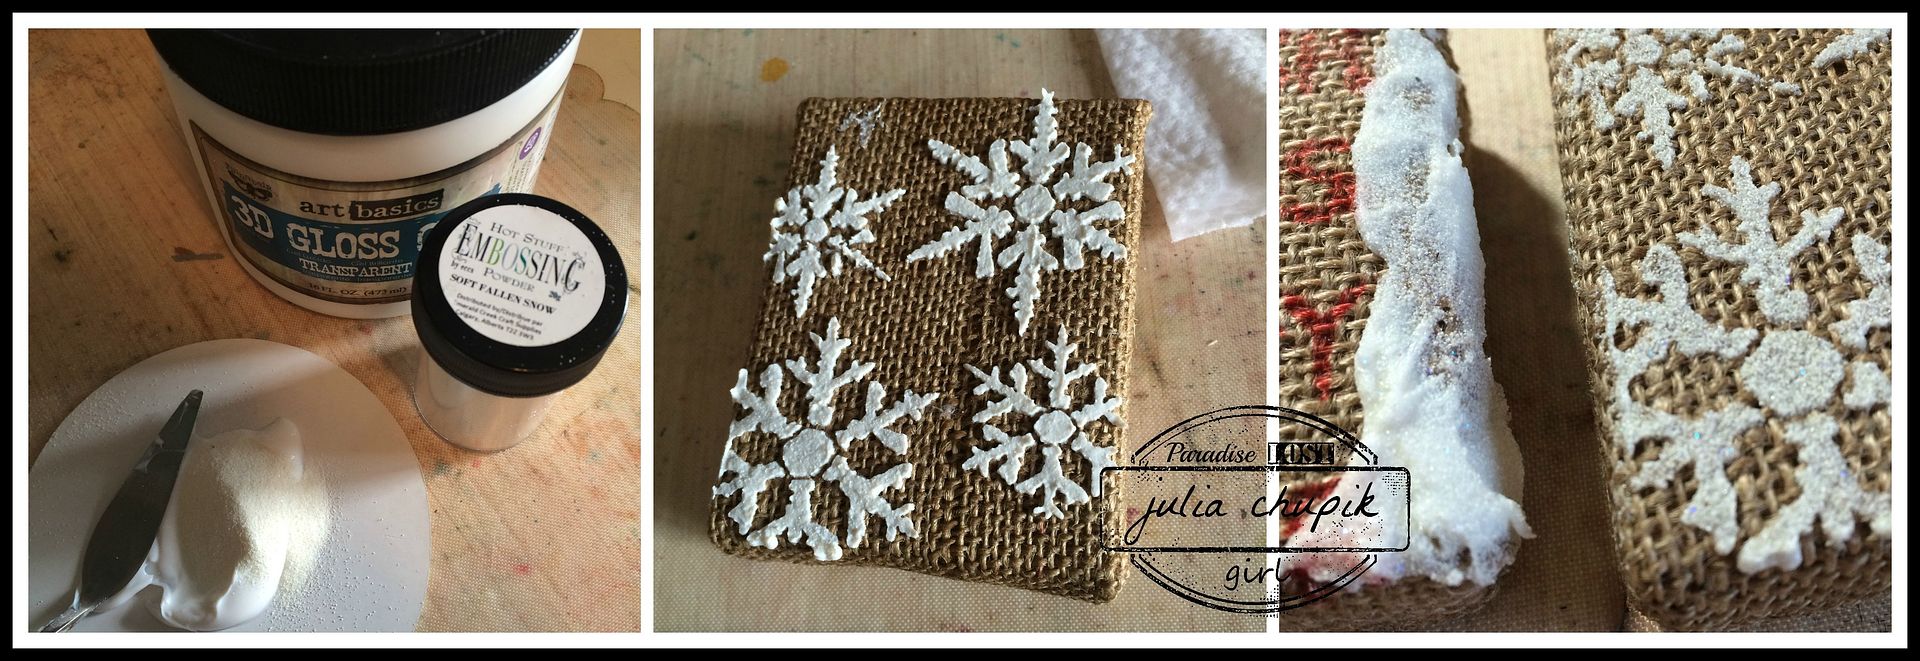
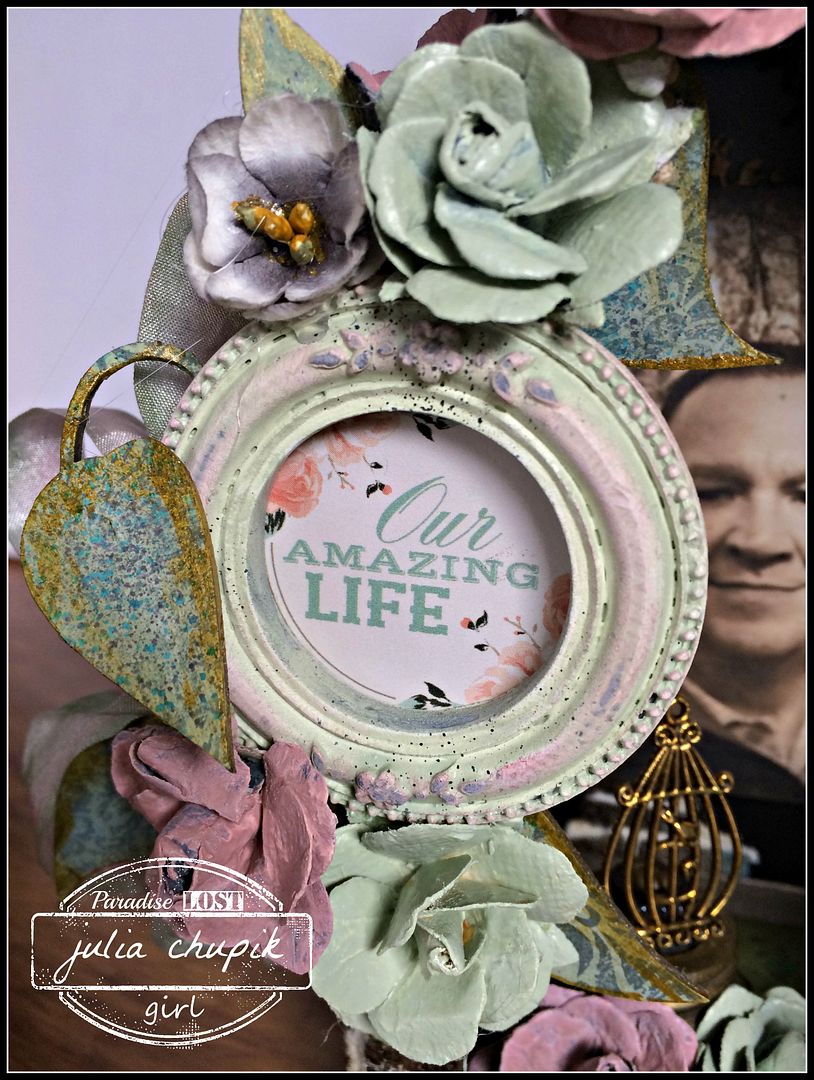
I added a sentiment from the Occasions Small Talk and some splattered Picket Fence Distress Paint along with a few alcohol inked stars and some jute along the edges.
Another finished tag for 2015!

I am already so excited for 2016 and looking forward to more wonderful inspiration from Tim Holtz!
I wish you a very Merry Christmas & a happy and crafty new year!

Thank you so much for popping by my blog today.
 I hope I was able to inspire you even just a little bit! 

~~stay crafty~~
julia

Monday, 7 December 2015

Our Amazing Life.....De-Stash Project #4

I have another De-Stash Project to share and this is using my last metal frame from Prima. I am half sad and half excited. Sad that this is my last metal frame but excited that these frames are finally out of the stash and on display. 
My goal for this project was to use up the last of these fabric flowers. 
Unfortunately, they were patterned yellow & black fabric flowers.
No worries, a coat of gesso and couple coats of Distress Paints and they were perfect for my project.
A chipboard leafy vine from Dusty Attic ~ a coat of gesso, stamped with a pattern, coloured with Distress Paint and finally finished off with Bronze Distress Paint ~ perfect for my birdhouse frame.
I can't have a birdhouse without a bird so I just had to use this crowned bird from Leaky Shed. My wee bird is sitting in a nest I picked up at the dollar store last year.
I had a few bricks left over from my De-stash Project #1 so I had to use them to add some texture to the outside edges of my frame.
Thanks so much for visiting my blog today. 
Please leave my a comment and your blog info so I can come visit.

Don't forget to visit the Emerald Creek Dares blog and enter your Festive projects for a chance to win a $25 credit to the online store!
http://blog.emeraldcreek.ca/2015/11/bringing-bits-of-cheer.html


~~stay crafty~~