Friday, 27 May 2016

Tim Tag Remix - May Tag #3

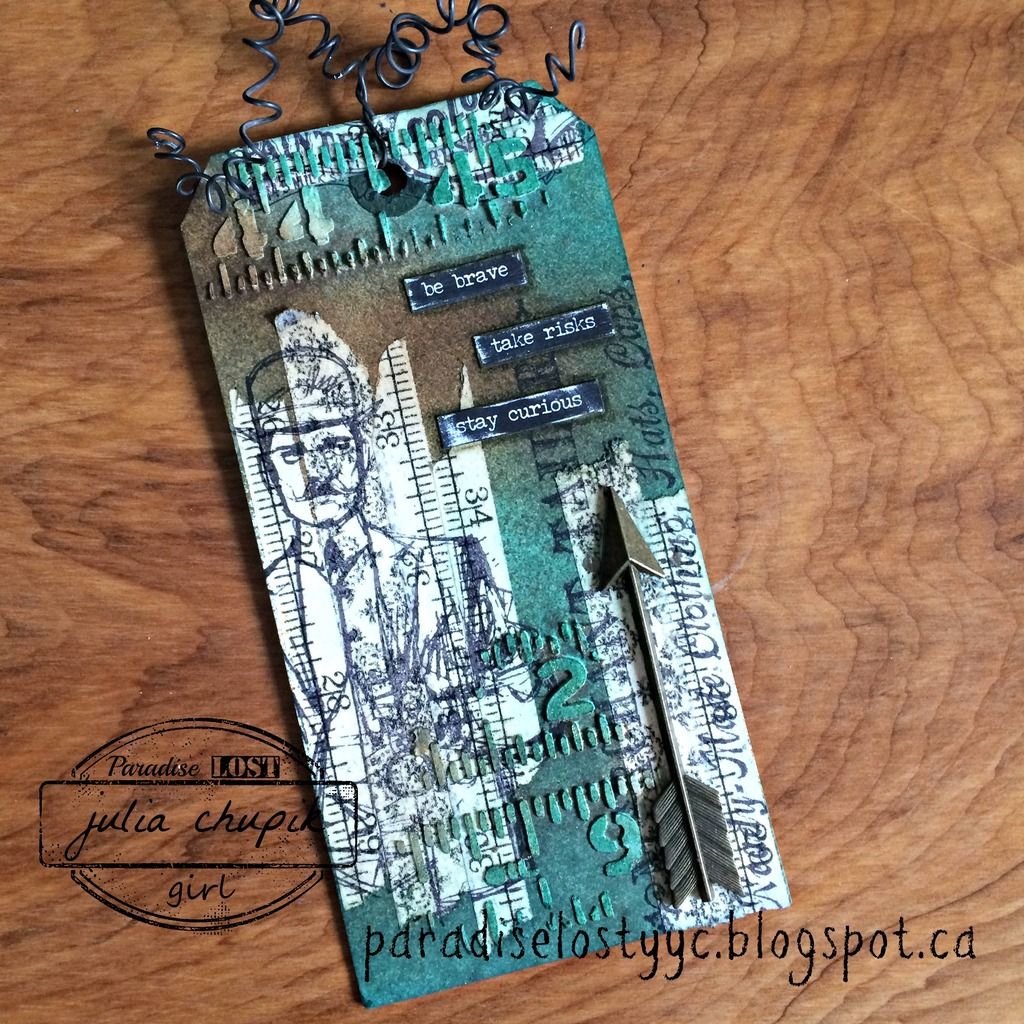
It's Friday and my 3rd and final tag for Tim's May Tag Remix.


I decided to make a more masculine tag this time. I wanted something that I could give to my dad this Father's Day. Instead of  ribbon I used some wire that I had in my stash.


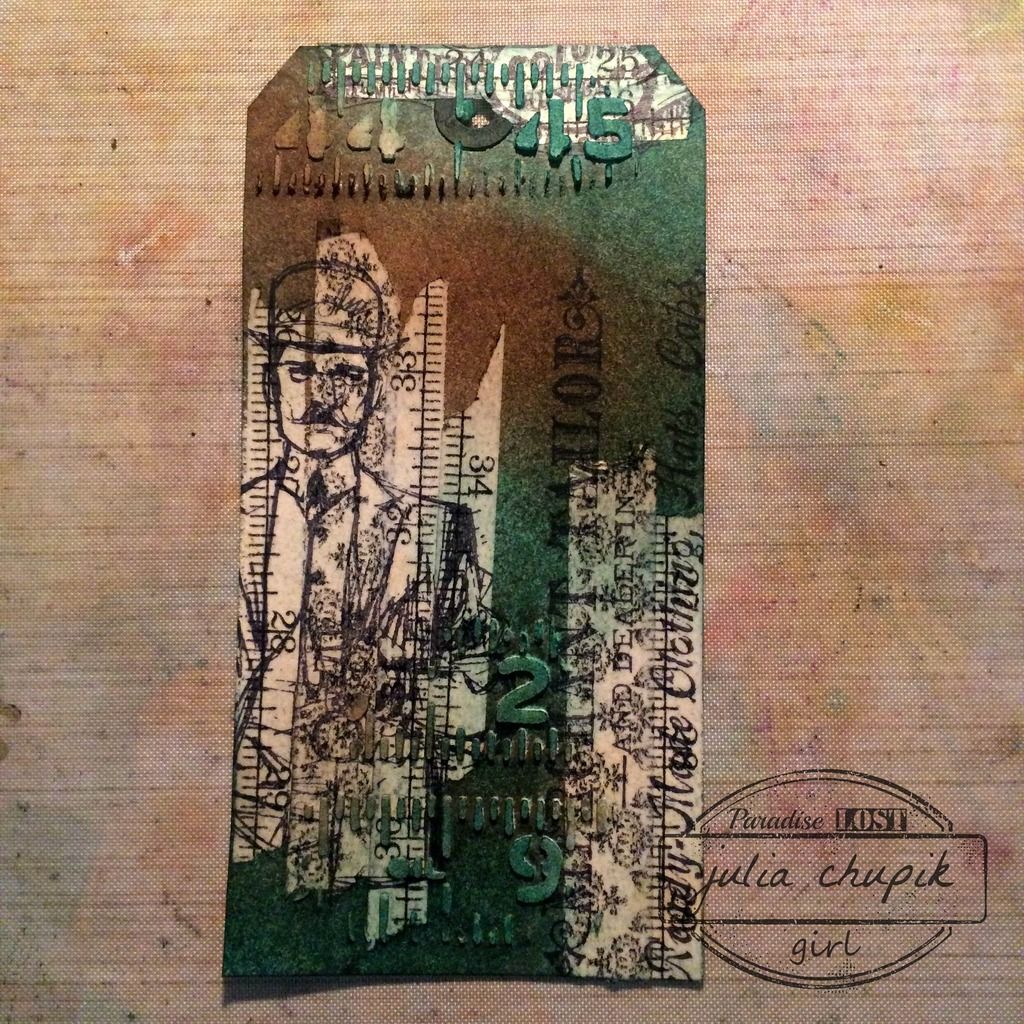
The Distress Stains & Inks used were Walnut Stain & Forest Moss.
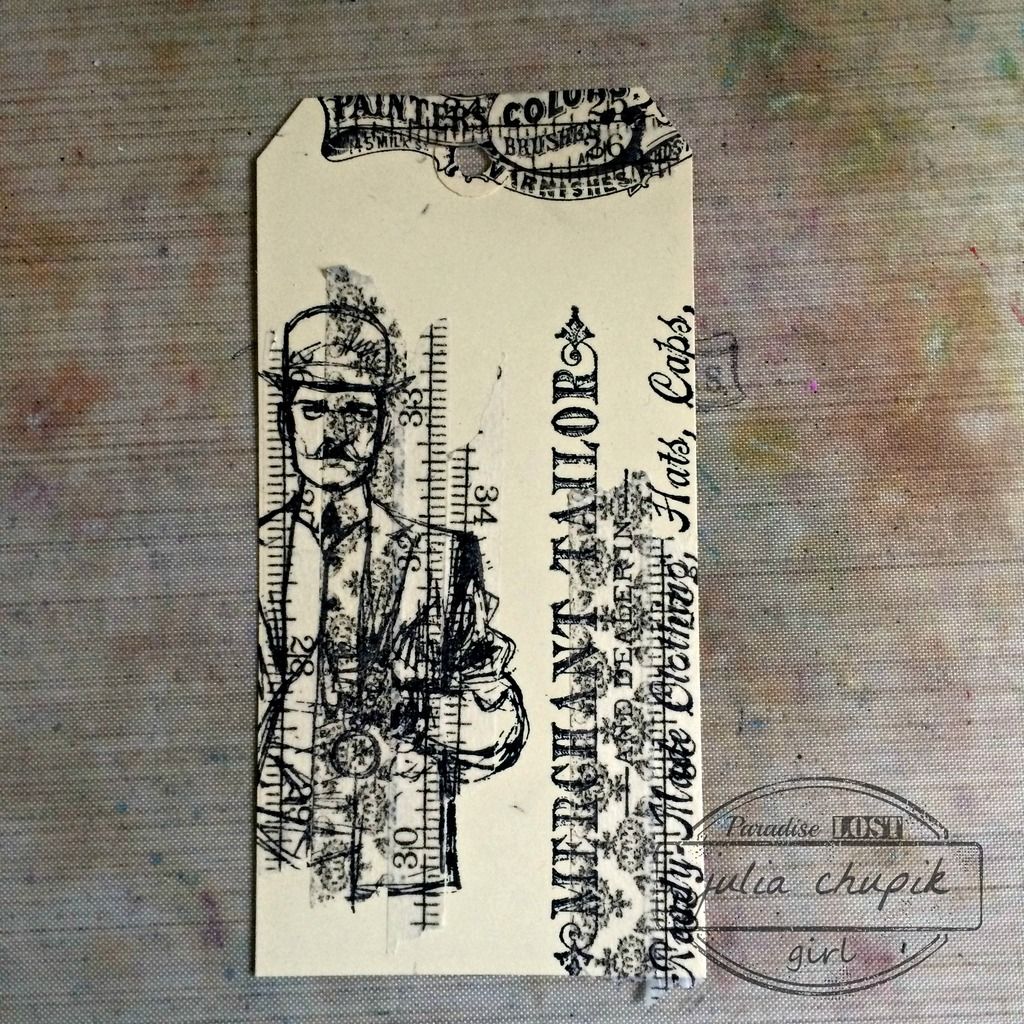
Texture Paste was applied through the Measured layering stemcil &
 a spritzed pewter mica spray as a final layer.


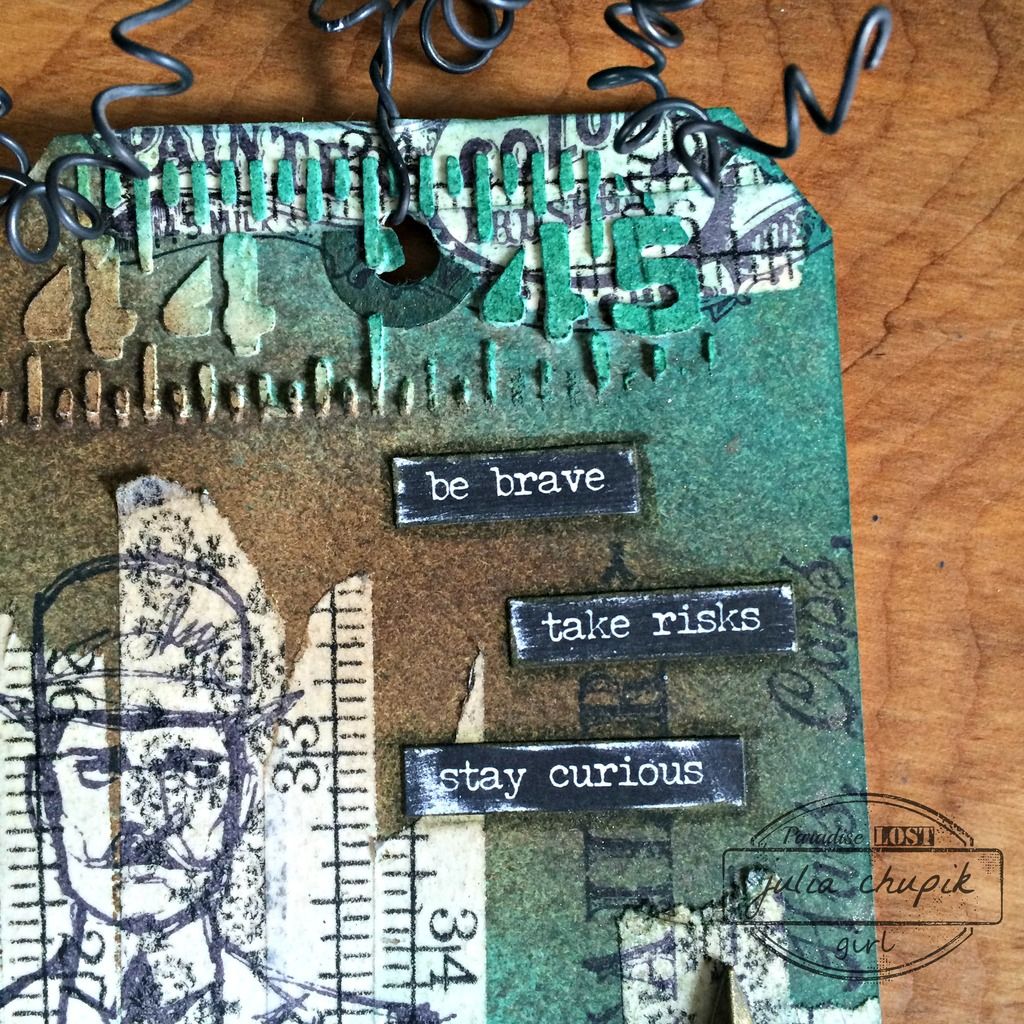
A few small talk stickers and wire to finish it off.


Submitted to:


Wednesday, 25 May 2016

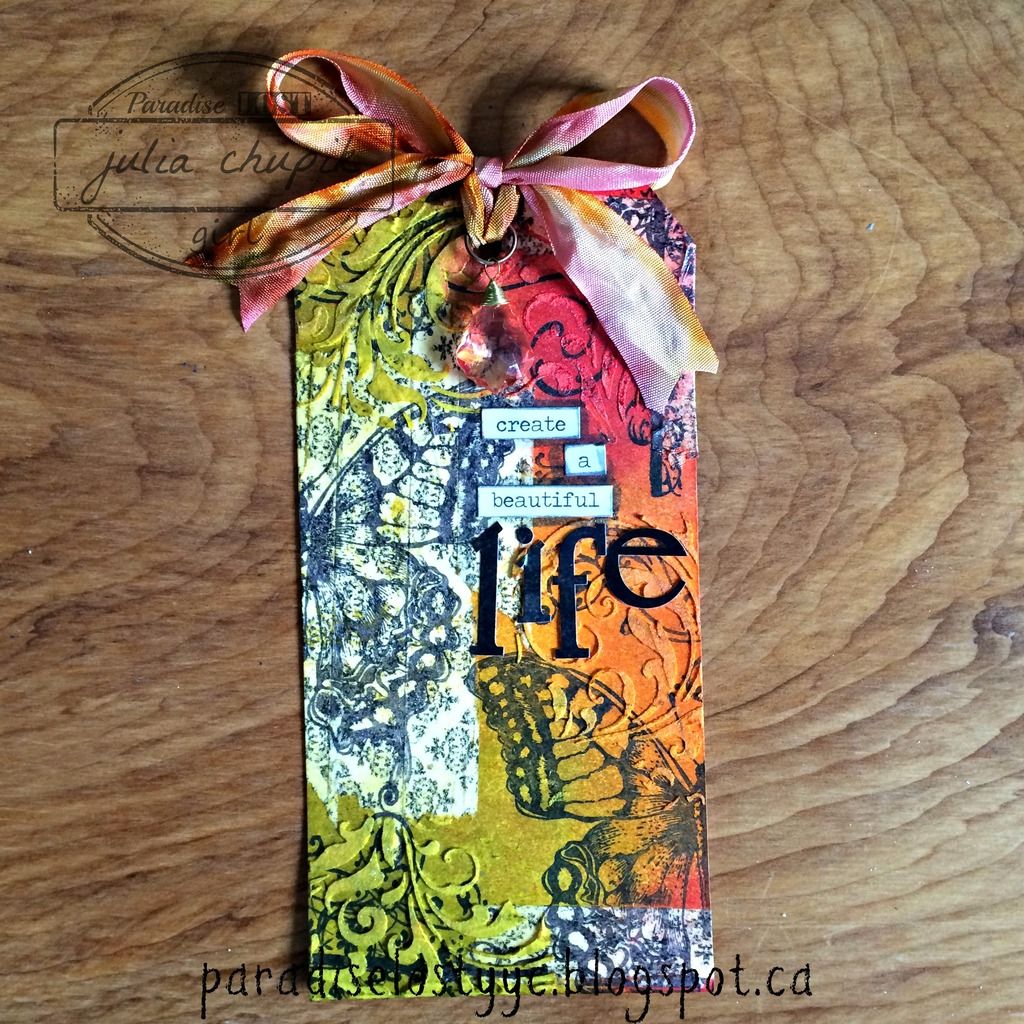
Tim Tag Remix - May Tag #2

A second tag?!? I know...I am just as surprised as you but it was a really rainy weekend.

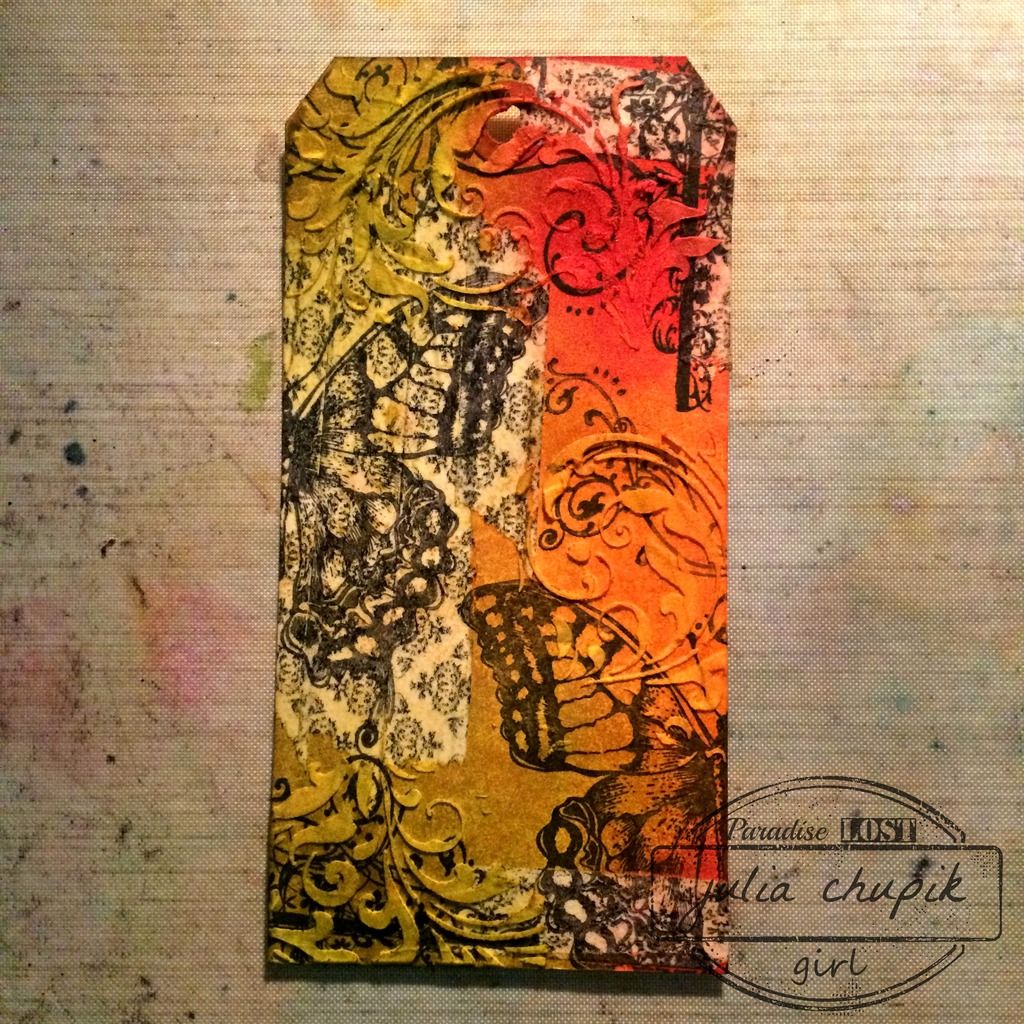
Here is my 2nd tag and probably my favourite so far. 
I love the bright colours and how the butterflies turned out.


This Distress Stains & Inks used were Barn Door, Carved Pumpkin & Peeled Paint.
I applied the texture paste through the Flourish Layering Stencil.
The final layer was a spritz of Tarnished Brass Mica Spray.


My sentiment was made with small talk stickers ad some letter stickers from my stash.

Create A Beautiful Life

Submitted to:


Monday, 23 May 2016

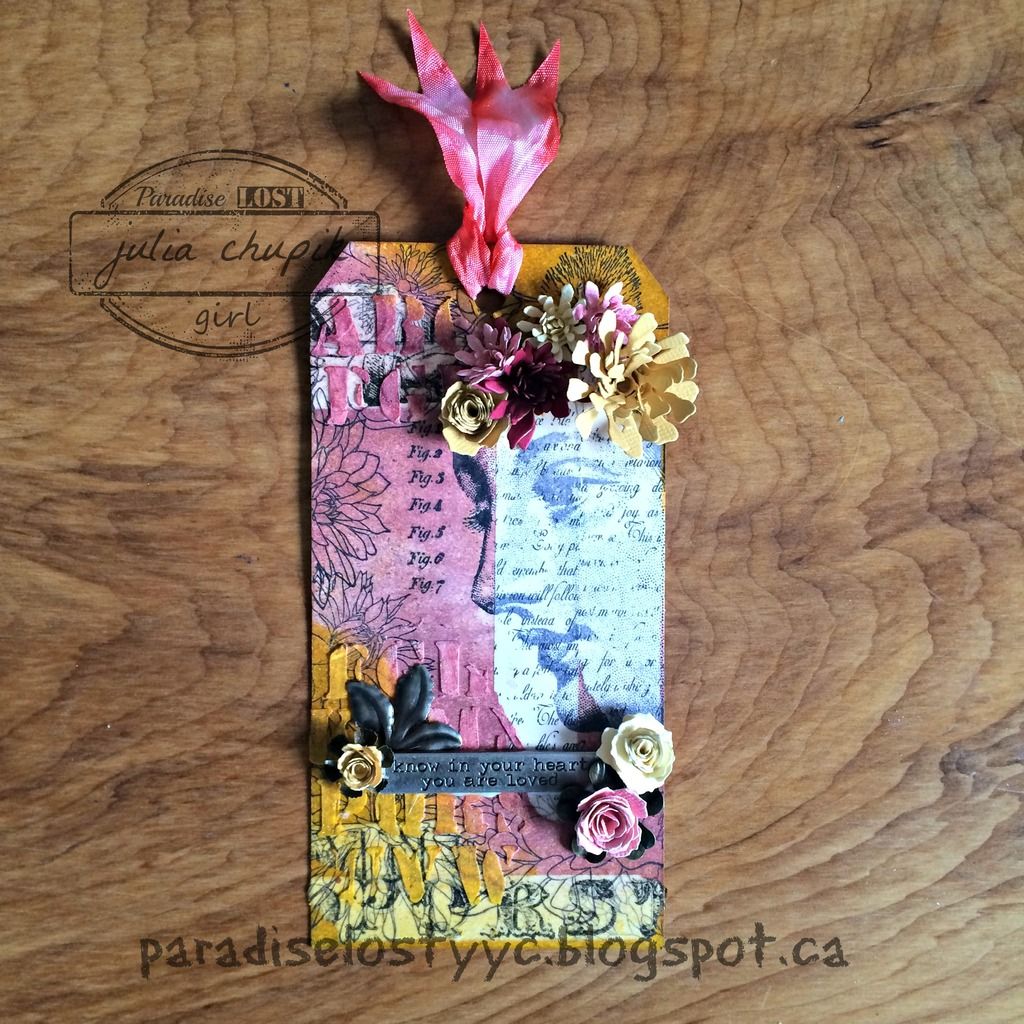
Tim Tag Remix for May

Rainy spring days & long weekends are perfect for spending time in the craft room.
I have been needing an excuse to sit down and get my Tim Tag done this month and 
I found it.

I am seriously loving the technique remix Tim is creating & sharing this year.
Each month is a fabulous reminder of previous techniques.
Check out Tim's Tag blog post here.

Gorgeous, right? I especially love the tissue tape resist technique. I really have to use this more.

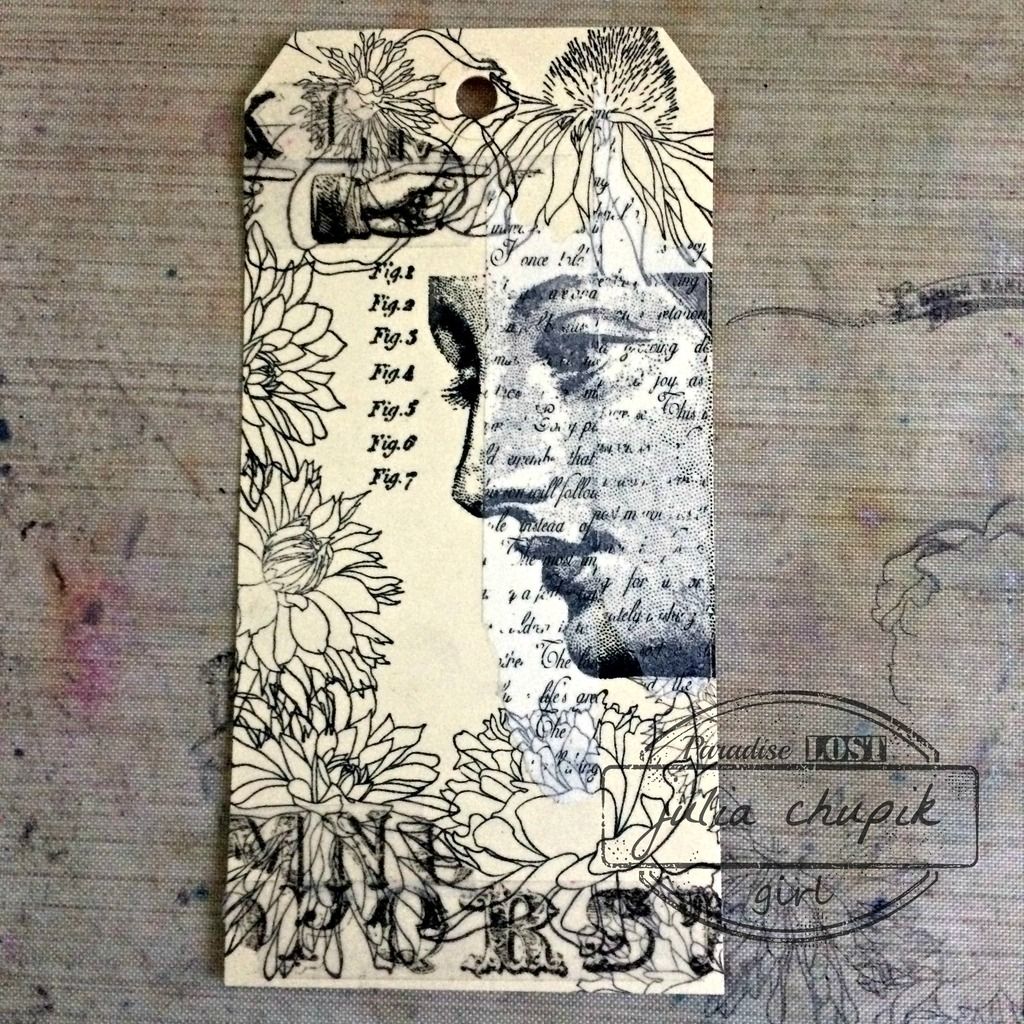
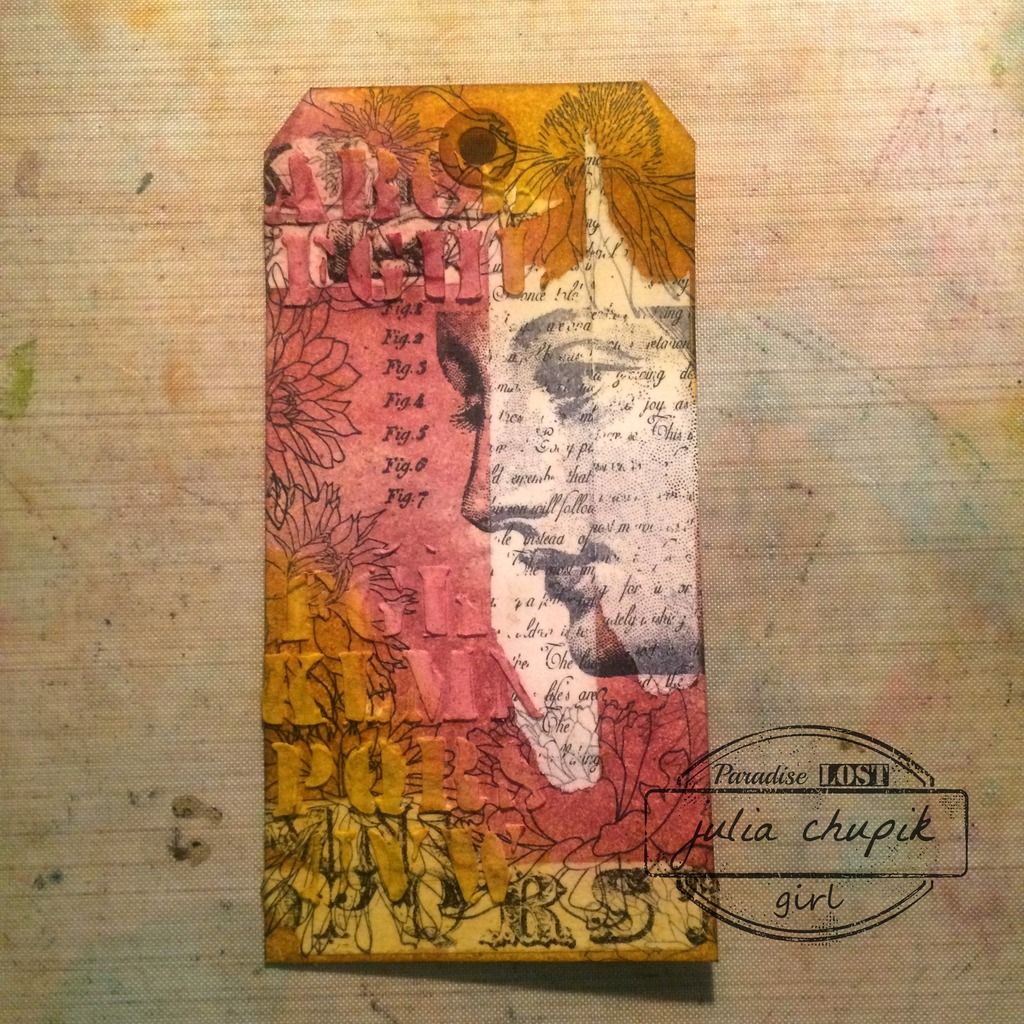
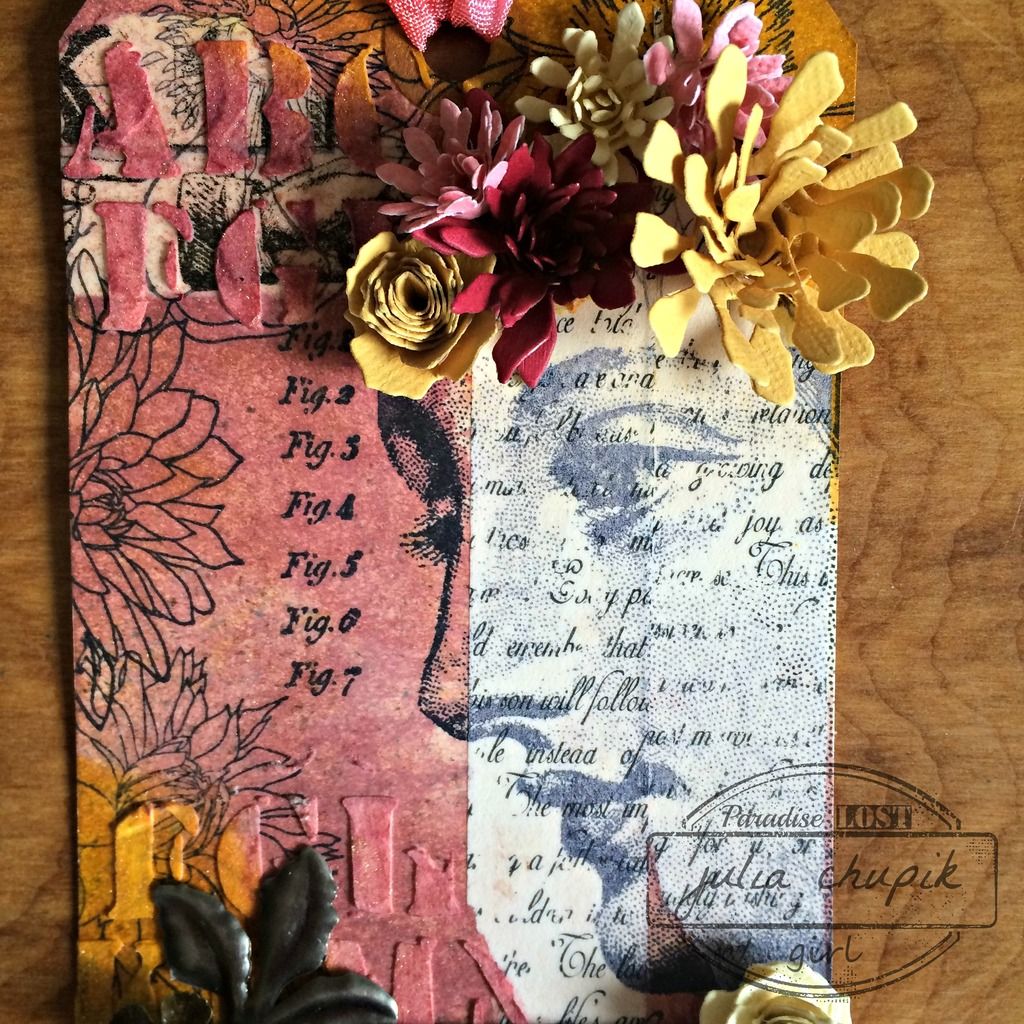
Here is my tag following Tim's step by step techniques found on his blog.

I already have a small drawer filled with tiny tattered flowers already assembled and ready to use.
I make them with leftover pattered paper and cardstock from other projects. I have so many right now that I probably wont have to make anymore for a very long time. The colours for my tag were inspired by a few flowers that I already had on hand.

I got a little stamp happy and when I got to this point thought maybe I overdid it.
However, I just continued on and hoped that the other layers would help.
I added texture paste through my alphabet layering stencil and let it dry before adding my Distress Stains.

The Distress Stains & Inks I used were Fossilized Amber, Worn Lipstick & Victorian Velvet.
After masking off my focal point I gave my take a quick spritz of Tarnished Brass Mica Spray. It doesn't show up very well in the photo but looks amazing as a final layer.


Submitted to:


Wednesday, 11 May 2016

Many Thanks!

Ever since the weather turned nice I have had a hard time staying in my craft room.
I just want to be outside enjoying the sun, warm temps. My garden needed some well deserved attention and the patio was screaming for the planters to be filled with flowers.

I did manage to sit down and make a few Thank You cards for my daughter to give to her co-workers
at the lab she is finishing her practicum up at. It felt good to get messy & I may just find myself back in the craft room again today. It is delightfully sunny outside though. ;)

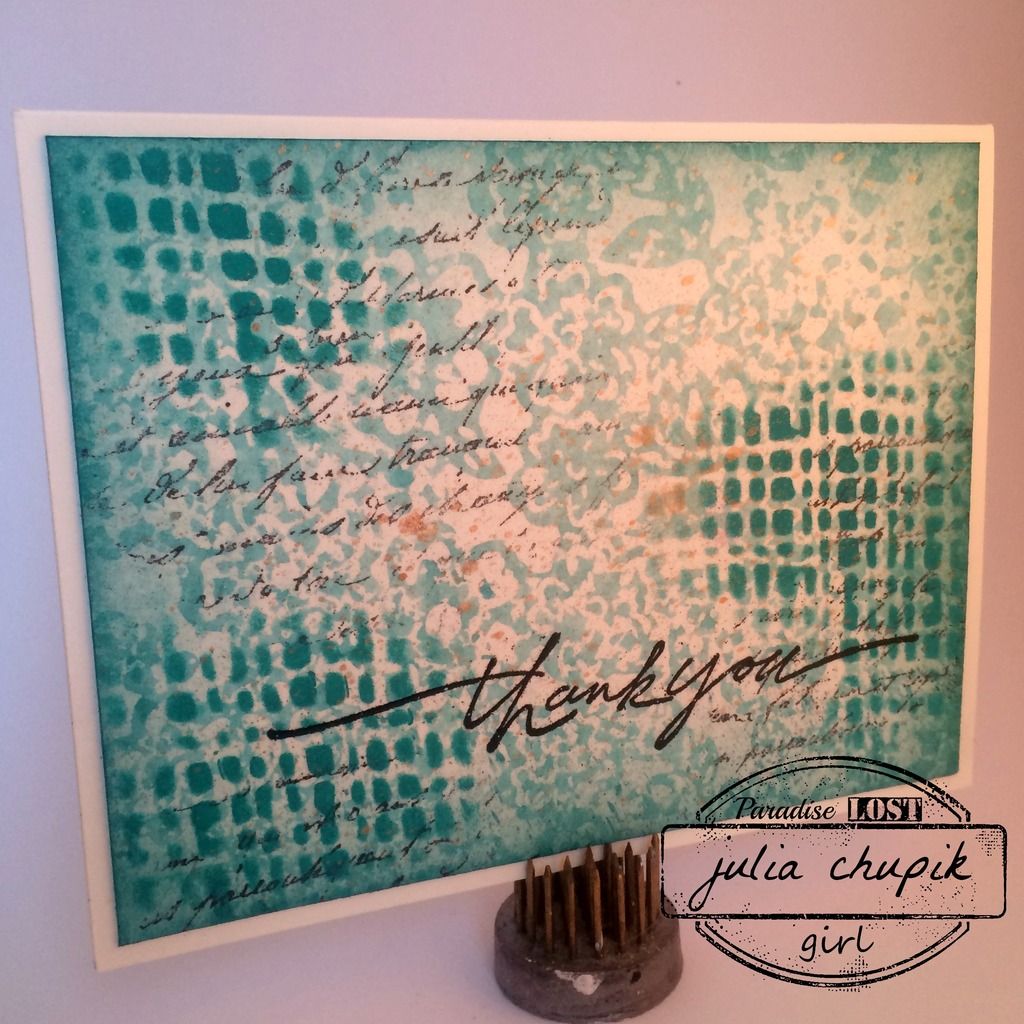
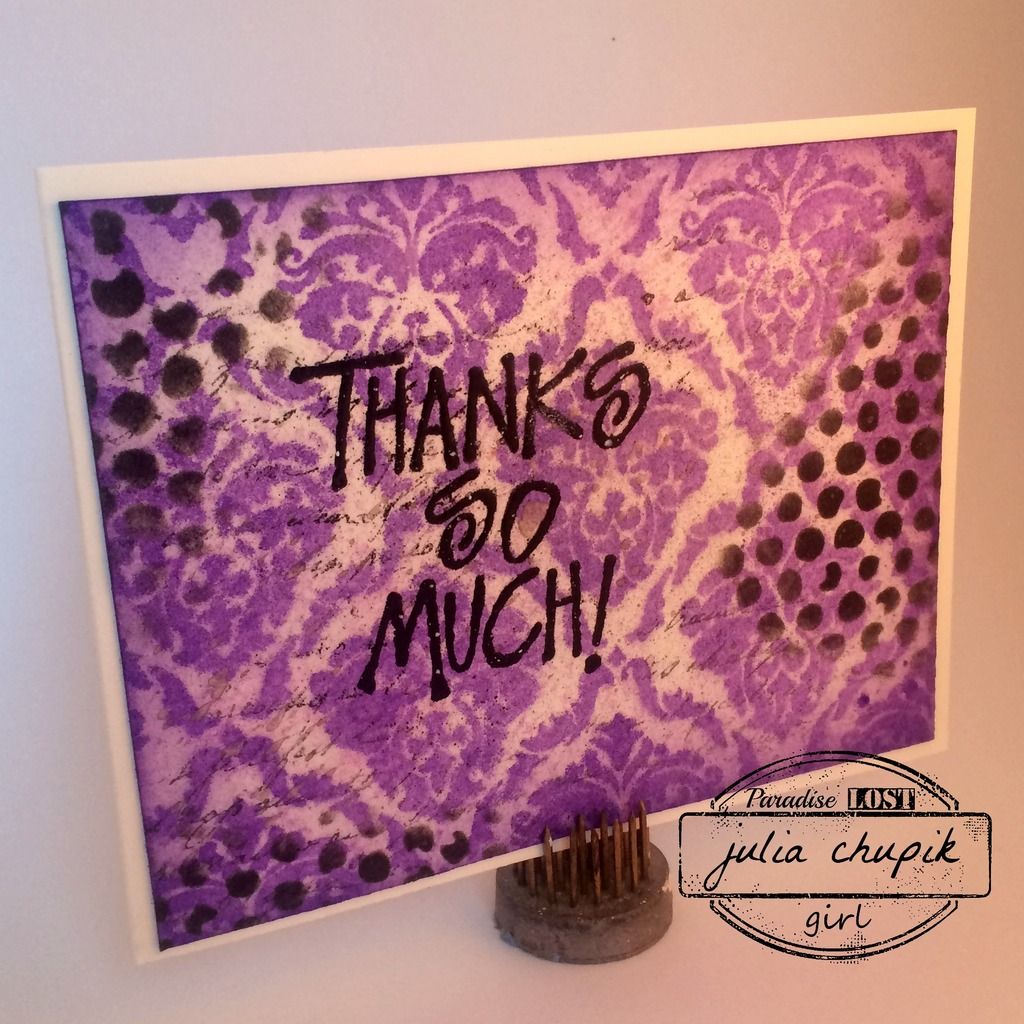
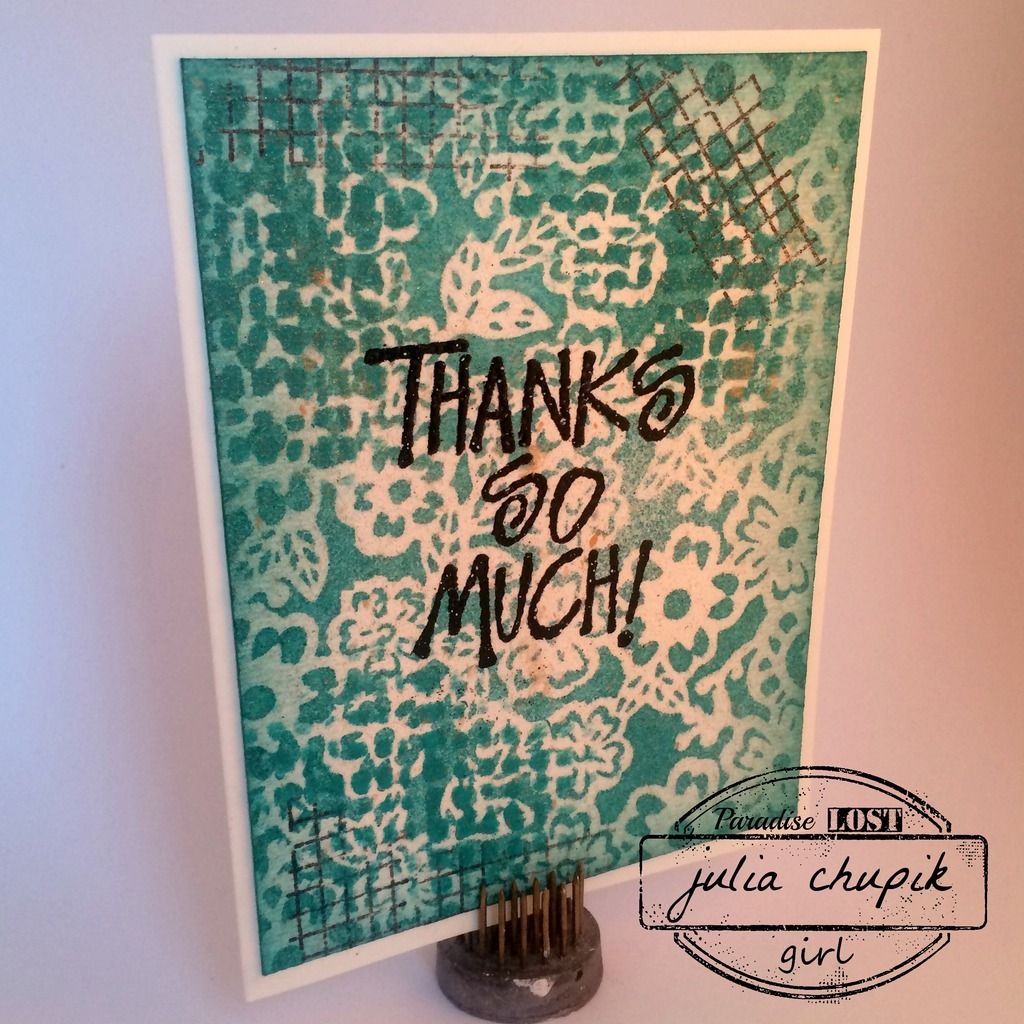
Here is one of the finished cards ~ you'll just have to stick around until the end of this post to see the other three.

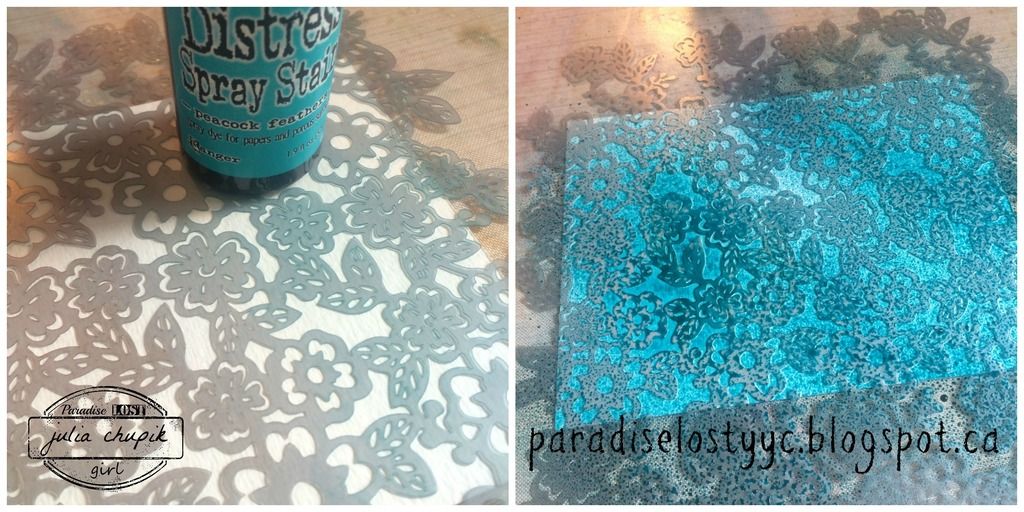
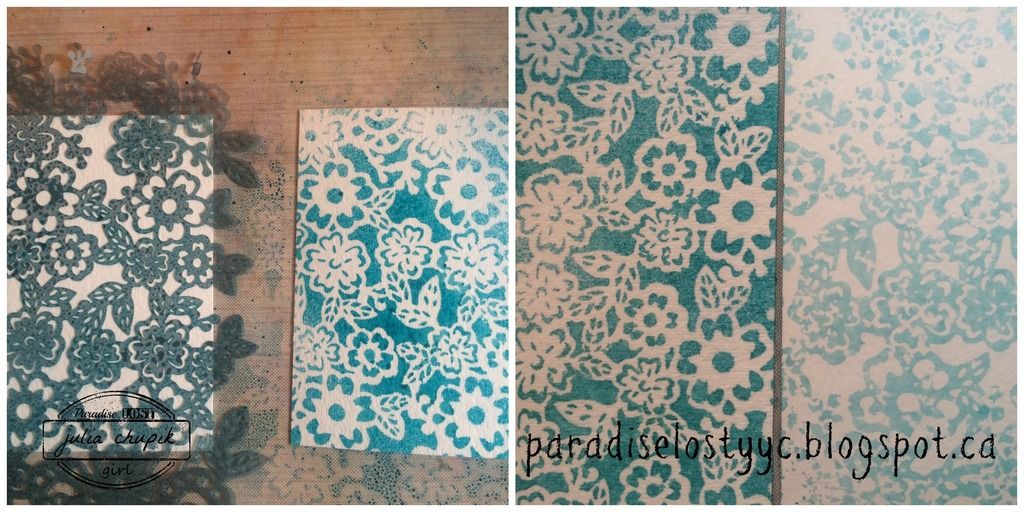
I started with my favourite 140lb cold press watercolour paper,
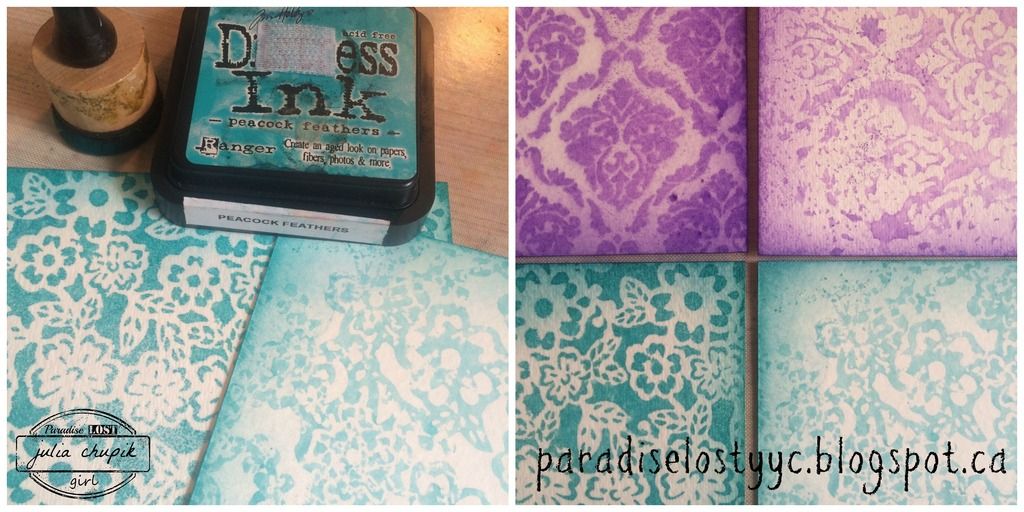
Peacock Feathers Distress Spray & a floral stencil (Sorry, I have no idea what company it is from. Its an oldie but a goodie).

After spraying the stain I gave it a quick 2 spritzes of mist before flipping the stencil over onto a second piece of watercolour paper and rolling my paper towel over it.
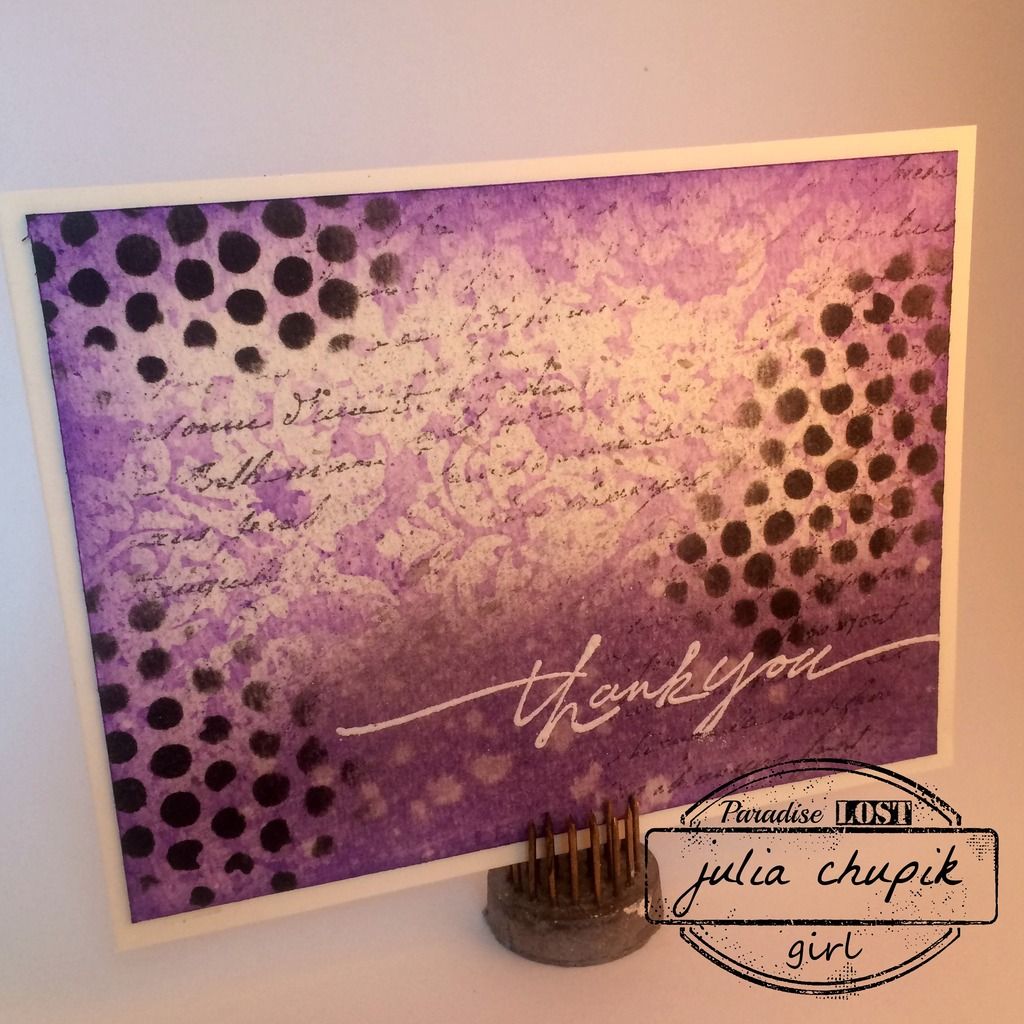
I repeated the same technique on 2 more pieces of watercolour paper but used Wilted Violet
Distress Spray & Tim Holtz Gothic Layering Stencil.
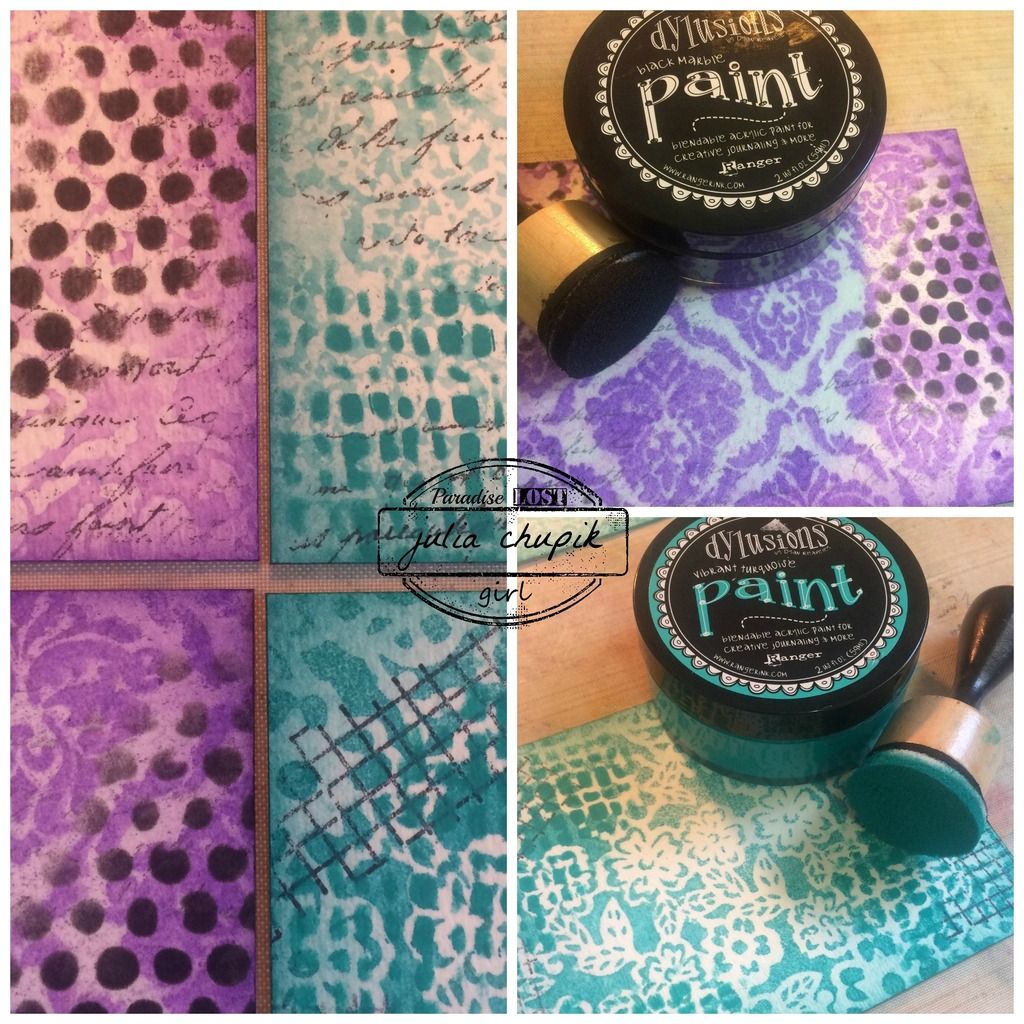
I inked the edges of all the cards using the coordinating Distress Inks & my round blending tool
Next I added some random stamping before applying some Dylusion Paint through a stencil with some blending foam.
All that was left to do was to add my sentiment and emboss it with fine detail embossing powders.

Monday, 2 May 2016

Thank you Dyan!

After taking a couple of weeks off to recharge I am ready to start creating again.
I couldn't think of a better way to jump-start the creative juices
than to be in the presence of the fabulous Dyan Reaveley.

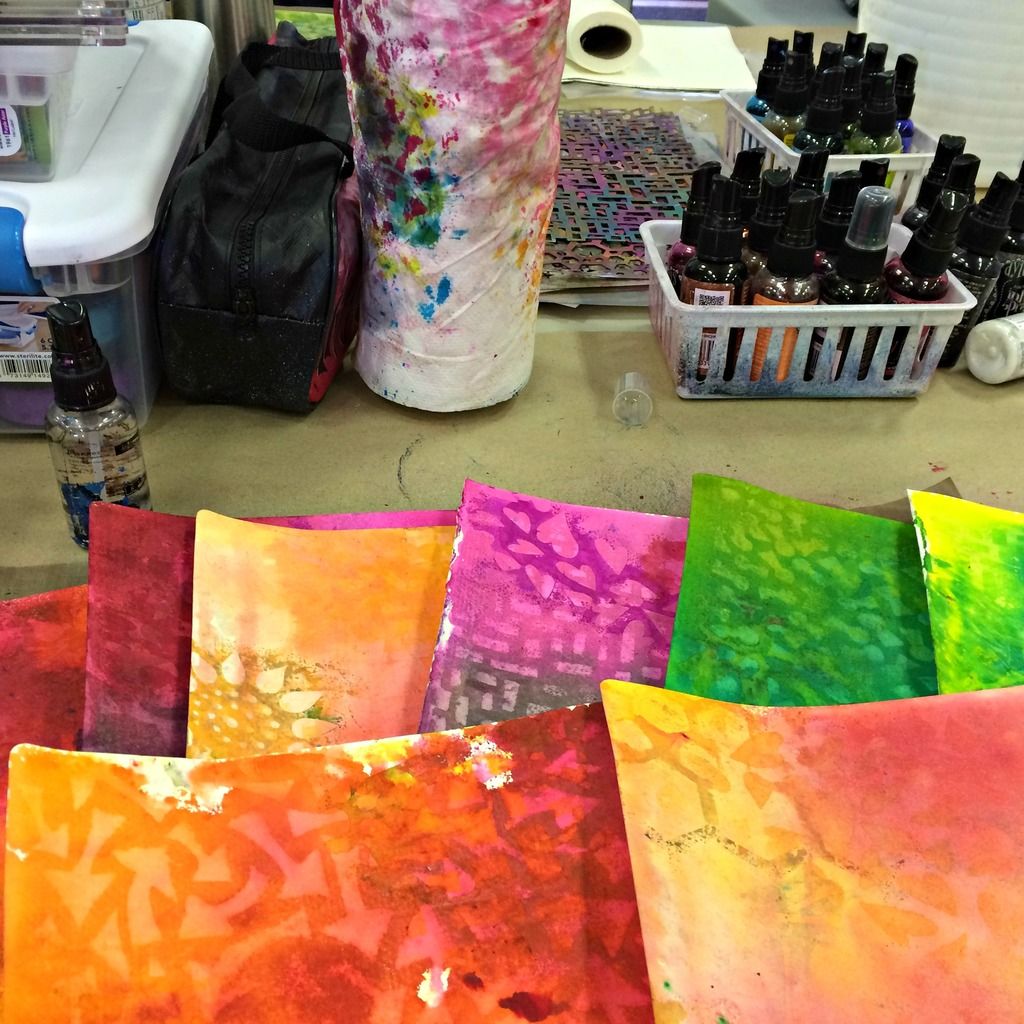
Dyan was guest instructor at Scrap Addicts in Edmonton this past weekend.
She taught 4 classes over 2 days. I took 2 classes and that's my greatest 
regret ~ I should have taken all four!

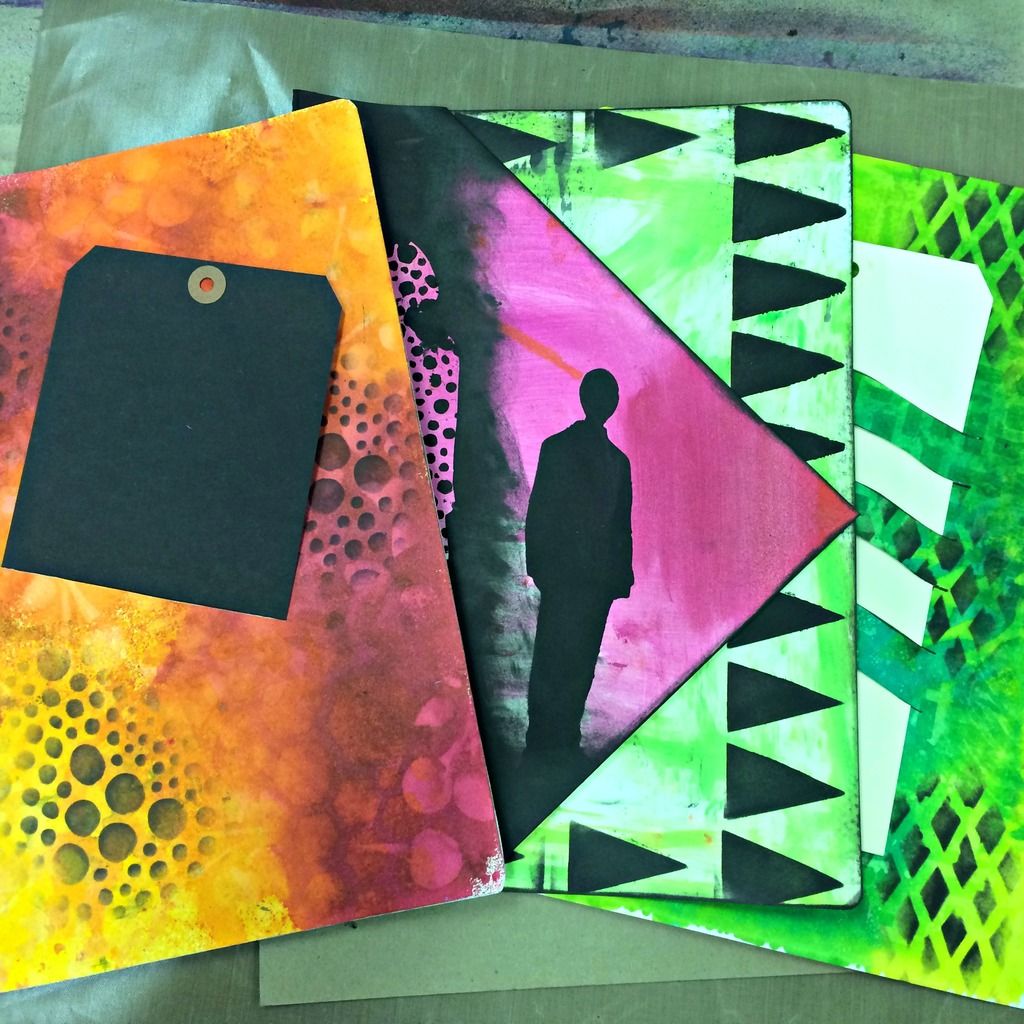
I had so much inky fun making pages using some of Dyan's techniques.
Her Dylusion's sprays are gorgeous!

My favourite part of the weekend was learning how to make & add 
pockets and nteractive features in an art journal.

It is going to be so much fun incorporating these techniques into my 
own art journal, canvases & tags!

Thanks you, Dyan!

Be sure to follow Scrap Addicts on facebook or their website for upcoming 
guest instructor announcements!

Scrap Addicts also has an online store with free shipping for orders over $75 within Canada.