Showing posts with label May. Show all posts

Friday, 26 May 2017

An Altered Book - The Castaways

Welcome back to my blog! things have been a bit quiet around here.
A word of warning before we continue - yes, an old book was altered, glued, torn and ripped in the making of this blogpost. Viewer discretion is advised. 

I have a lot of old books - some up to 100 years old - that I have collected over the years. Some I bought at garage sales, some of them once belonged to my grandfather and some were given to me by my crafty BFF, Nicole.

For this project I chose a book that came from my grandfather - The Castaways.
To begin I took the largest die from a rectangle nesting die set and traced out the shape on the front of the book, making sure to leave the title.
I took my x-acto knife and carefully cut out the traced shape from the cover. I made sure to a cutting pad under the cover before doing this.  Next I took my x-acto knife and trimmed a smaller sized rectangle shape through the first 50 pages or so.

To curl the pages - first I put my cutting pad in the book to protect the uncut pages; then i took my mister bottle and sprayed the pages a couple of times; next I took my fingers and gently starting curling the pages outwards. This took some time and required some additional sprays of water but I loved the results. while the paper was still wet I ran my Walnut Stain Ink pad over the curled pages and then let them dry.
My happy castaway couple is a card from the Found Relatives pack that I coloured with Distress Markers before adhering into my book behind the curled pages. Once I had this done I starting gluing these curled pages together along with the page with my castaways. Then I glue the lot to the front over. The remaining pages of the book were glued together in groups of 50 pages or so.


These became my journal pages - although I didn't actually journal as this was meant as a decorative piece. I did gesso the pages, add some Distress Oxide Ink, some stamping and then added some pieces that stick out the top and side edges.

Some of these pieces are die cuts, paper, vintage postcards and half of a stereoscope card. I happen to have a few of these and the palm tree one was perfect.


This is how the finished book looks and how it will be displayed. I just love all the bits and bobs peaking out of the pages.

To finish off the front cover I added a few of the wood starfish pieces from Southern Ridge Trading Co. They take paint very well and I love that they have a bit of dimension to them.


Tuesday, 2 May 2017

Crafty Friends & Coffee Fairies

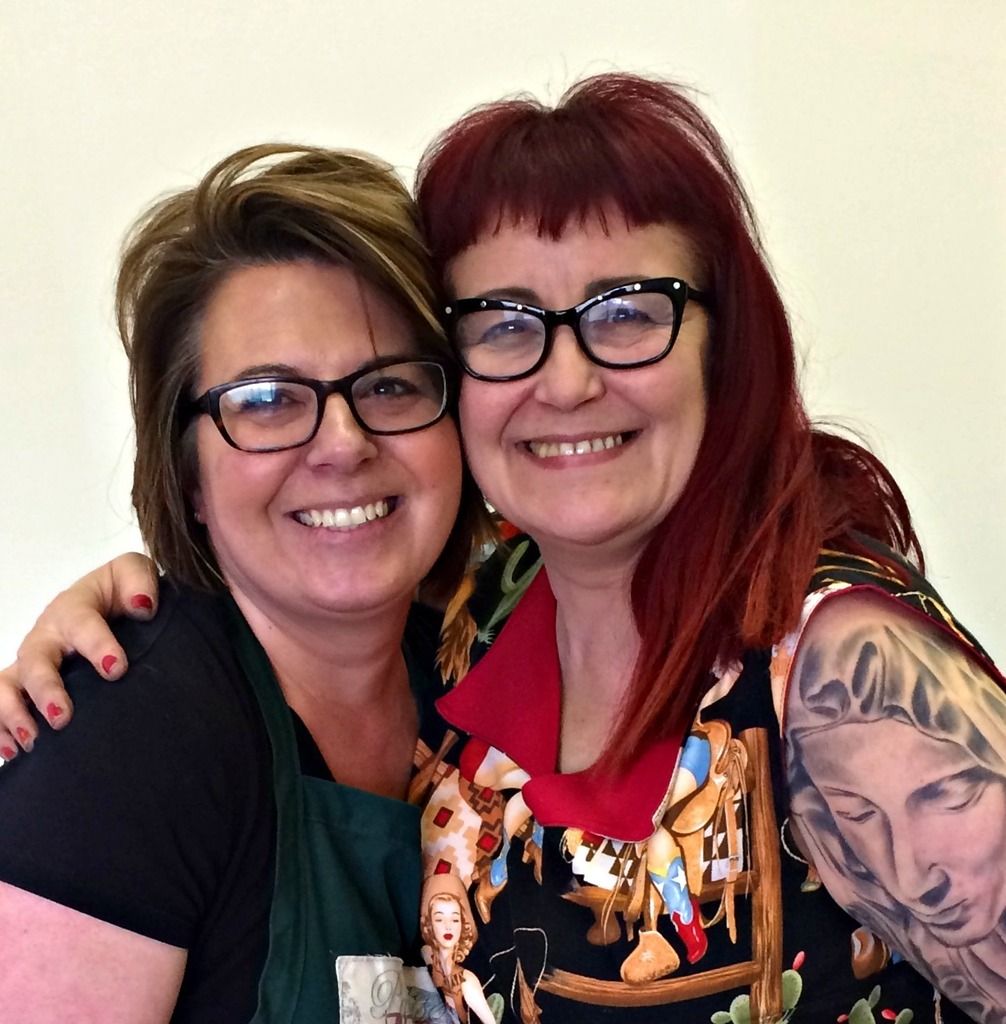
A few weeks ago I started getting together on Wednesdays with my very best
 crafty friend, Nicole Wright. We alternate between our houses - she has the mother of all Sizzix die collections and I have everything mixed media. It works out pretty well.


This project was one of the first ones we collaborated on without even realizing it. I was in a bit of funk and not feeling very inspired. Nicole was working on a tea & coffee inspired journal page and I decided to let her creation inspire me.


We ended up using the same dies & some Tim Holtz Paper Dolls & loved how different our journal pages turned out.
My background was created a few weeks before using Distress Oxides, stencils and the stencil monoprint technique. I repeated the technique on the tea cups too. I loved how it looks.


On the coffee side of the page I decided to make wings for my paper doll children. I first inked up some watercolor paper with Scattered Straw and Carved Pumpkin Distress Ink with my ink blending tool, a few spritzes of water and quick dry with my heat tool and I was ready to die cut.
I used the Butterfly Duo Bigz Die from Sizzix & Tim Holtz. I then used the coordinating embossing folder, inked with Vintage Photo Distress Oxide, to emboss my 'wings'.


The Paper Dolls & Quote Chips were perfect to finish of my page.


I really loved how this page turned out and dream of the day that I have my own little coffee fairie that will serve me the perfect cup when I wake up in the morning. It's always nice to dream.

Check out Nicole's coffee & tea themed journal page here.
We already have more projects planned to show how to use products in different ways in our own styles. Collaborating with crafty friends is so much fun!

Monday, 2 May 2016

Thank you Dyan!

After taking a couple of weeks off to recharge I am ready to start creating again.
I couldn't think of a better way to jump-start the creative juices
than to be in the presence of the fabulous Dyan Reaveley.

Dyan was guest instructor at Scrap Addicts in Edmonton this past weekend.
She taught 4 classes over 2 days. I took 2 classes and that's my greatest 
regret ~ I should have taken all four!

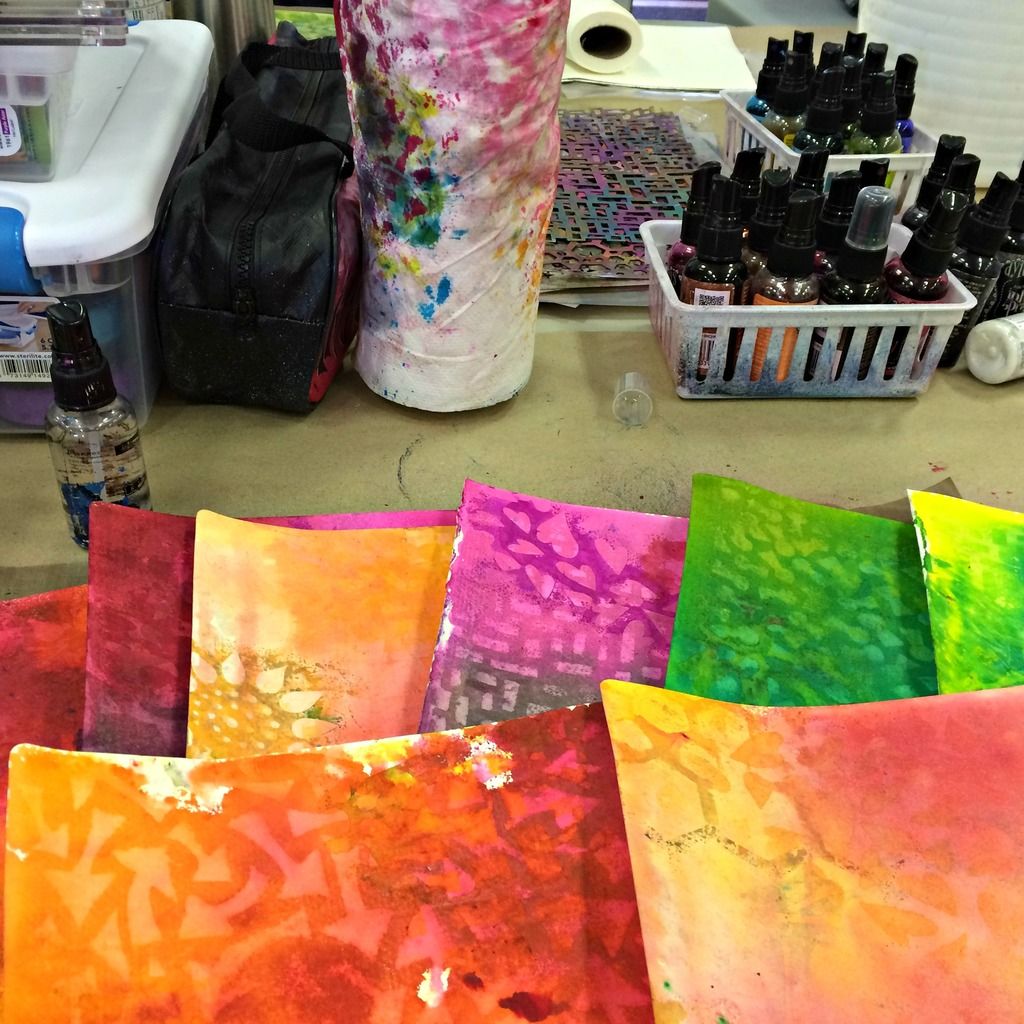
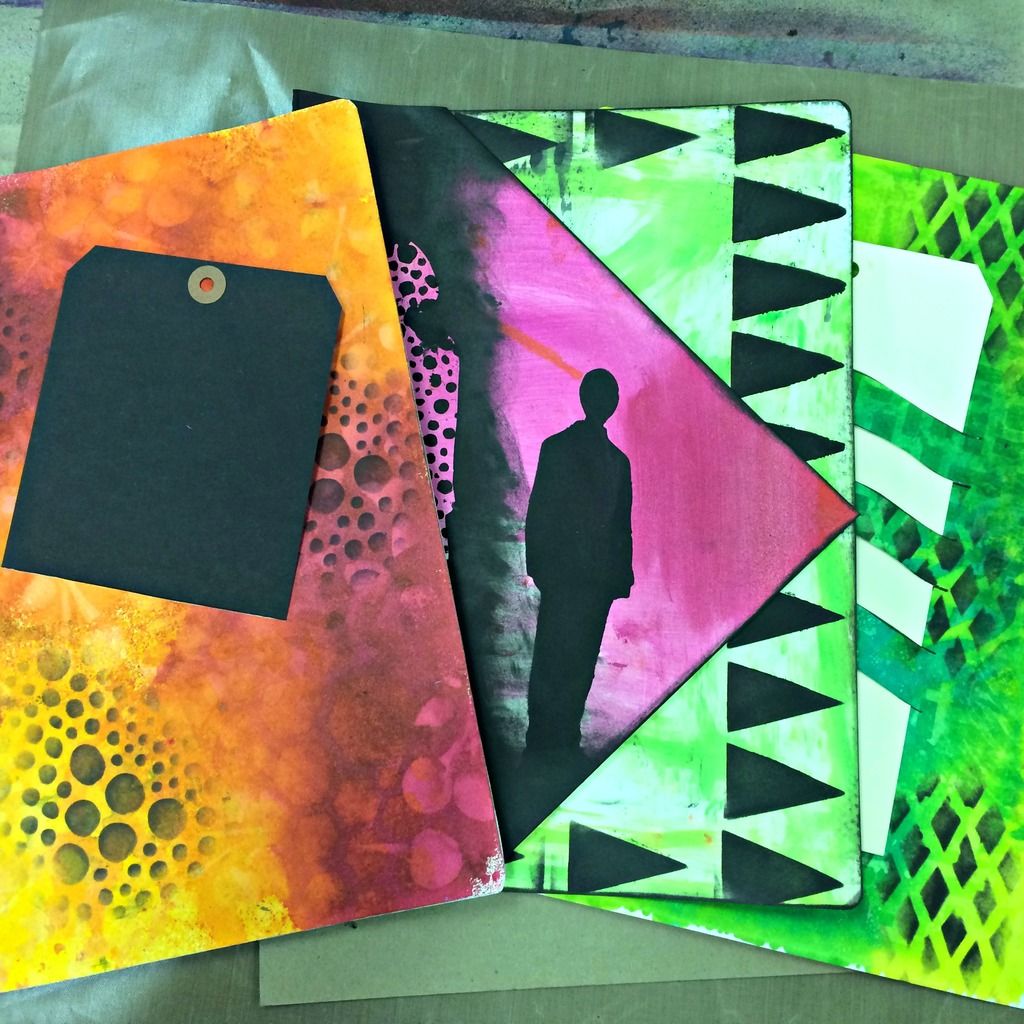
I had so much inky fun making pages using some of Dyan's techniques.
Her Dylusion's sprays are gorgeous!

My favourite part of the weekend was learning how to make & add 
pockets and nteractive features in an art journal.

It is going to be so much fun incorporating these techniques into my 
own art journal, canvases & tags!

Thanks you, Dyan!

Be sure to follow Scrap Addicts on facebook or their website for upcoming 
guest instructor announcements!

Scrap Addicts also has an online store with free shipping for orders over $75 within Canada.


Friday, 29 May 2015

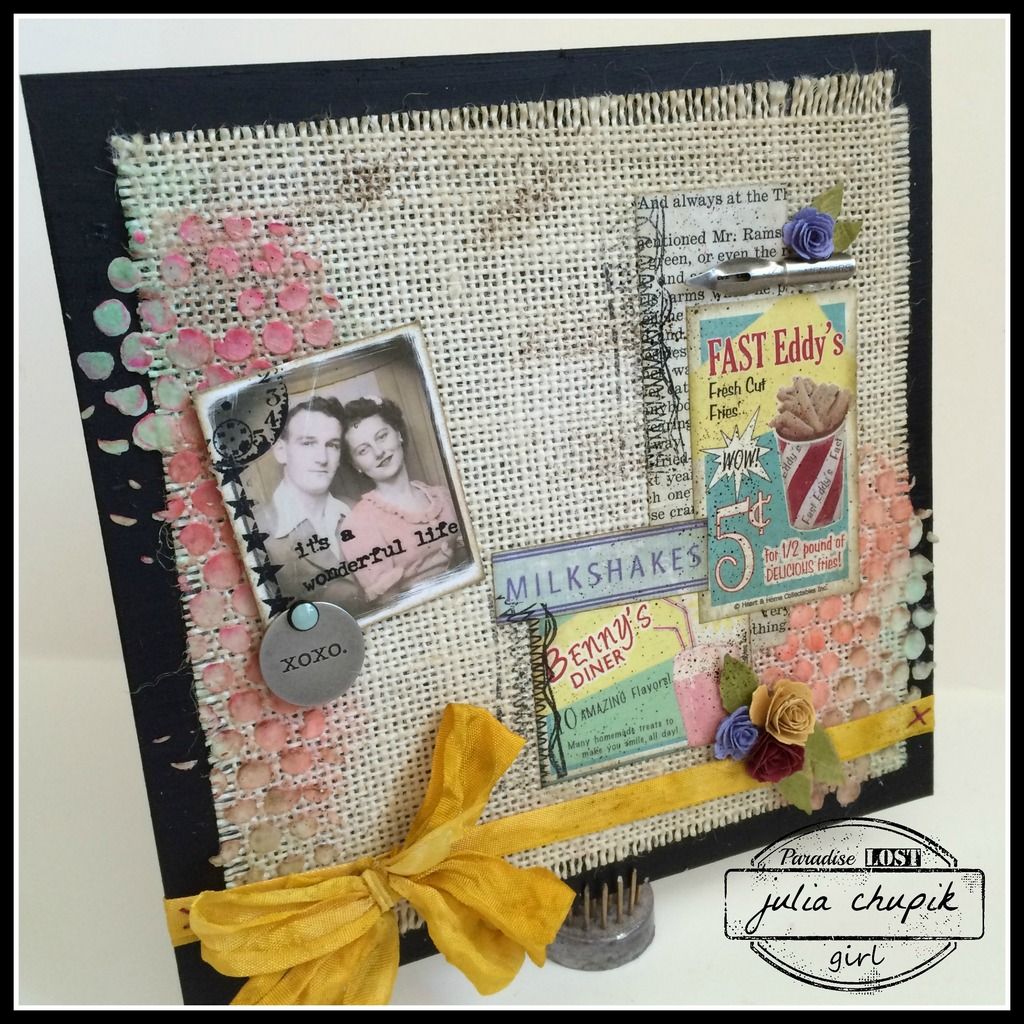
Milkshakes......May Tag

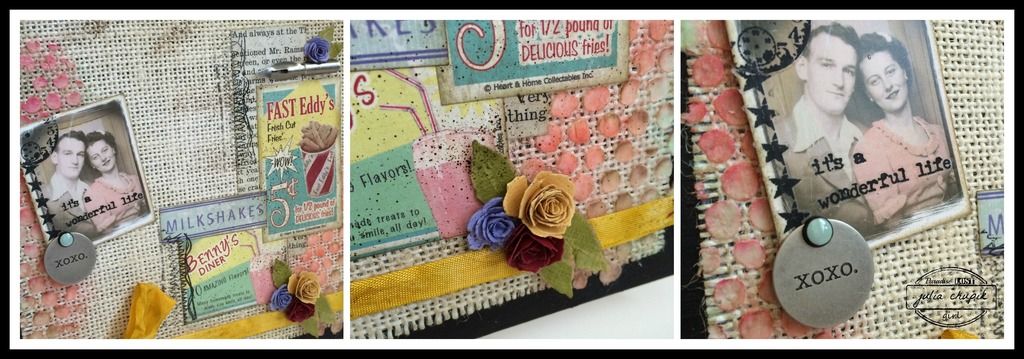
Or in this case a 7" x  7" mini canvas. 
Check out Tim's Tag Tutorial & get inspired

This was a perfect project to use my mini retro diner ephemera.
The colours of the ephemera work really well with cracked pistachio & abandoned coral distress ink.
I couldn't resist using Fossilized Amber on the crinkle ribbon just for an added pop of colour.


Thanks for checking out my blog today!

~~~stay crafty~~~

julia

Challenges......
Tim Holtz.......May Tag

Thursday, 28 May 2015

Crafty Storage Boxes.....Part 2

Today I finally complete my crafty storage for my new craft space. 
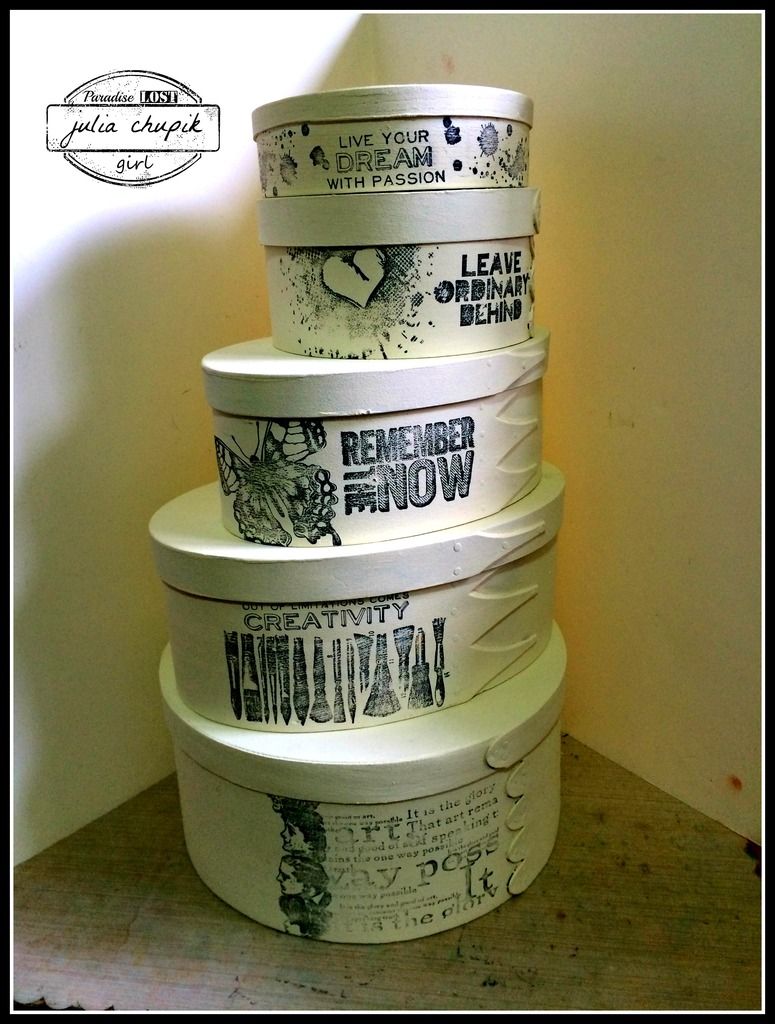
Over the past couple of weeks I have been searching for & collecting boxes that 
I thought would work.

Aren't these awesome! I painted everything with one coat of Old White Chalk Paint
from Annie Sloan with the exception of the black chalkboard finish.
These wooden nesting boxes will be perfect for ribbon & washi tape storage. 
The largest one can fit about 20 - 2oz bottles of  acrylic paint! 
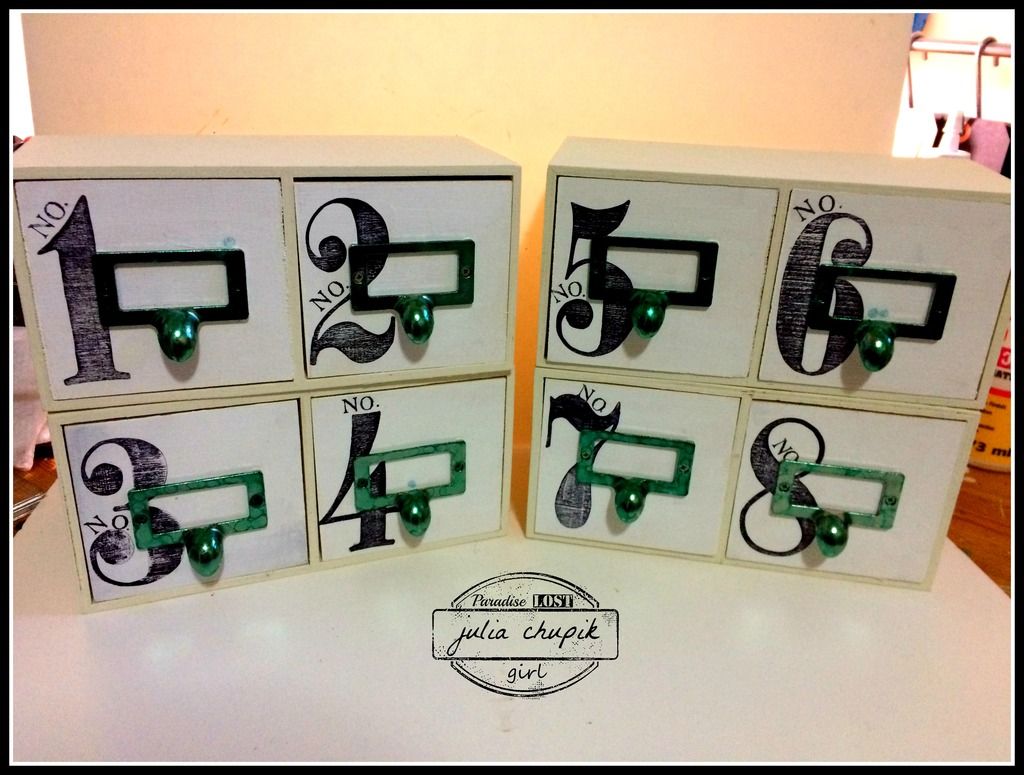
These small drawers were a dollar store find. I removed the metal drawer pulls
 and applied alcohol ink so that they coordinated my stamp storage box. 
The Numeric stamps from Stampers Anonymous were the perfect size for the drawer
fronts. 
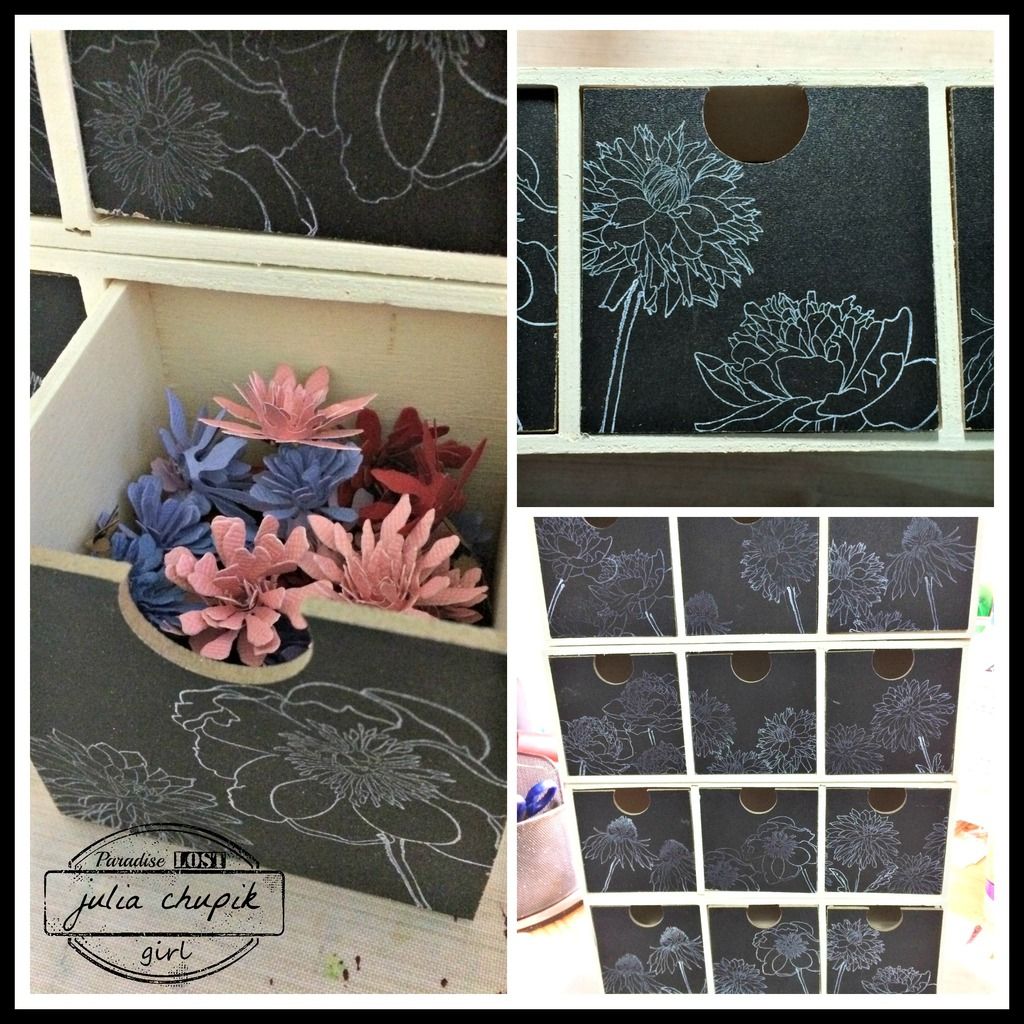
Yet another dollar store find - triple drawer with chalkboard fronts. The Flower Garden Stamps from Stampers Anonymous look amazing stamped in white on the drawer front.
Look at how awesome my Tiny Tattered Florals look!


Thanks for visiting my blog today!

~~~stay crafty~~~

julia

Friday, 15 May 2015

A Vintage Canvas

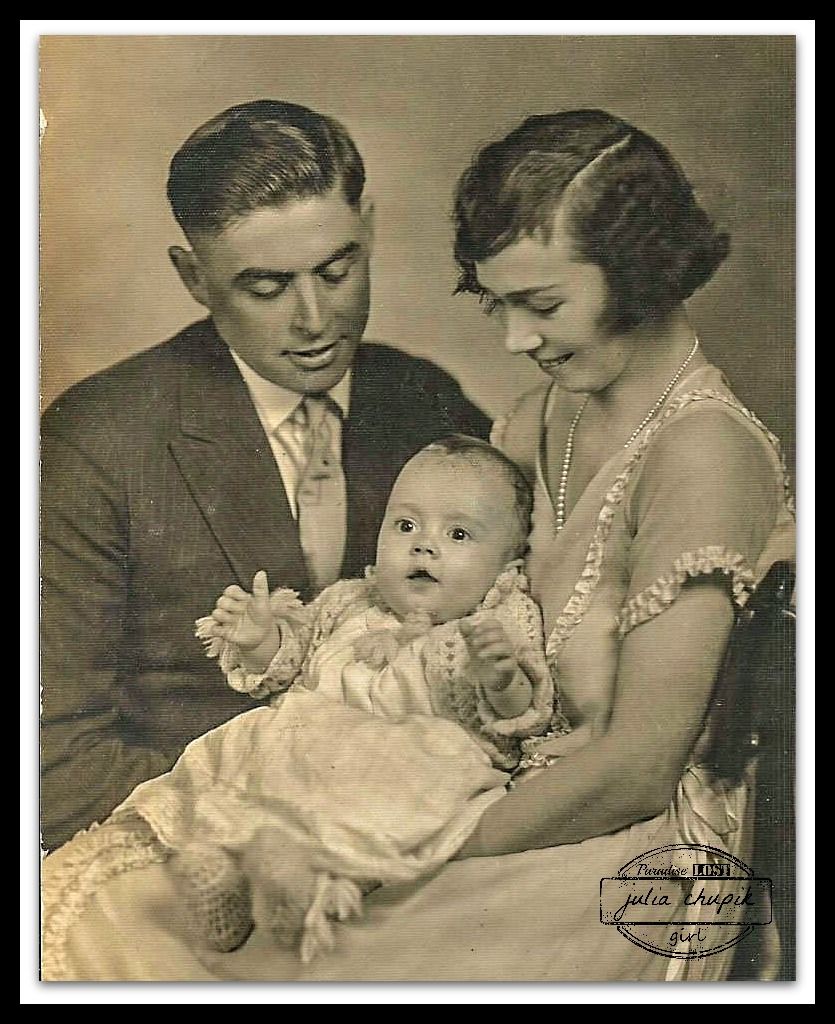
My Great-Grandma Edna was a grand lady. Full of life and a hearty laugh that would
 bring a smile to anyone's face. I give her full credit for passing on the 
scrapbook gene to me.
My great-gram with her husband Septimus & holding my grandfather - circa 1925
I recently inherited her scrapbooks (dating from the 1920's - 1970's), her mother's scrapbook (dating back to the 1870's) and my great-grandfathers scrapbook (dating from 1910-1920's) 
It has been quite a journey going through these old family photos & it has also been quite inspiring.

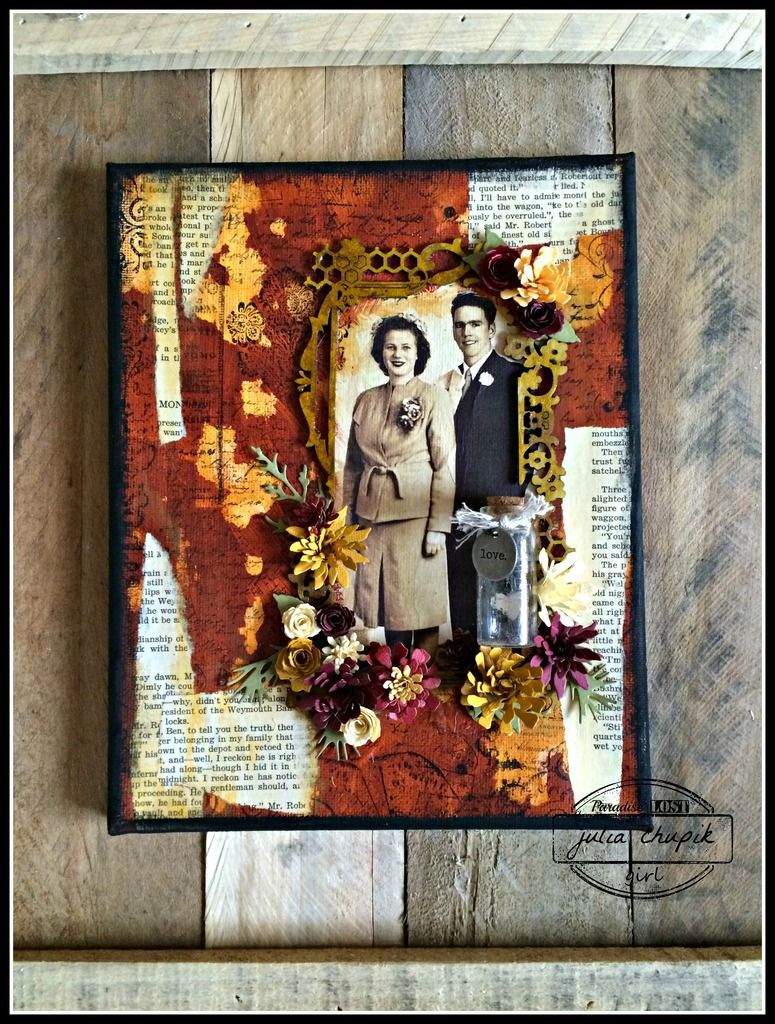
I recenyl started a series of canvases that will displayed in my home using copies of some of my favorites. This is one of them.....

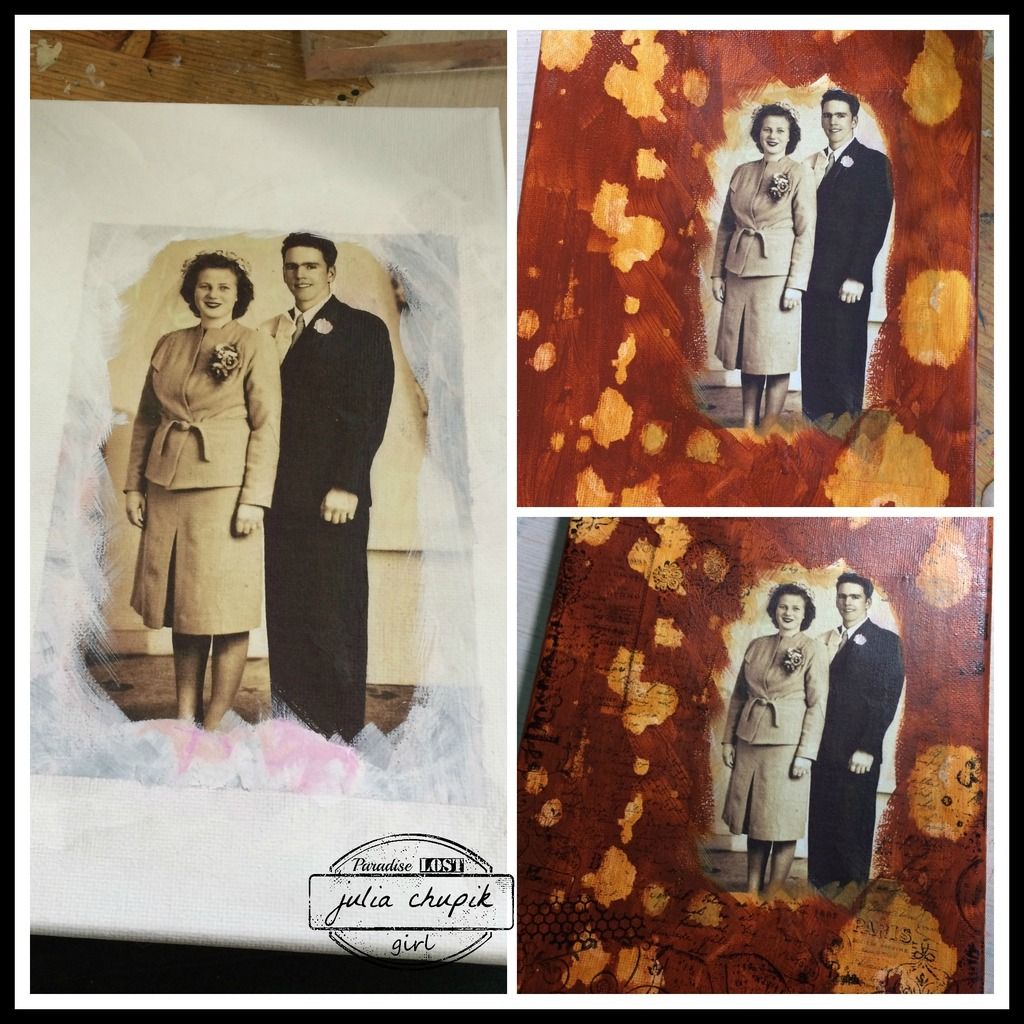
This is a photo of my Grandpa & Grandma Shuttleworth on their wedding day in 1946. After editing the photo I printed it out on white tissue paper. I then used matte medium to adher it to an 8x10 canvas. I applied a light coat of gesso arounf the edges before starting to layer my paint. My next step was to stamp various images across the canvas. 
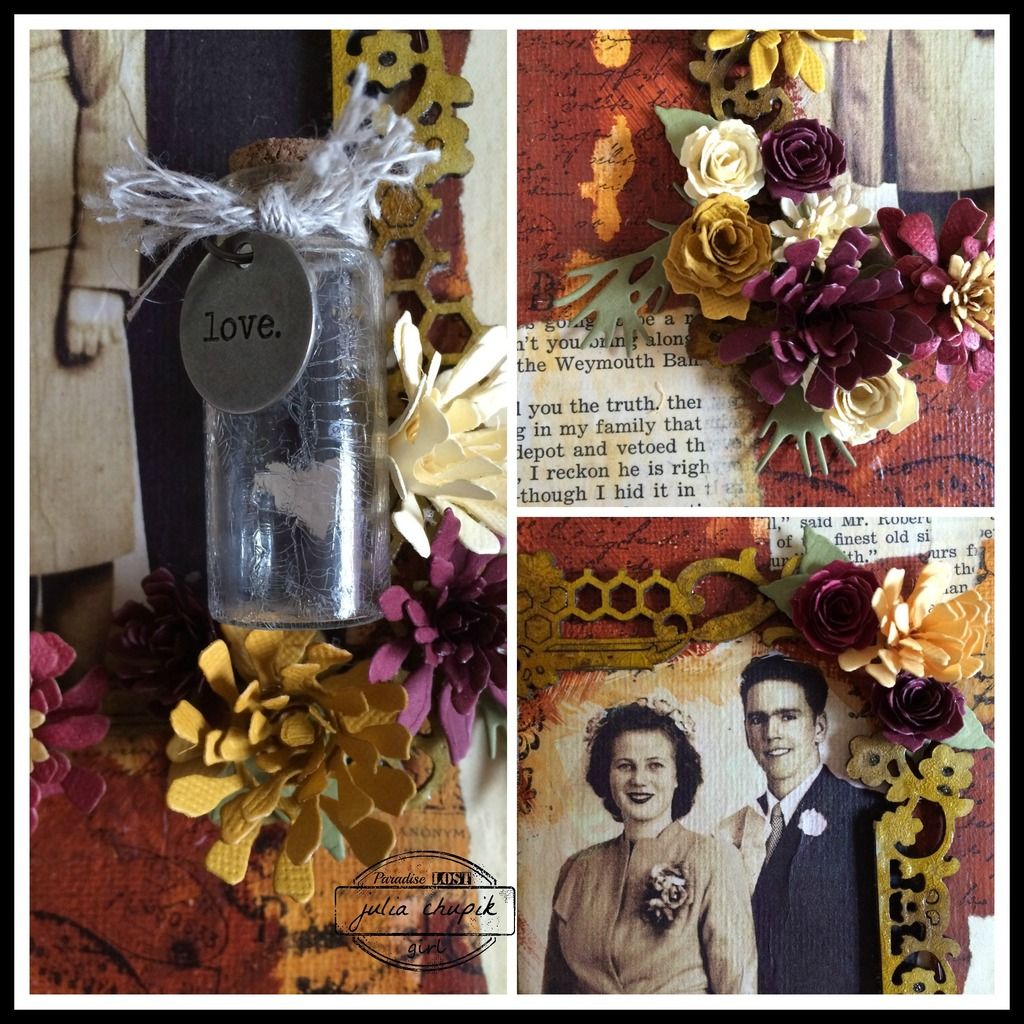
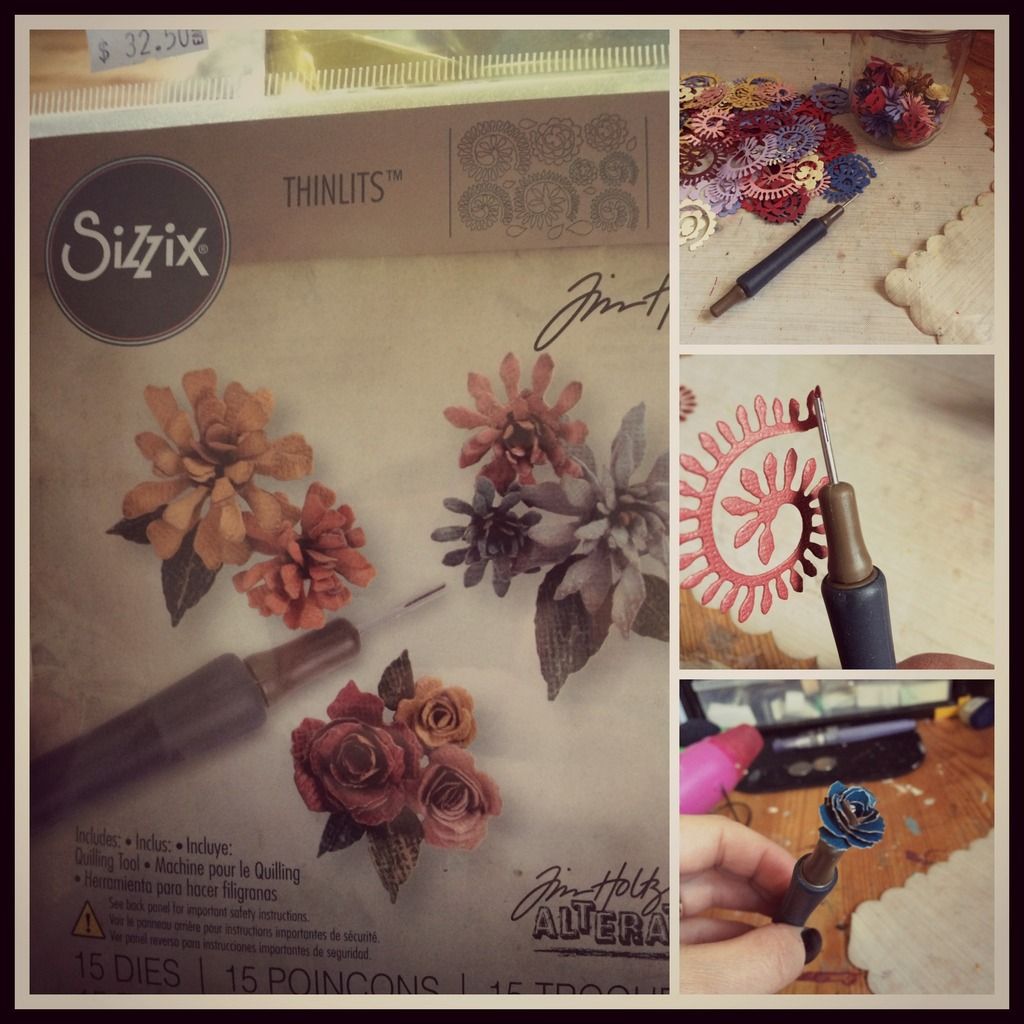
After adding some torn paper pieces to the canvas I started adding my 3D elements. The Foral Medley Frame from Blue Fern Studios was perfect and I couldnt wait to use my new Fossilized Amber Distress Stain on it. I finshed the frame off with a coat of Distress Clear Rock Candy paint for a little more added texture. Check out those Tiny Tattered Florals! It's my new favorite die!
I sat down earlier in the week & made a whole mason jar full of these tiny flowers! The quilling tool that comes with the dies really makes these flowers easy to assemble. 
Check out this demo video by Tim from CHA 2015.....

Finally here is my completed canvas.....
.....all ready to display with my other family canvases.
Check out A Vintage Journey Challenge Blog
for a lot of Tim-Inspired Shabby & Vintage goodness!


Thank for visiting my blog today! I really appreciate all your comments.

~~ stay crafty ~~
julia


Challenge Entry....
A Vintage Journey

Submitted for:

Emerald Creek Dares - Fall 2015 DT Call