Showing posts with label Chipboard. Show all posts

Friday, 3 February 2017

Cherish Moments - Mixed Media Layout

Welcome to my blog!
Today I'm here to share a 12x12 mixed media layout I created for The Scrap Shack.
The Scrap Shack now carries a selection of chipboard from Southern Ridge Trading Co.

I created this layout with a couple of Southern Ridge Trading Co chipboard die cuts;
some discontinued papers from my stash in reds & browns & a
Found Relative card from Tim Holtz Idea-ology.

I started by trimming down one patterned paper down to 11.5"x11.5" to layer over a darker
12x12 pattern paper.

I used my Tim Holtz Distress Tool on the edges.

Next I sprayed some Prima Color Bloom (Worn Leather) randomly over the 
11.5"x11.5" pattern paper & I dried it with my heat gun.
I took the spray cap off the bottle of irRESISTible Ink (Danube Blue) and 
dripped it over the paper next.

I torn a page out of an old novel and used inks & stains to age it before
layering it under the distressed edge of the patterned paper.

The chipboard from Southern Ridge Trading Co is amazing and can be altered by painting,
staining, spraying, ink. It can also be distressed by sanding. The photo on the left shows the chipboard after one layer of paint. The one on the right shows the chipboard after 2 coats of paint.

After the paint was completely dried, I took my sanding tool and roughed up 
the paint before adding some Ground Espresso Distess Ink with a blending tool.
The butterfly on the right was first sprayed with Prima Color Bloom
 (Summer Sky) then I stamped over it with a texture stamp &
Ground Espresso Distress Ink.


I distressed the Found Relative Card by sanding & inking it. I used the Tim Holtz 
Distress Tool on the edges then inked the edges with Ground Espresso Distress Ink 
and a blending tool. I then spritzed some ink over the card.

You can see this layout on display at The Scrap Shack in Ponoka, Alberta.


Friday, 19 August 2016

Technique Remix Time - August

I can't believe it's been a month since my last blog post! It's been a great summer but now it's time to get back in the craft room. Before I start working on Creative Chemistry 103 I wanted to get my tag for Tim's Technique Remix Challenge for August done. 

Check out Tim Holtz's Tag here.

Here is my take - I decided to go for a shabby garden look.

Before I did the Brayered Stain technique I stamped an image from the Mixed Media 2 stamp set from Stampers Anonymous. I used Old Paper Distress Paint to stamp it on to my tag.

I chose 3 Distress Stains to brayer on to my tag next - Victorian Velvet, Bundled Sage & Spun Sugar.

I just love how the Distress Paint stamped image resists the stain.

Before adding my elements I used my round blending tool to add some Bundled Sage Distress Ink to my tag. I forgot to take a photo of that step.

I used the Lattice Framework Die for the next technique. I die cut using chipboard for the main part and some pattern paper, cork & canvas for the insets. 


My flowers were made by layering two die cuts (one cardstock & one patterned paper) from the Tiny Tattered Florals set. I like the fuller look of the flower that this gives me.

I adhered a sentiment from the Casual Talk sticker pack before layering my Tint Tattered Floral over some Garden Greens die cut.

The theme for my take was inspired by the Shabby Garden Mood Board over at the Anything But Cute challenge blog. The mood board reminded of my grandma's garden on the farm but especially her lovely pink roses. 


Challenges Entered:


Thursday, 14 July 2016

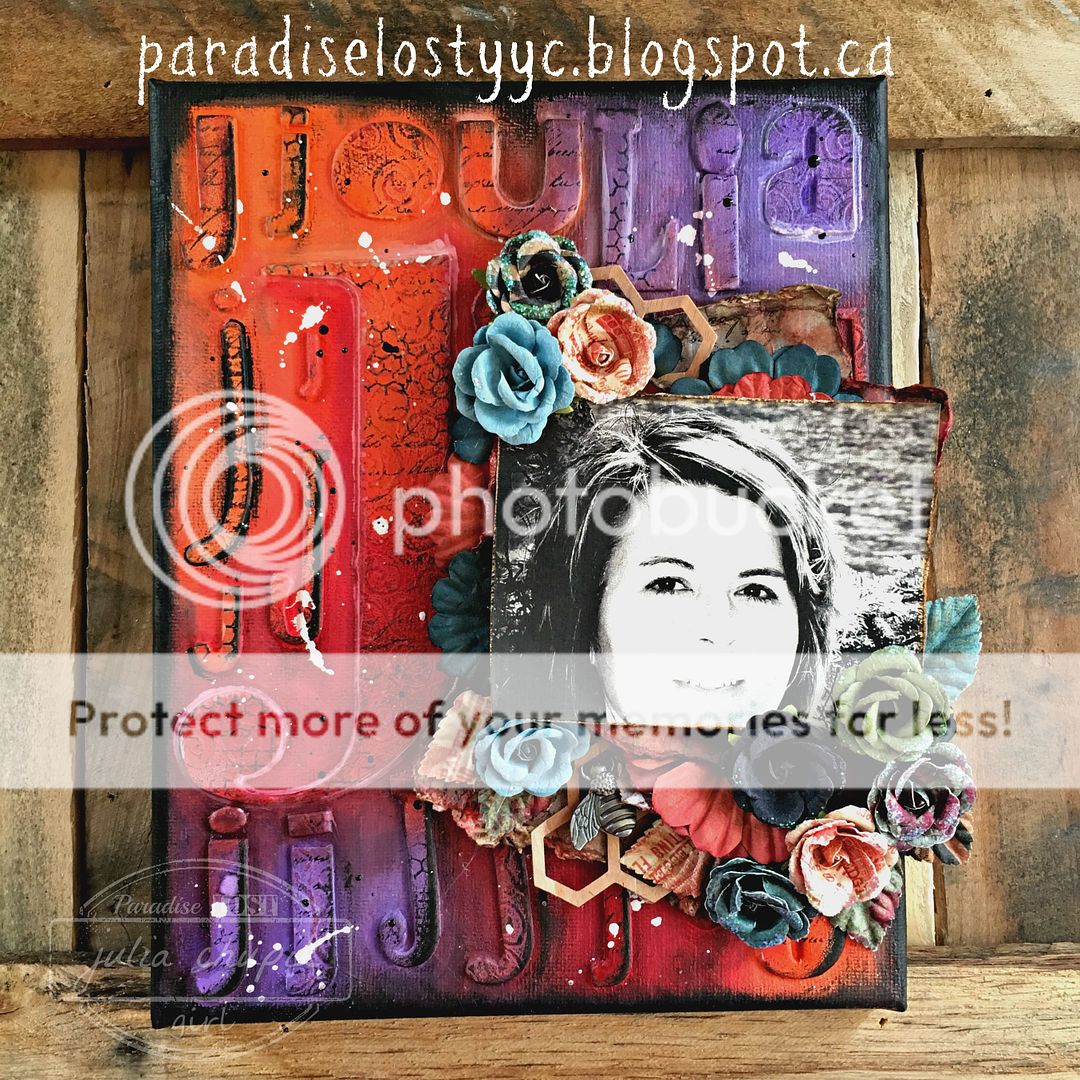
All The J's - any my final canvas in my family series

Well, this series of canvases have been a lot of fun to make.
It has also helped me use up A LOT of chipboard letters I have been hoarding in my stash.

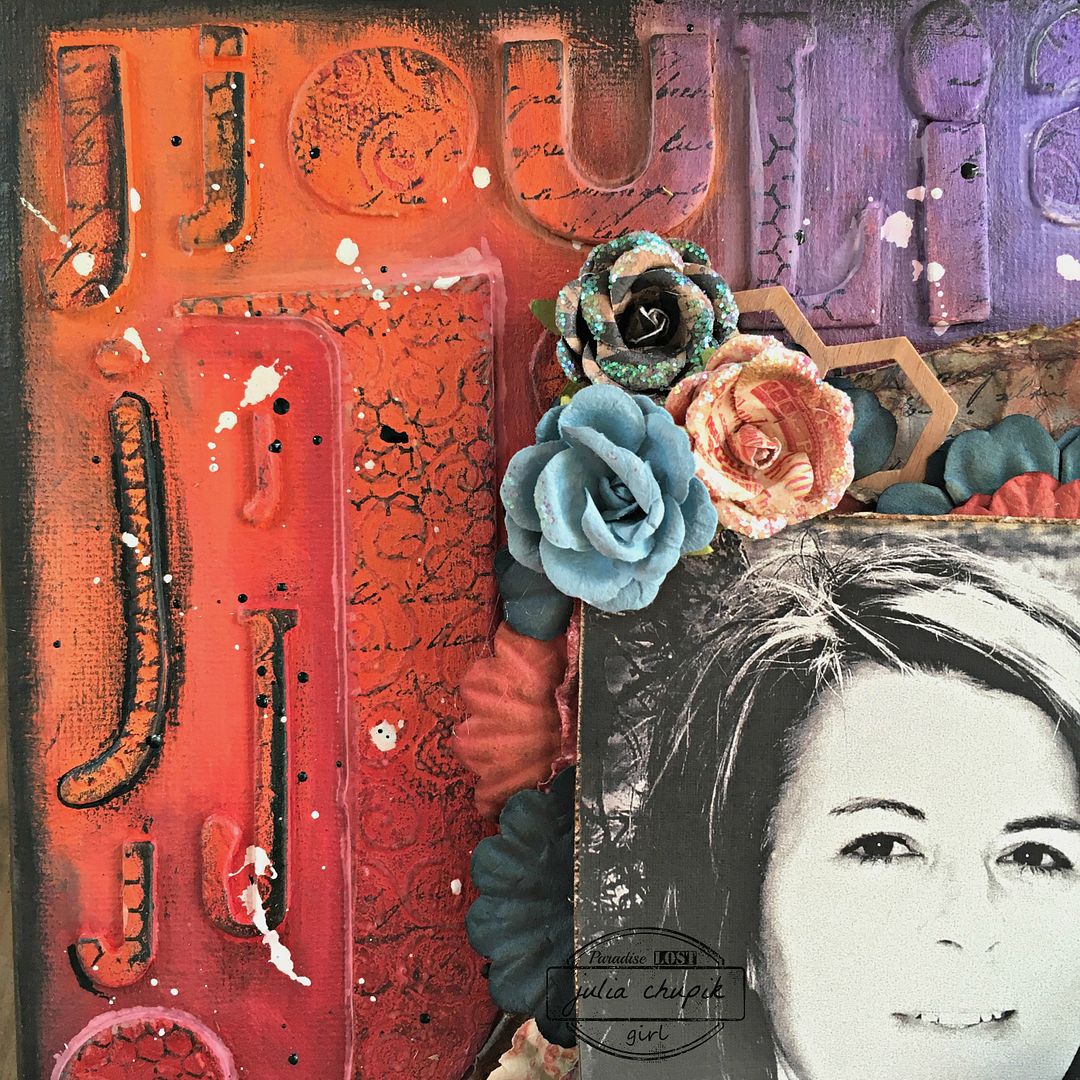
This canvas features a recent photo of myself that my husband took during our last trip out to 
Lake Louise, Alberta.

Before we get to the process photos here is the finished canvas ~

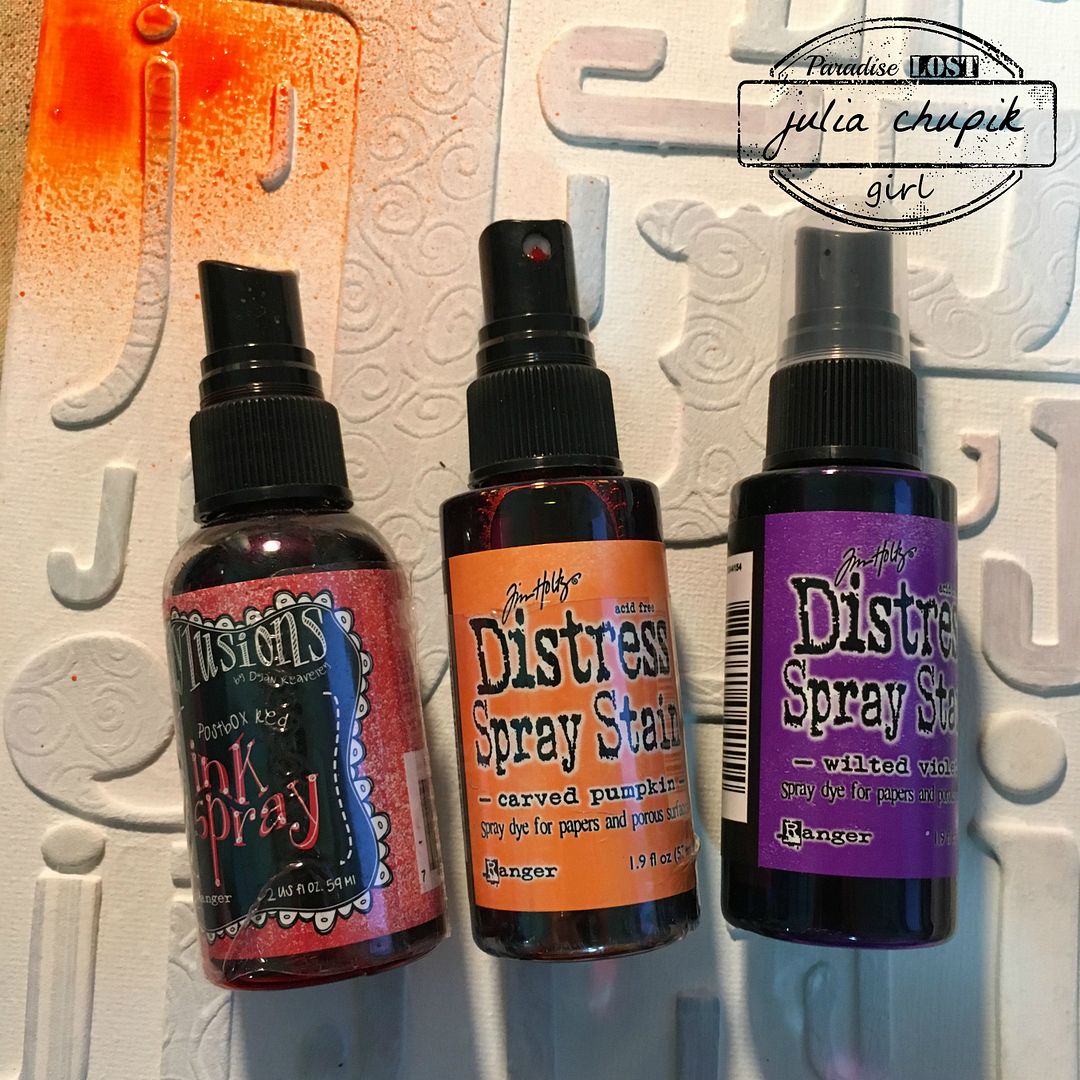
For this canvas I used Dylusions Ink Spray in Postbox Red and Distress Spray Stain in Carved Pumpkin & Wilted Violet.

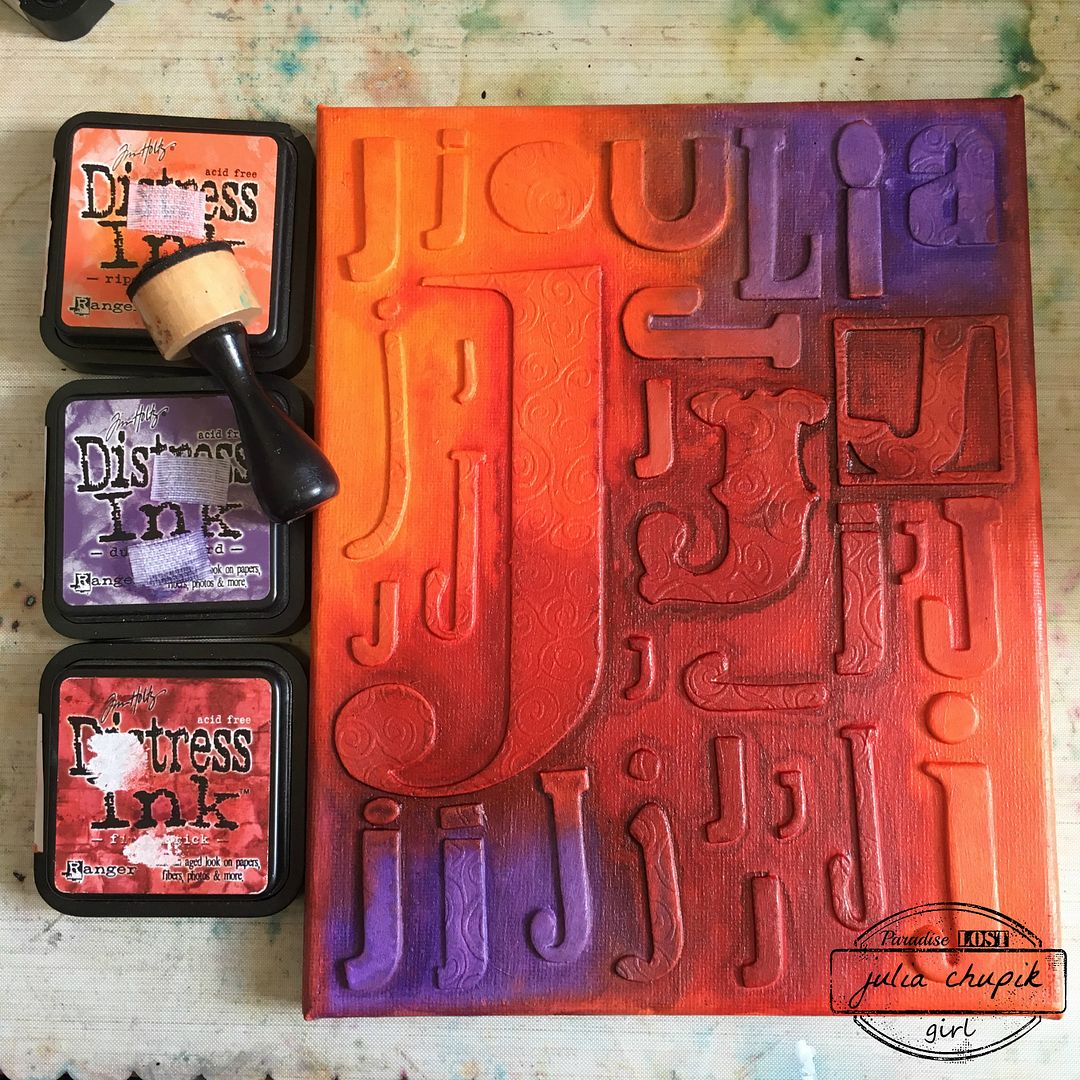
Once I was done with the sprays and dried the entire canvas with my heat tool - I starting applying Distress Ink with a blending tool.

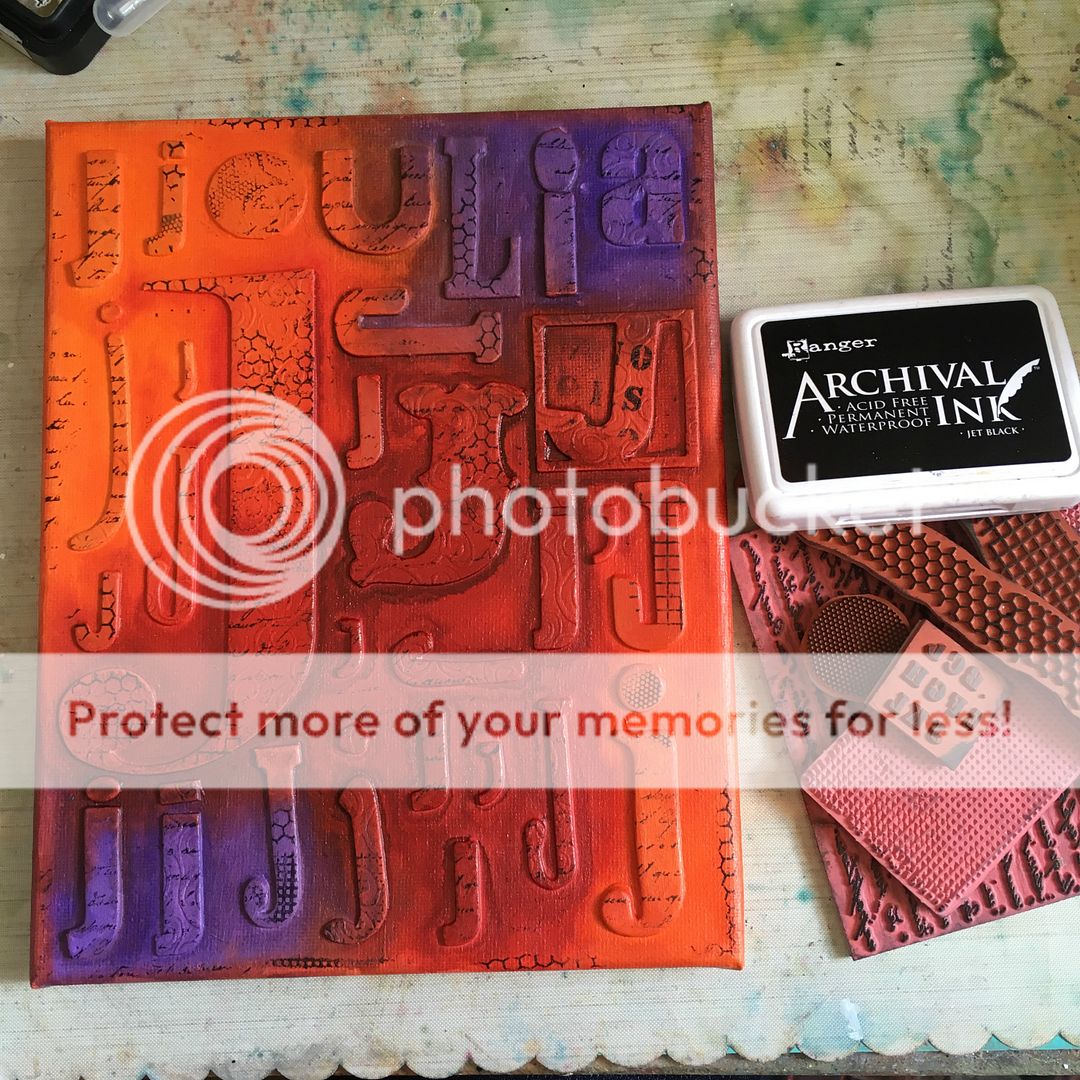
Next, it was time to apply some texture stamps with Archival Ink.

At this point, I took a small paint brush and gesso and painted the entire background leaving the letters. It helped blend the background colours and make the letter pop.
Unfortunately, I forgot to take a photo. Ooops.

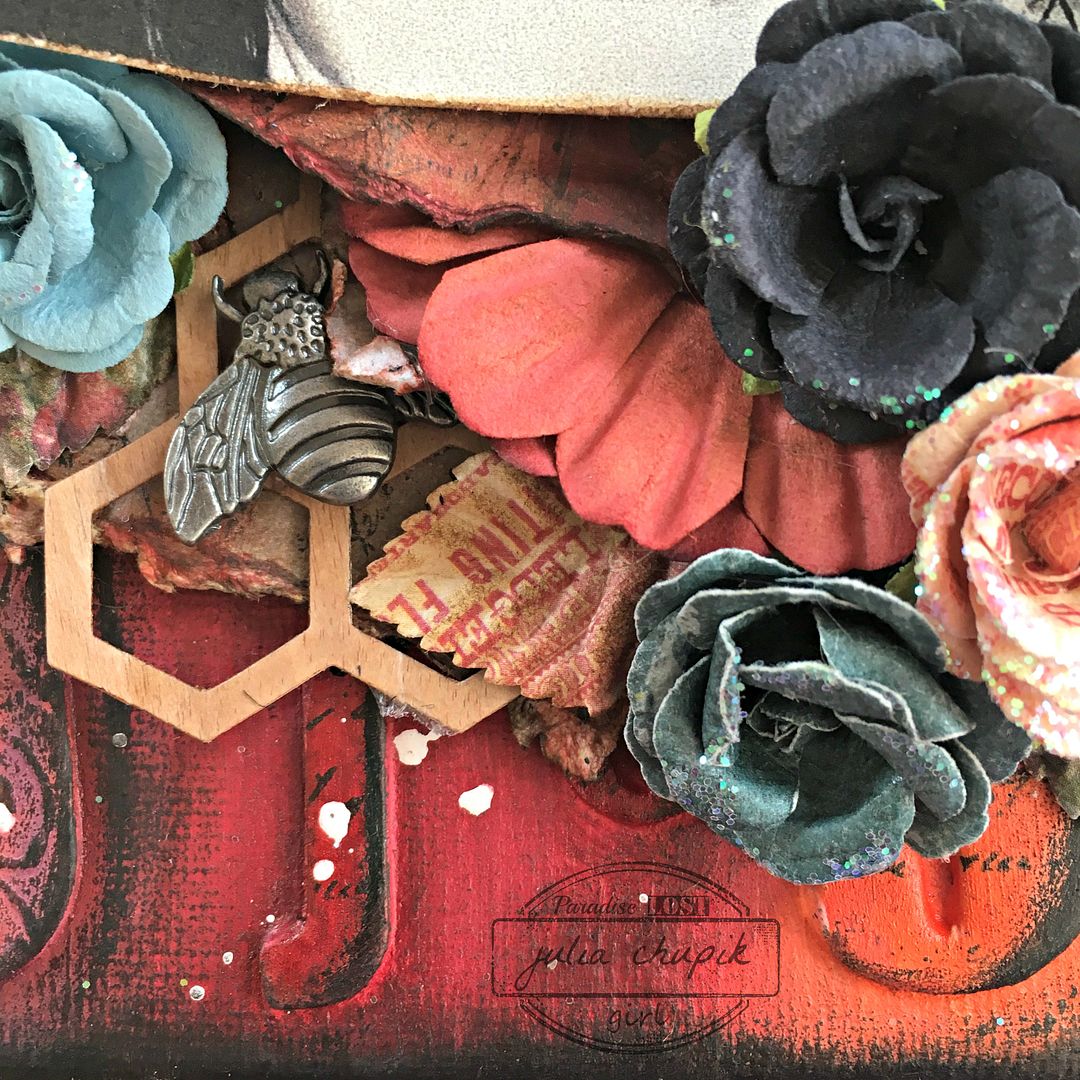
My focal point consisted of paper and flowers from the Prima Stationers Desk line.
They worked perfectly with the canvas. The metal bee embellishment was another stash find.


Monday, 6 June 2016

All The D's ~ Dashing Daylen

Hello! I am back today with another mixed media canvas I created 
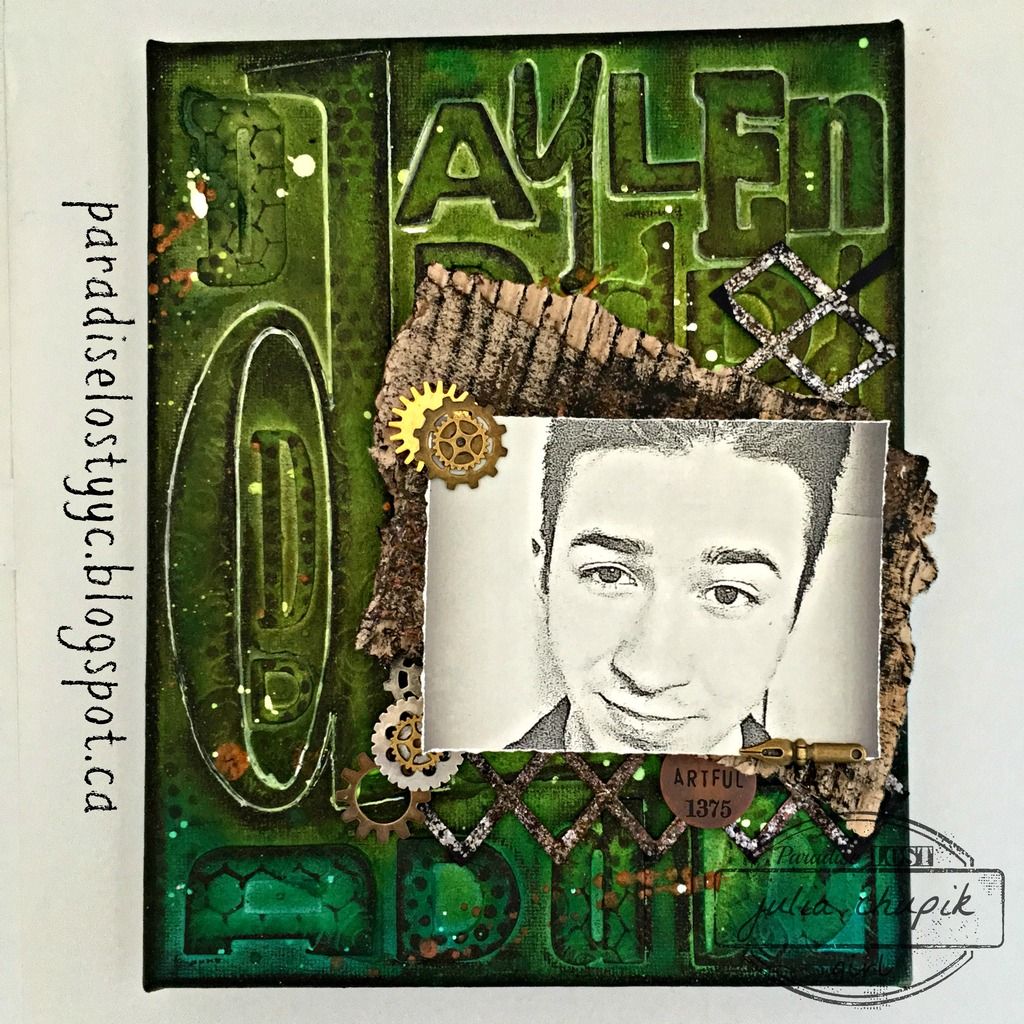
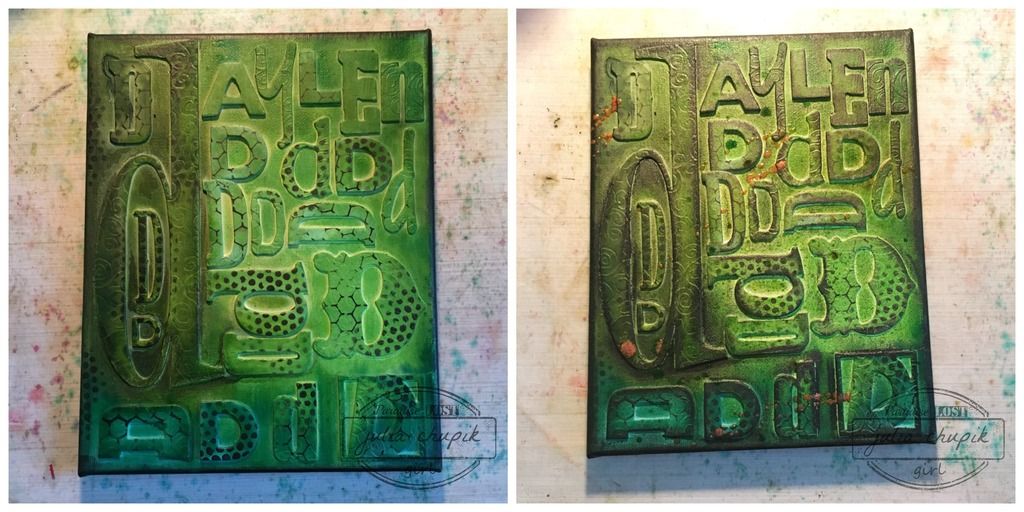
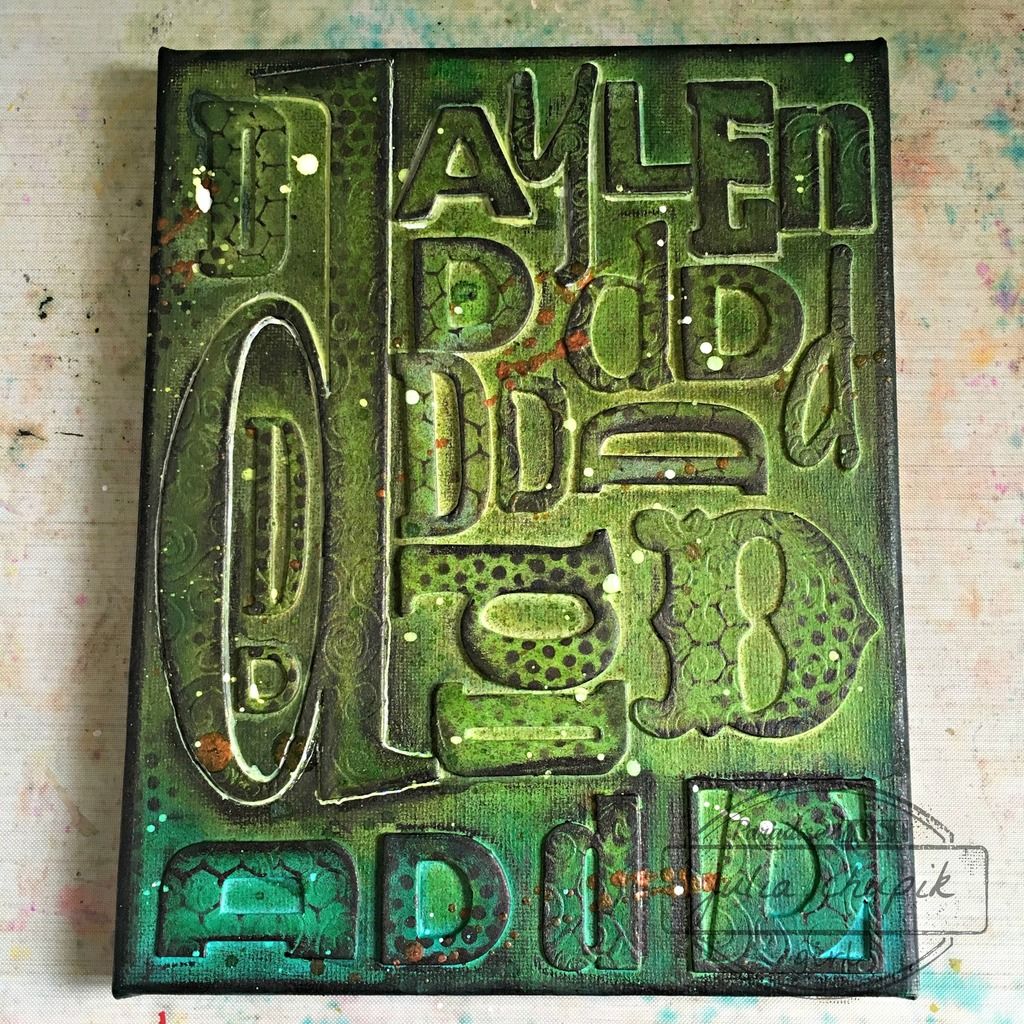
using chipboard letters from my stash. This canvas features a selfie photo I 'stole' from my son's Facebook page. He's my youngest and this past fall went off to college to pursue his dream of becoming a graphic artist/character designer. Check out his artist page on facebook to follow his journey and to see some of his art - Daylen Chupik ~ Artist.
Here is my finished  canvas ~ 

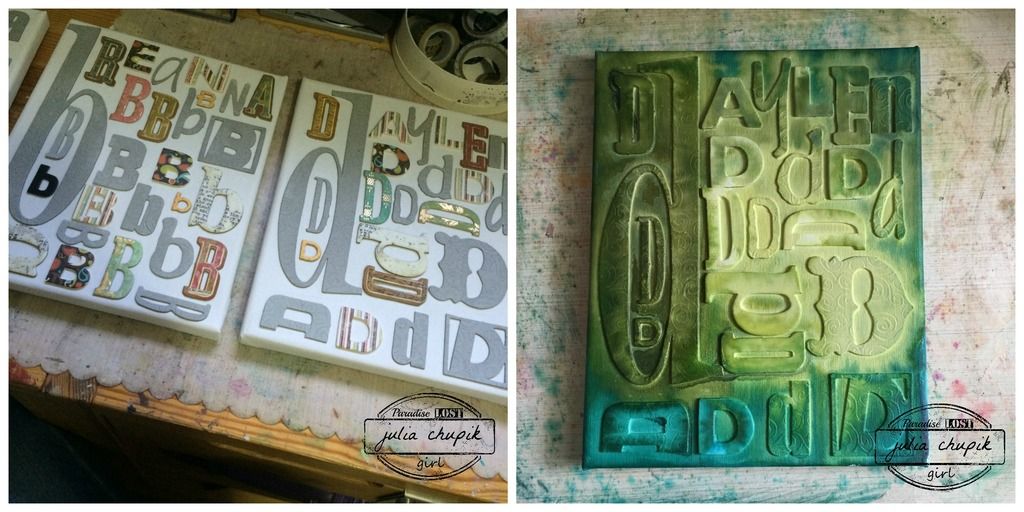
First I started with an 8x10 canvas and adhered my chipboard down with matte medium
then covering it the entire thing in 3 coats of gesso.
Once everything was dried, I started spraying my canvas with Dylusions Sprays ~
Fresh Lime, Dirty Martini, Polished Jade.

Once the sprays were dry I used my Black Marble Distress Paint & blending tool with a couple different layering stencils to add some random patterns & added some Peeled Paint & Cracked Pistachio Distress Ink. The copper splatters are irRESISTible Texture Spray from Imagine Crafts.

At this point, I realized that the letters of my son's name needed a little help to pop off the dark canvas background so I took a white fine point Sharpie Paint Pen and traced around them. I also used this pen to add some white splatters to help break up the darkness of the canvas.
To help 'frame' the canvas I added some more Black Marble Distress Paint with a blending tool
 to the sides and edges of the canvas.

Now on to my focal point ~ the photo was a selfie I took off my son's Facebook page. I downloaded it and did some editing in PicMonkey before printing it off on linen cardstock.
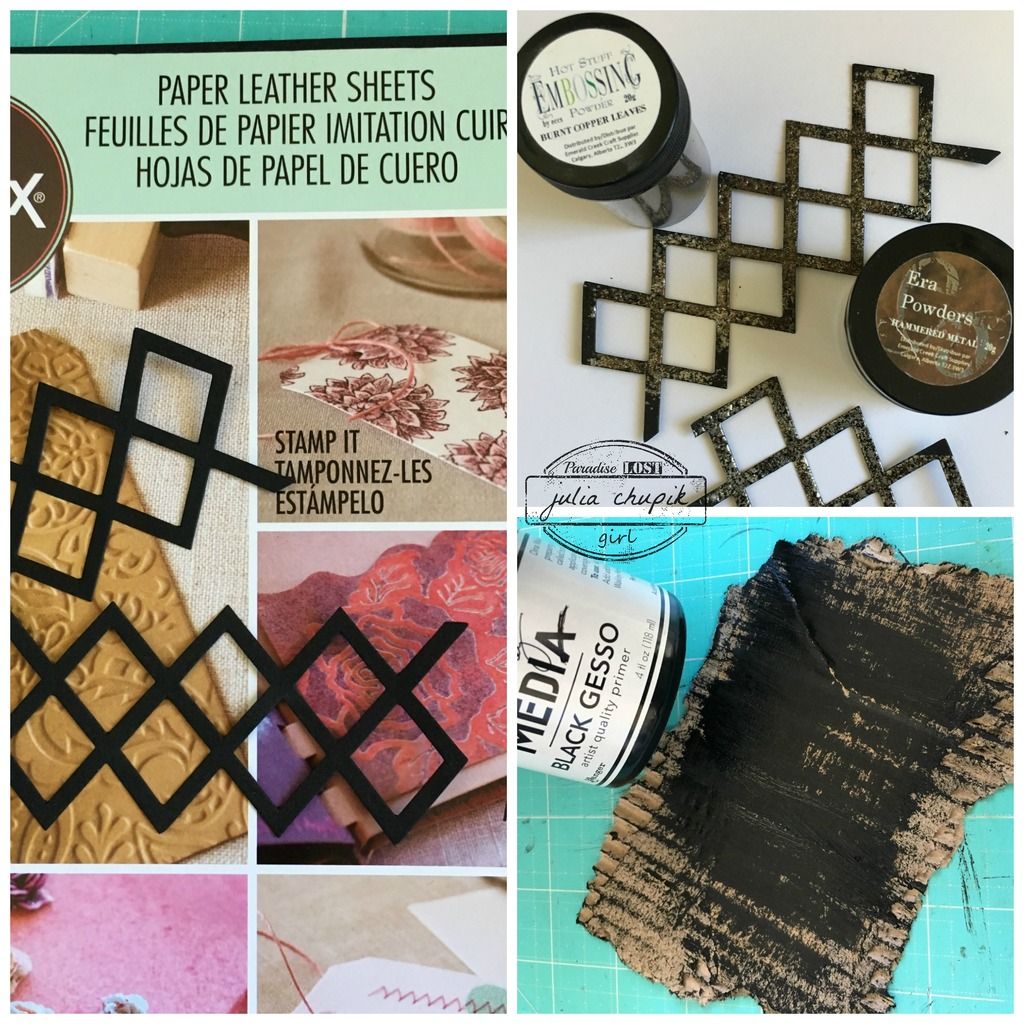
I used the Lattice Framework Die from Sizzix with the new Leather Paper Sheets also from Sizzix.
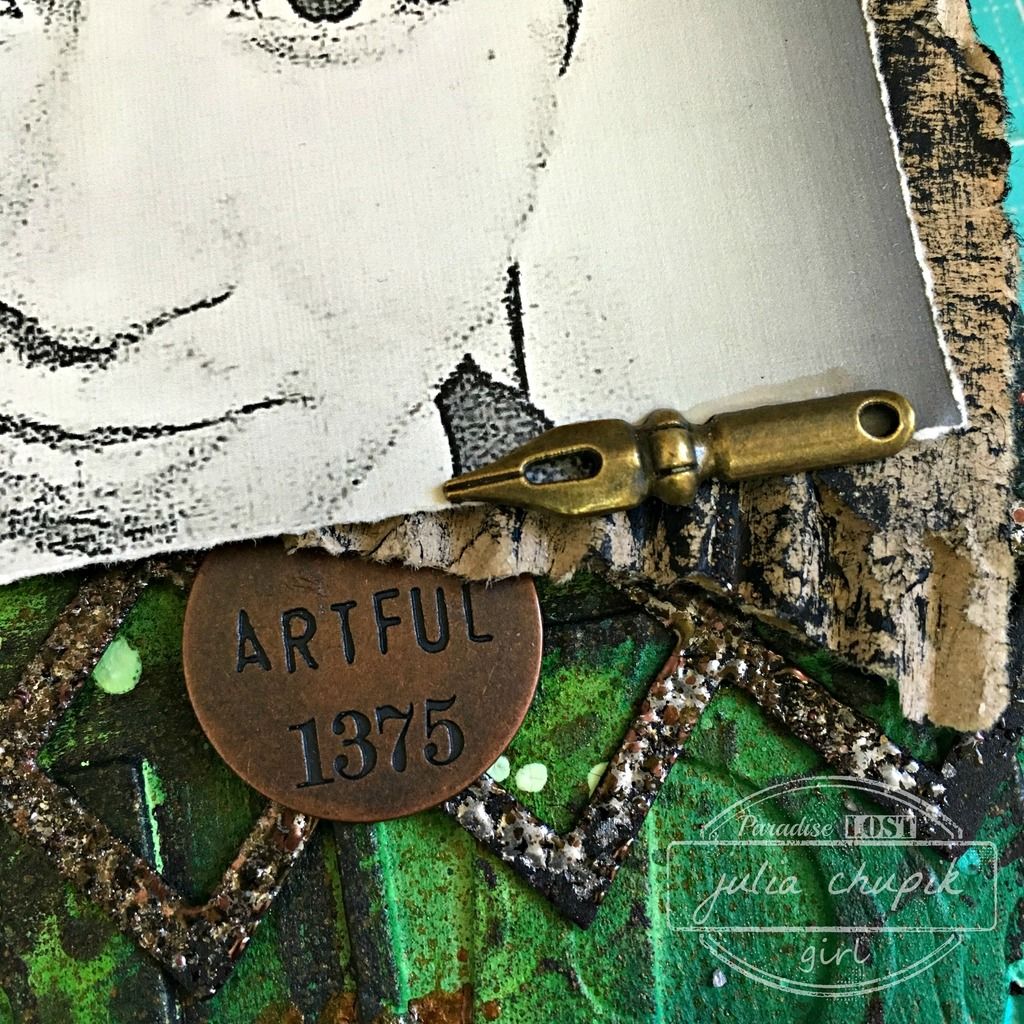
I added some Burnt Copper Leaves & Hammered Metal Embossing Powder from Emerald Creek Craft Supplies  to add a rusty metallic feel to the lattice.
 The anchor piece for my photo was some cardboard that I roughly torn up to be a little bit larger that my photo & dry brushed some black gesso over.

Here is a close-up photo of the lattice die with the embossing powders from Emerald Creek.
These powders are so delicious! I love every single one I have ever tried. Be sure to check out
the Emerald Creek store for these and so much more!

Once again ~ the final project. I enjoyed making these much and using up so many chipboard letters that I am also making more! One for me, my husband, our dog, a family one.....so many ideas!


Thursday, 2 June 2016

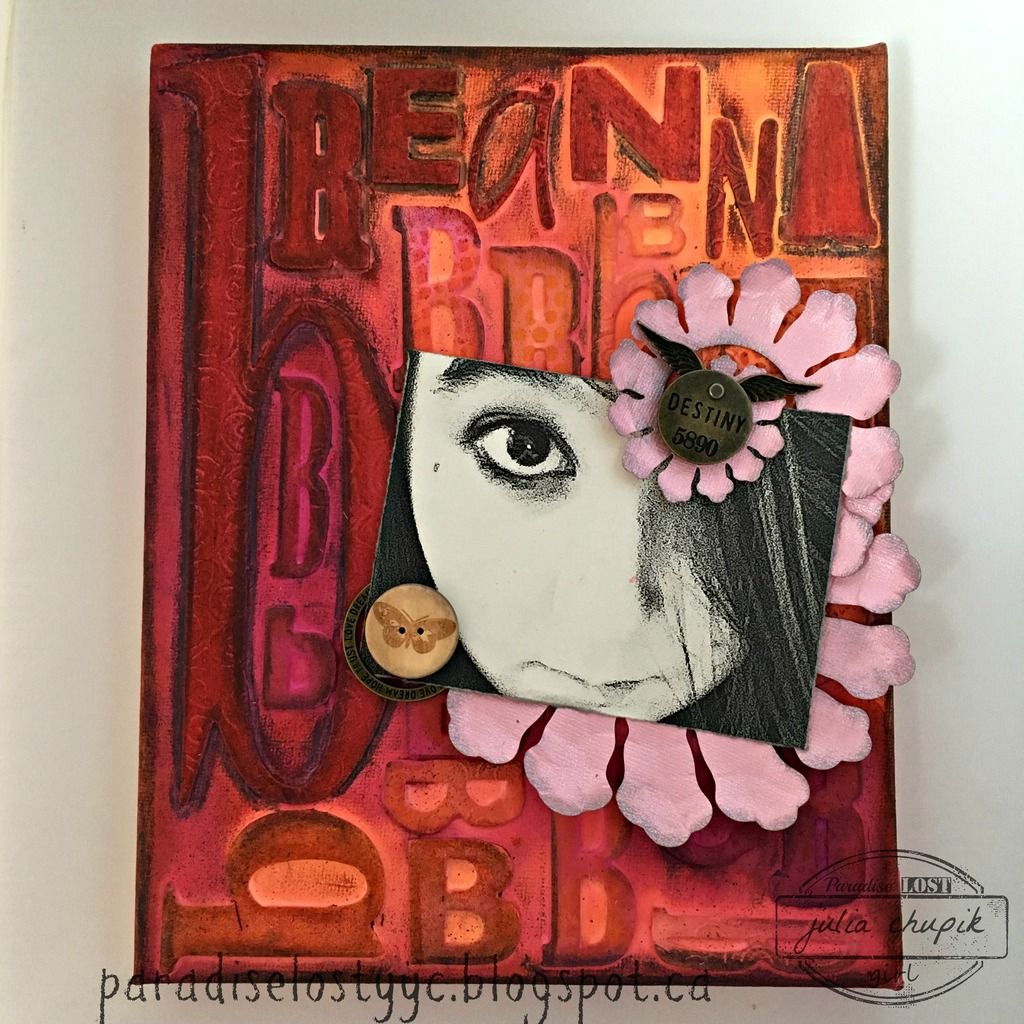
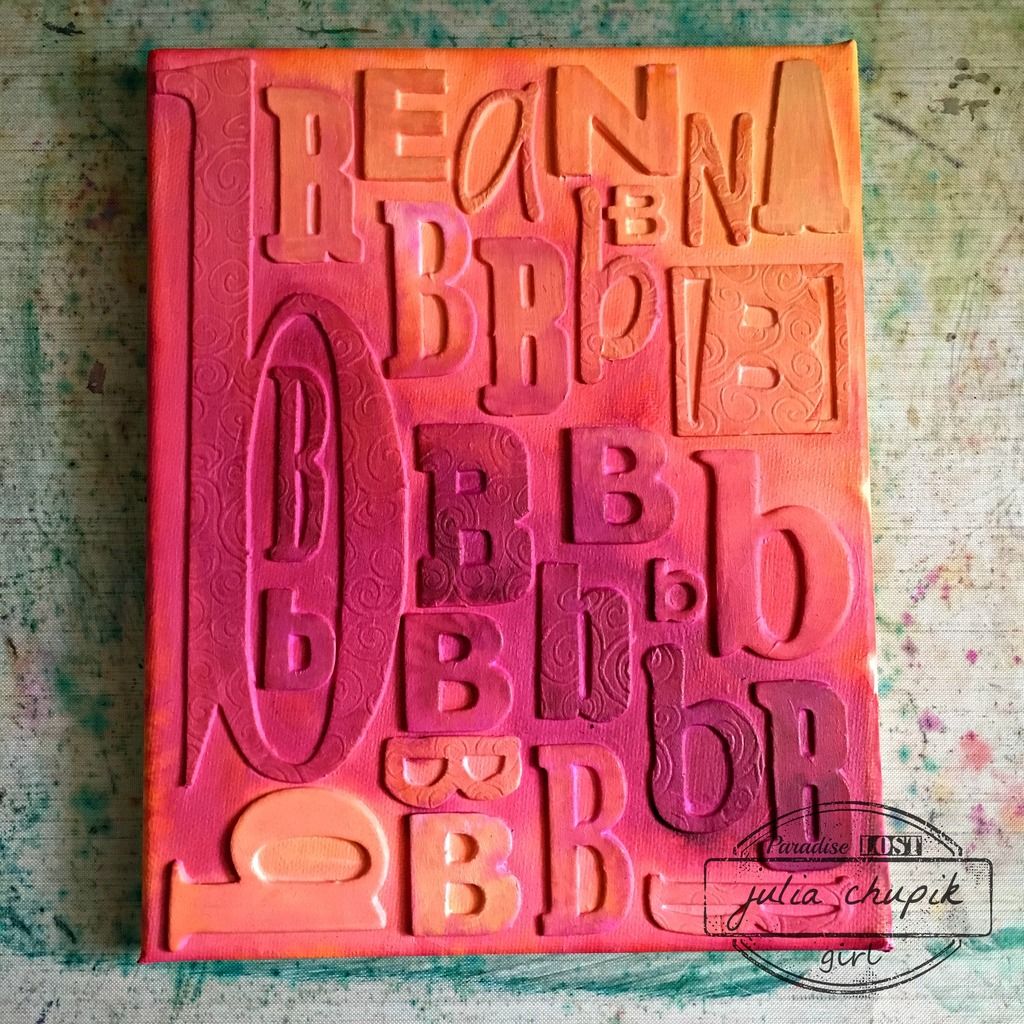
All The B's - Being Beautiful Breanna

Hello! I'm back this week with an idea that I have had going
around in my head for some time. When I was cleaning/organizing/purging my
craft room a few months ago I realized that I had accumulated quite quite a lovely collection
of chipboard & grungeboard alphabets. It was time to start using these.

This is what I decided to do ~~~


I started with an 8x10 canvas and my collection of alphabets.
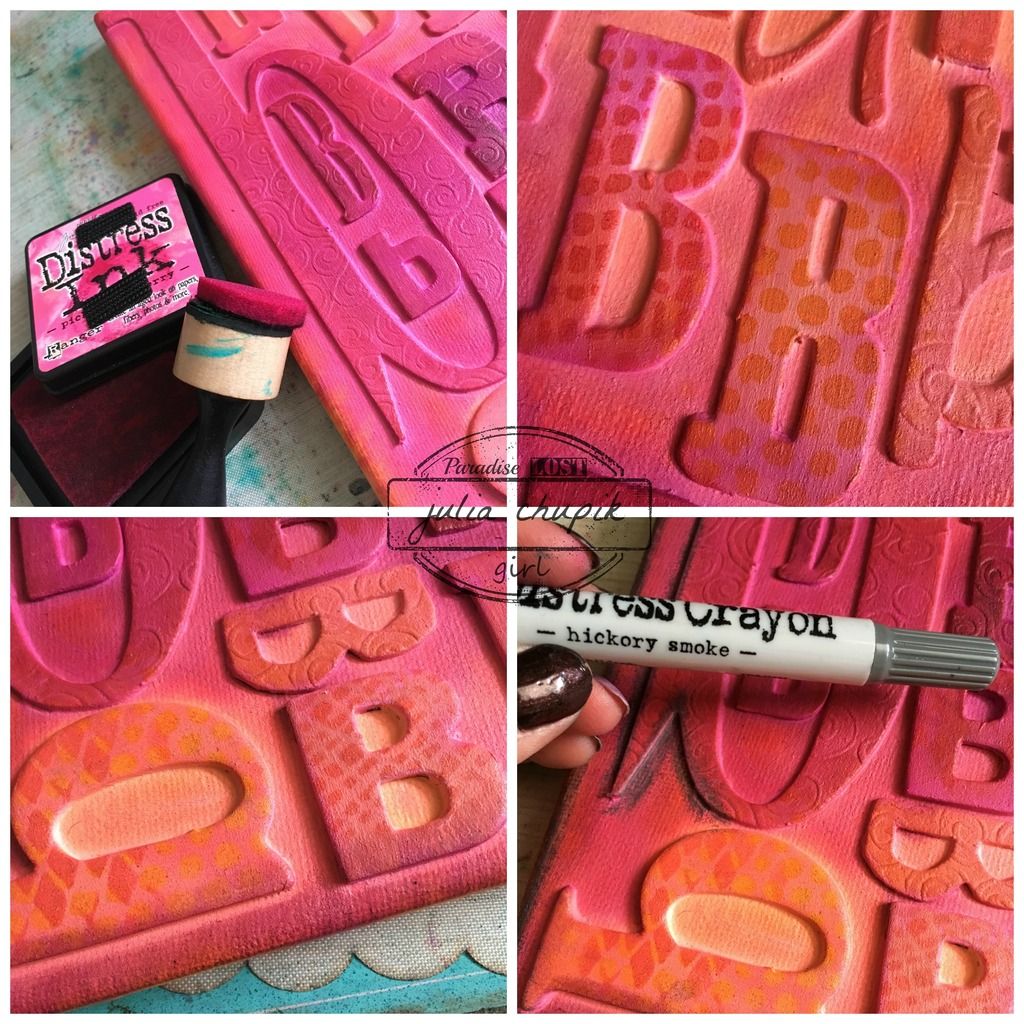
I first went through and spelled out my daughters name then pulled out all the B's.
I figured out the layout then using matte medium adhered them all down to the canvas. I then covered the entire canvas in the matte medium. I let this dry completely then applied 3 coats of white gesso.


I was finally ready to add my colours -
Dylusion's Sprays in Pure Sunshine, Squeezed Orange & Funky Fushia.
I love these colours together! So bright & sunny.

Next I added some Distress Ink in similiar colours just to help the letters pop a bit.
I also added some patterns using my layering stencils.
Lastly it was time to add a bit of grunge with my Hickory Smoke Distress Crayon along the edges and around the letters.

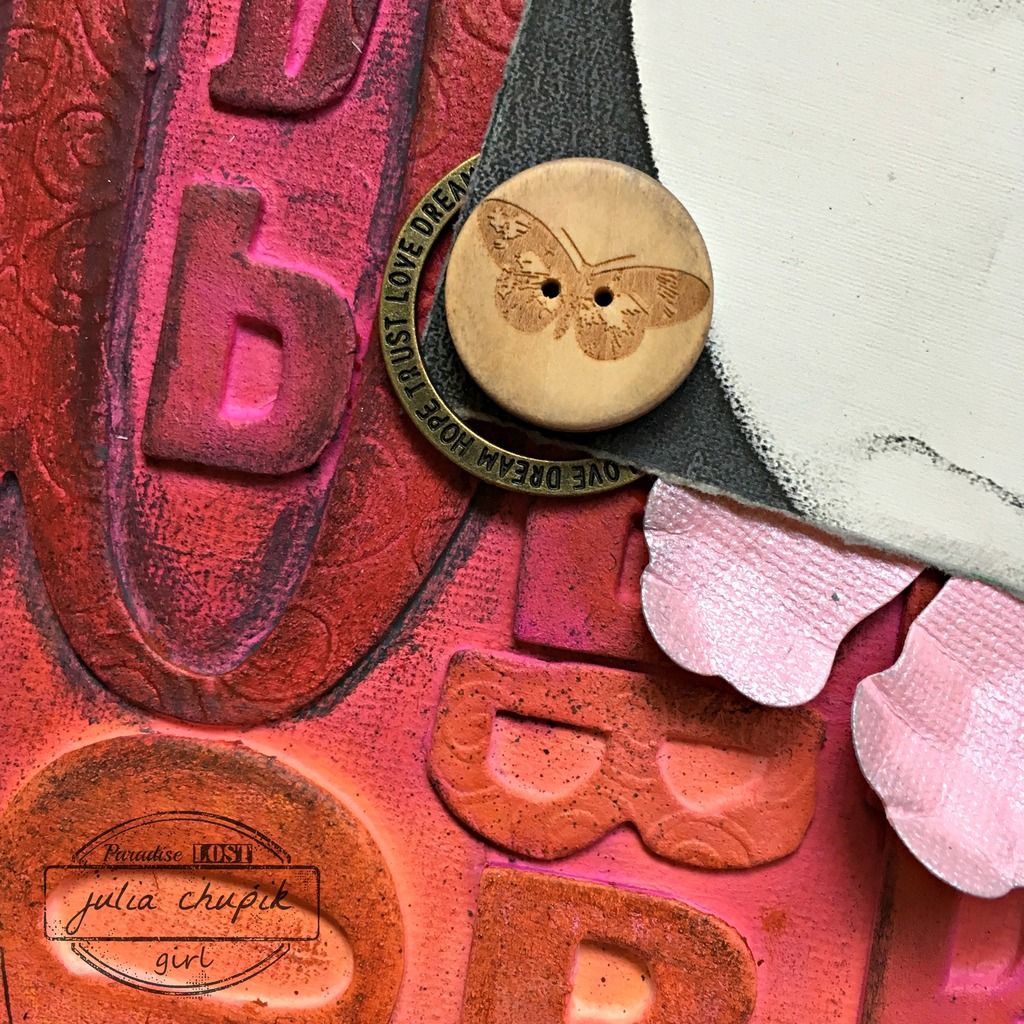
It was time for a few embellishments - 

I kept the embellishments pretty simple. 
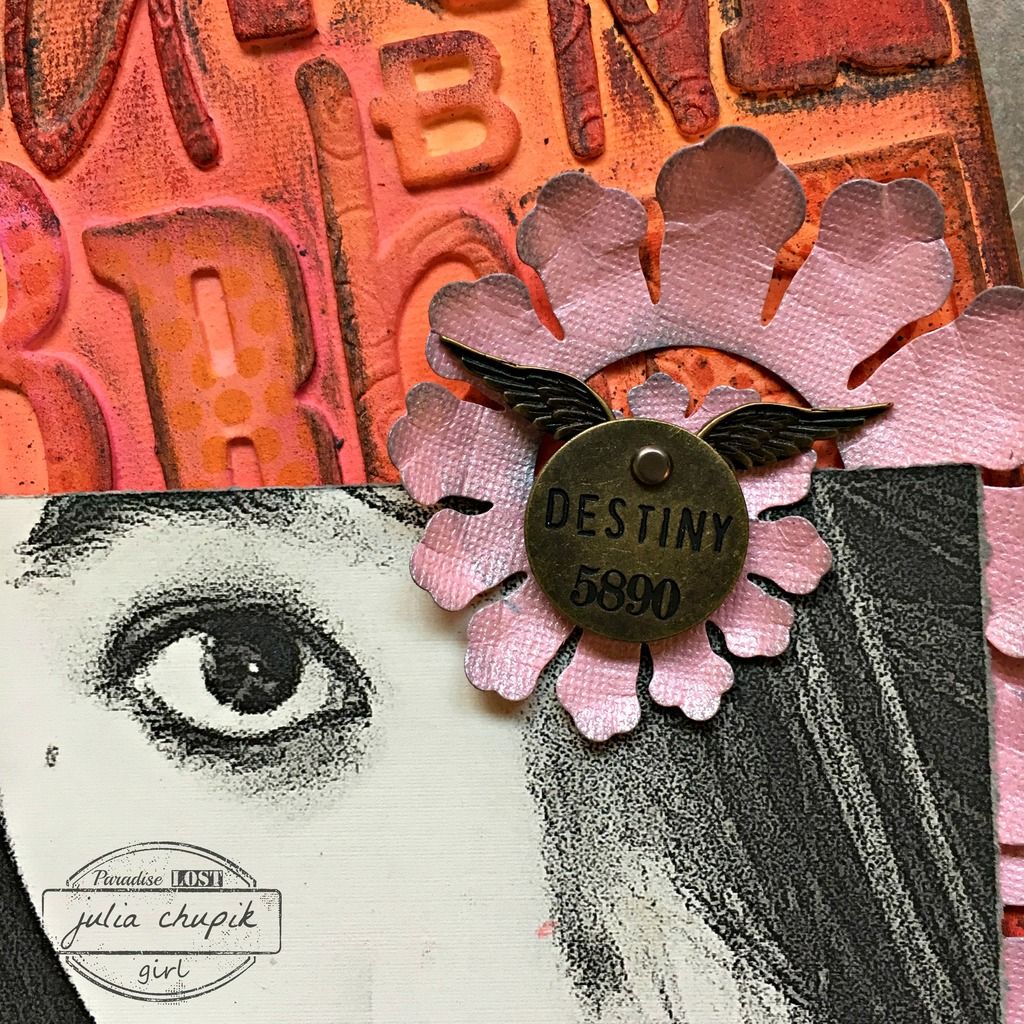
Thanks to my craft bestie Nicole Wright for letting me browse her impressive die collection - thats where I found the new Rolled Flower Die from Sizzix by Eileen Hull.
I cut the die cut in half stapled it back together in the shape you see here and using the blunt end of a paint brush shaped the petals. Before adhering to my frame I added a bit of Hickory Smoke 
Distress Ink to the edges.


submitted to the following challenges:

Rhedd's Creative Spirit - June Challenge


Monday, 11 January 2016

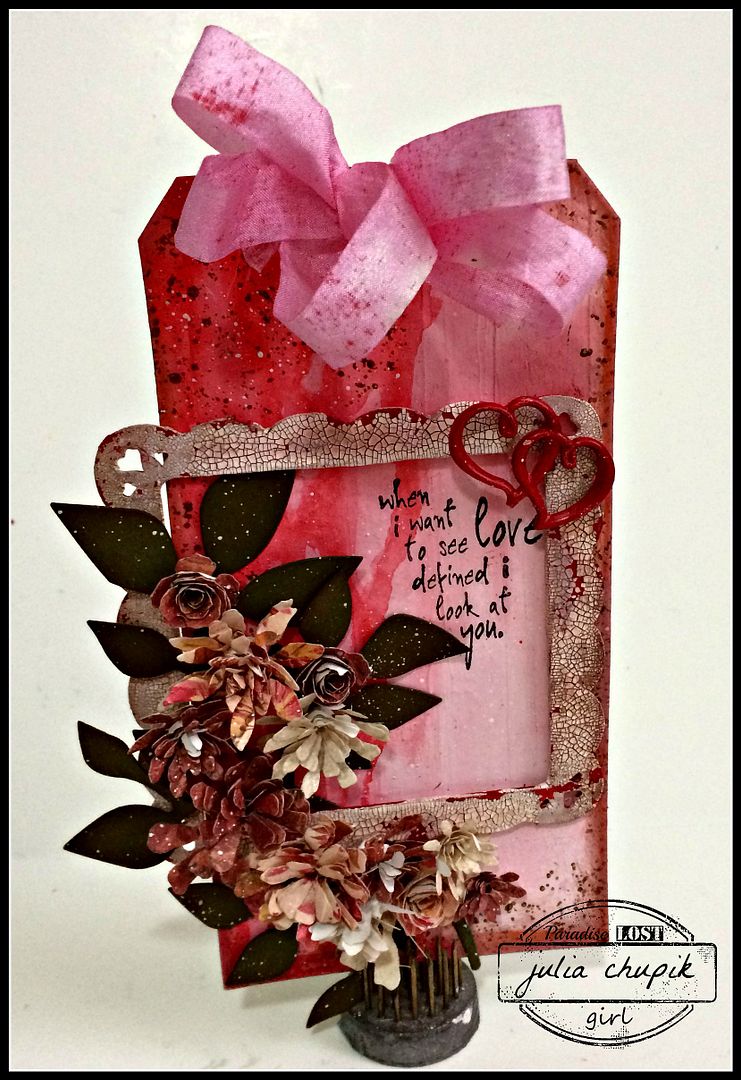
Love Defined Tag - CHA Release from Emerald Creek Crafts

It's Day 3 of CHA Release from Emerald Creek Craft Supplies

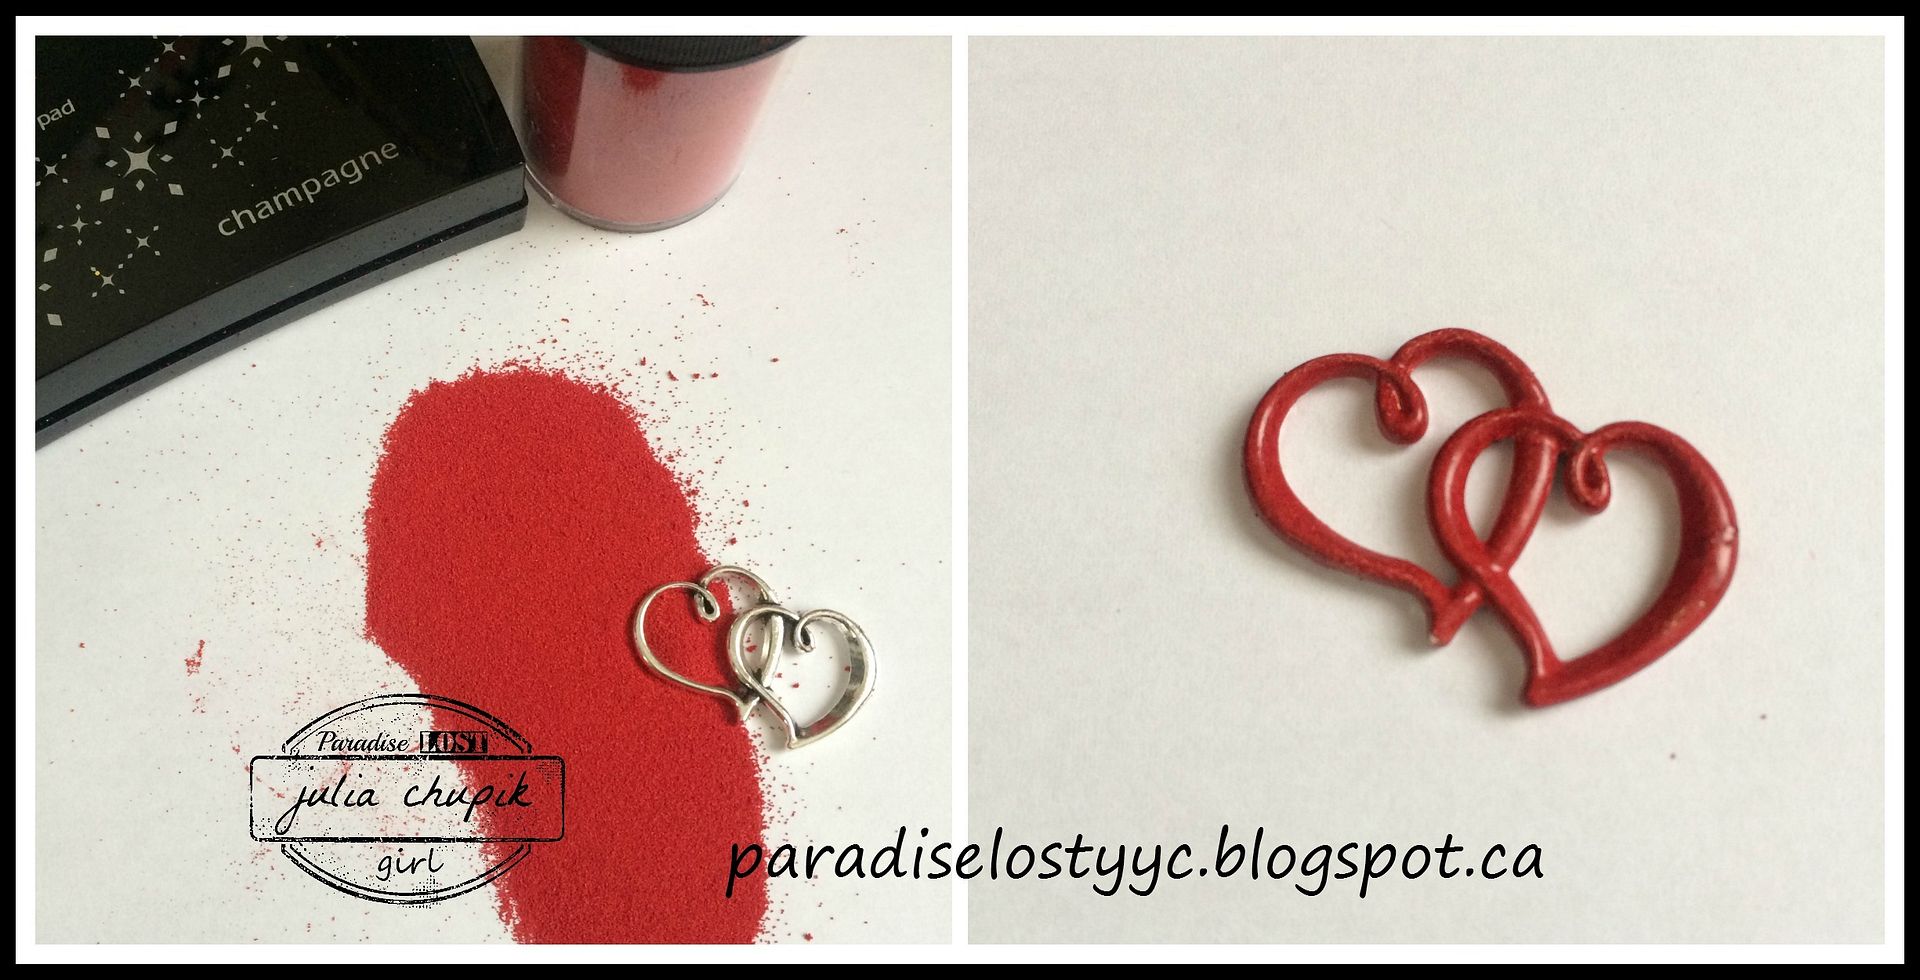
Today my project features a brand new charm - The Intertwined Hearts 
and Candy Red Embossing Powder. 

This was my first project using the new December Distress 
colour release from Ranger & Tim Holtz ~ Candied Apple.
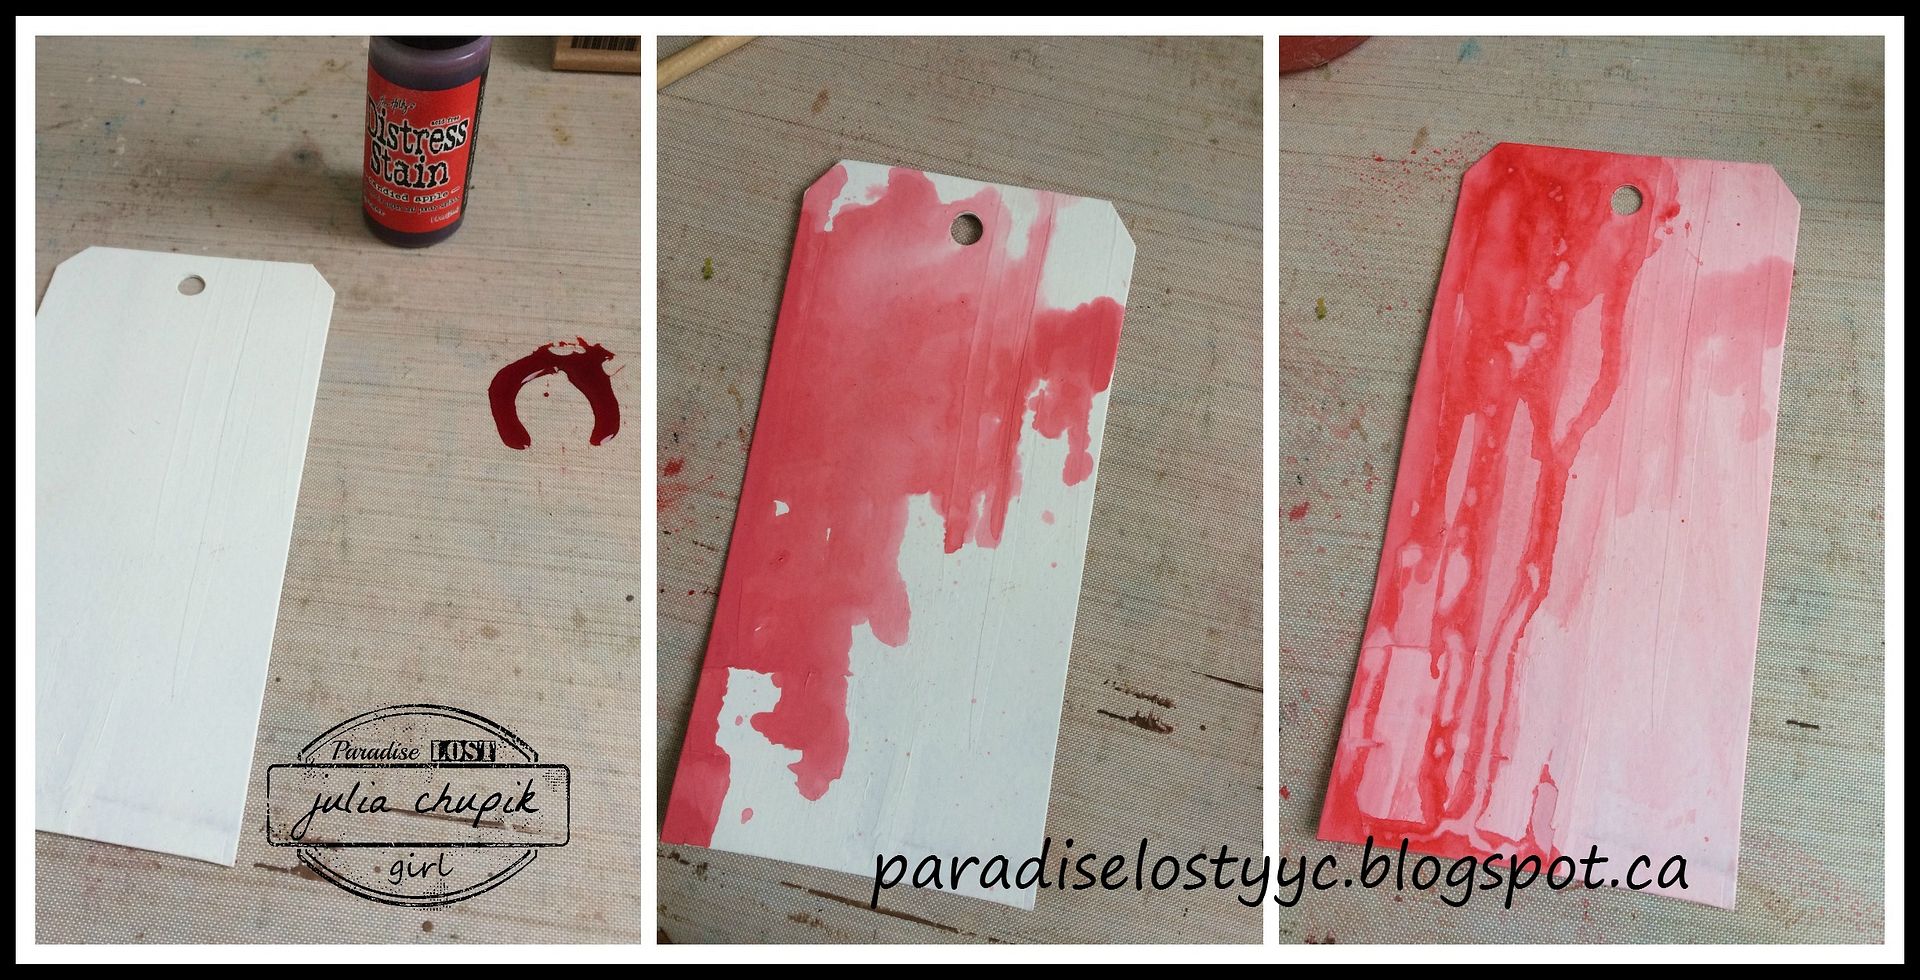
I started with a tag covered in  2 coats of gesso. I then added some Candied Apple stain, spritzed with a bit of water then dried with my heat tool. I then added some Candied Apple paint at the top of the tag spritzed it with water and let it drip down the tag. Then dried it again with my heat tool. 
I used my Tim Holtz Distress Splatter Brush to add some splatters in Ground Espresso & Picket Fence Distress Paints.


I used Candy Red Embossing Powder from Emerald Creek on the Heart Charm. Once it was cool I used a small bit of sand paper to distress the charm and then added some Gathered Twigs Distress Ink.


I was happy to be able to use a set of Mini Nested Stamp Frames from Southern Ridge Trading Company.
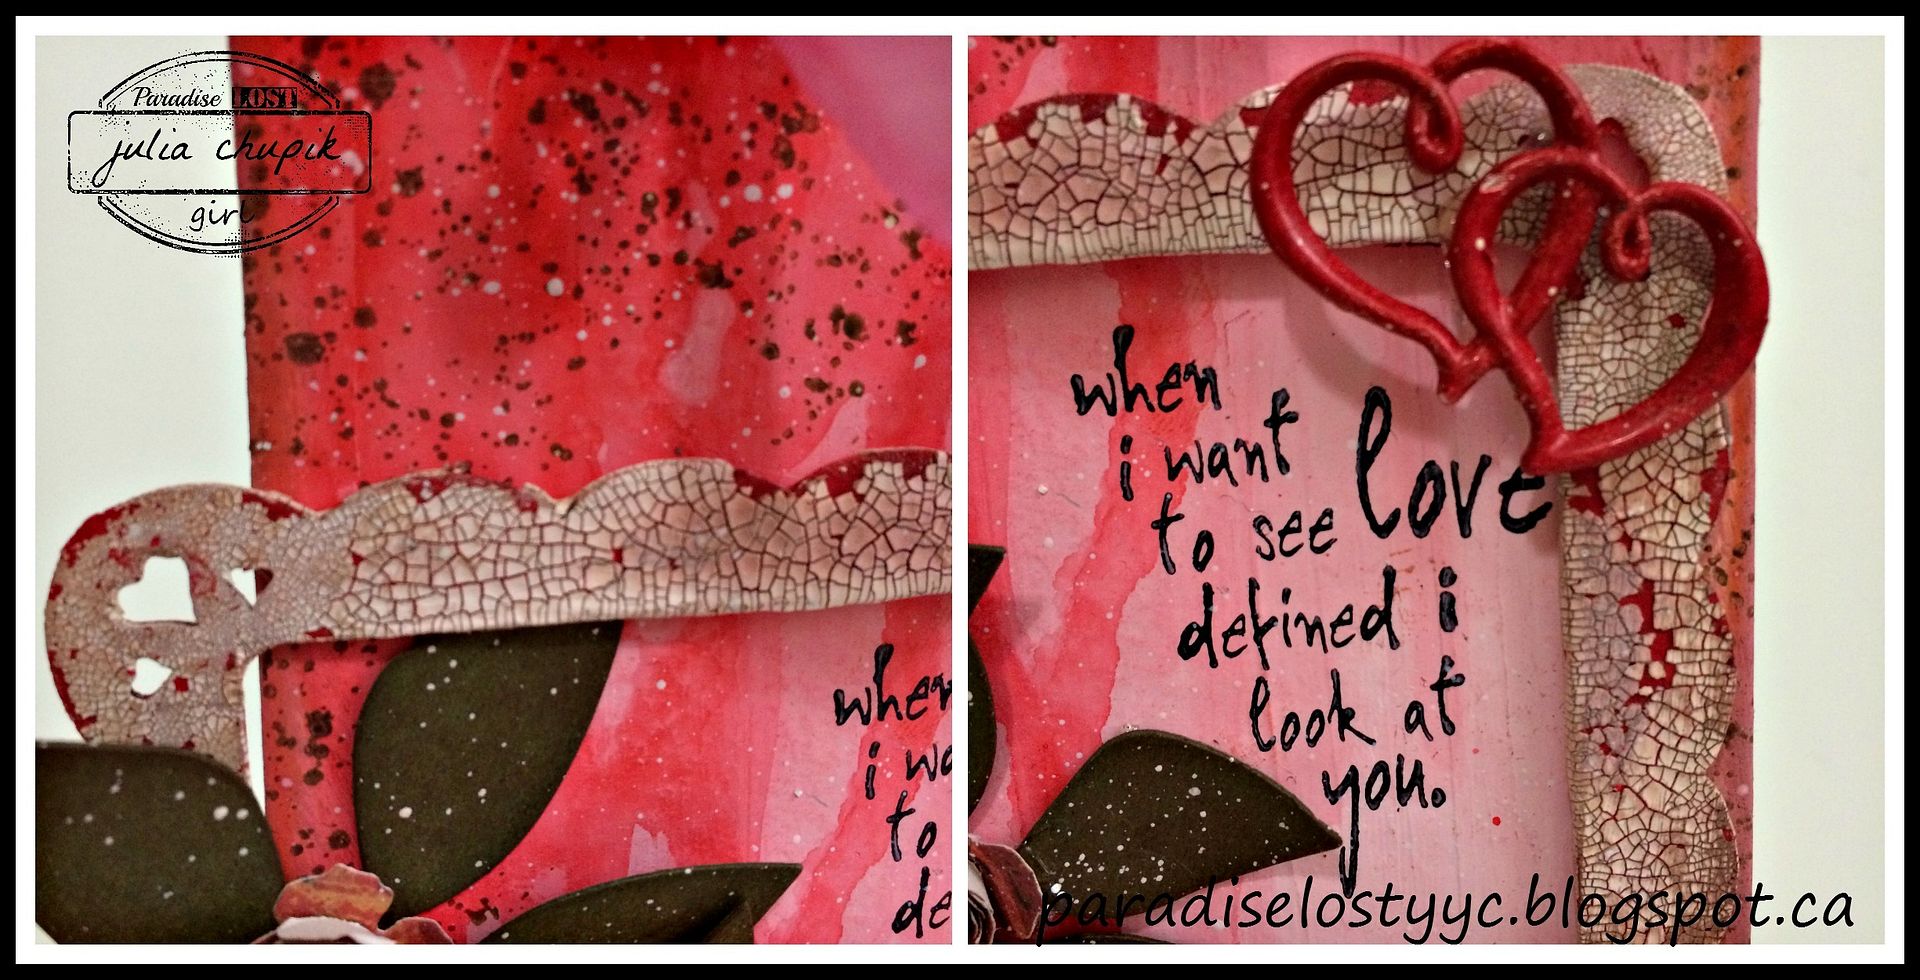
The largest frame in the pack was scalloped edged with hearts. Perfect for my Love themed tag.
I first painted the chipboard frame with Candied Apple Distress Paint. Once it was dry I then covered the frame with Picket Fence Distress Crackle Paint. After patiently waiting for that layer to dry I used my fingernail to scrape off some of the crackle and reveal a bit more of the red. I finished my frame off with some Frayed Burlap Distress Ink.


I finished my tag off with a sprig of greenery cut from the Sizzix Garden Greens Die and some flowers cut with the Tiny Tattered Florals Thinlits.

Thanks so much for coming by my blog today ~ be sure to drop by tomorrow for my 4th and final CHA project.

~~ stay crafty ~~

julia

Be sure to visit the rest of the Emerald Creek DT blogs for more exciting CHA projects!

Karon Hughes

Come join us over at the Emerald Creek Dares blog and share in our NEW Adventure!
We want to see what you are making with your NEW Christmas presents,NEW purchases, NEW techniques, NEW CHA stuff even if you are one of the lucky few to have yours right away.