Showing posts with label Prima. Show all posts

Wednesday, 1 November 2017

November Kit Reveal for Scrap Shotz

Hello crafty friends! Today you will find me on the Scrap Shotz Snap Shotz Blog 
with the premiere of the November Kit Reveal.  

Click on the Scrap Shotz logo to go check it out and the loveliness of the Novmeber Kit.


Here is a sneak peek for you.........


Friday, 3 February 2017

Cherish Moments - Mixed Media Layout

Welcome to my blog!
Today I'm here to share a 12x12 mixed media layout I created for The Scrap Shack.
The Scrap Shack now carries a selection of chipboard from Southern Ridge Trading Co.

I created this layout with a couple of Southern Ridge Trading Co chipboard die cuts;
some discontinued papers from my stash in reds & browns & a
Found Relative card from Tim Holtz Idea-ology.

I started by trimming down one patterned paper down to 11.5"x11.5" to layer over a darker
12x12 pattern paper.

I used my Tim Holtz Distress Tool on the edges.

Next I sprayed some Prima Color Bloom (Worn Leather) randomly over the 
11.5"x11.5" pattern paper & I dried it with my heat gun.
I took the spray cap off the bottle of irRESISTible Ink (Danube Blue) and 
dripped it over the paper next.

I torn a page out of an old novel and used inks & stains to age it before
layering it under the distressed edge of the patterned paper.

The chipboard from Southern Ridge Trading Co is amazing and can be altered by painting,
staining, spraying, ink. It can also be distressed by sanding. The photo on the left shows the chipboard after one layer of paint. The one on the right shows the chipboard after 2 coats of paint.

After the paint was completely dried, I took my sanding tool and roughed up 
the paint before adding some Ground Espresso Distess Ink with a blending tool.
The butterfly on the right was first sprayed with Prima Color Bloom
 (Summer Sky) then I stamped over it with a texture stamp &
Ground Espresso Distress Ink.


I distressed the Found Relative Card by sanding & inking it. I used the Tim Holtz 
Distress Tool on the edges then inked the edges with Ground Espresso Distress Ink 
and a blending tool. I then spritzed some ink over the card.

You can see this layout on display at The Scrap Shack in Ponoka, Alberta.


Saturday, 24 December 2016

Merry Christmas!

Merry Christmas, my crafty friends! 
I'm here to share my December and final Technique Remix tag for 2016.
Click on the pic below to check out Tim's tag.

It's been a wonderful year of combining techniques in new ways & this month was no exception.

I decided to use Prima Color Bloom Sprays in Pressed Petal & Deep Teal with the Holiday Knit Layering Stencil. 

I used the Stitched Rectangles die set from Sizzix to make a few 'tiles' for my tag.


Here is finished tag - all ready to join its 11 friends. 


submitted to:


Tuesday, 1 November 2016

Watercolor pages & Home Decor

Over the summer I got these Prima Watercolor Books
from Debbie at The Scrap Shack.


I really like watercoloring - I find it very relaxing.

Sitting down with a glass of wine and my watercolor paints is the perfect way to unwind in the evening for me.

The images in the Prima Watercolor Books are fantastic and so much fun to color.

After a few weeks I had quite a collection of finished pages.


It was time to decide what to do with my growing collection.

I purchased three frames from Ikea and thought I could frame some pages and change them out every once in a while.


Thursday, 14 July 2016

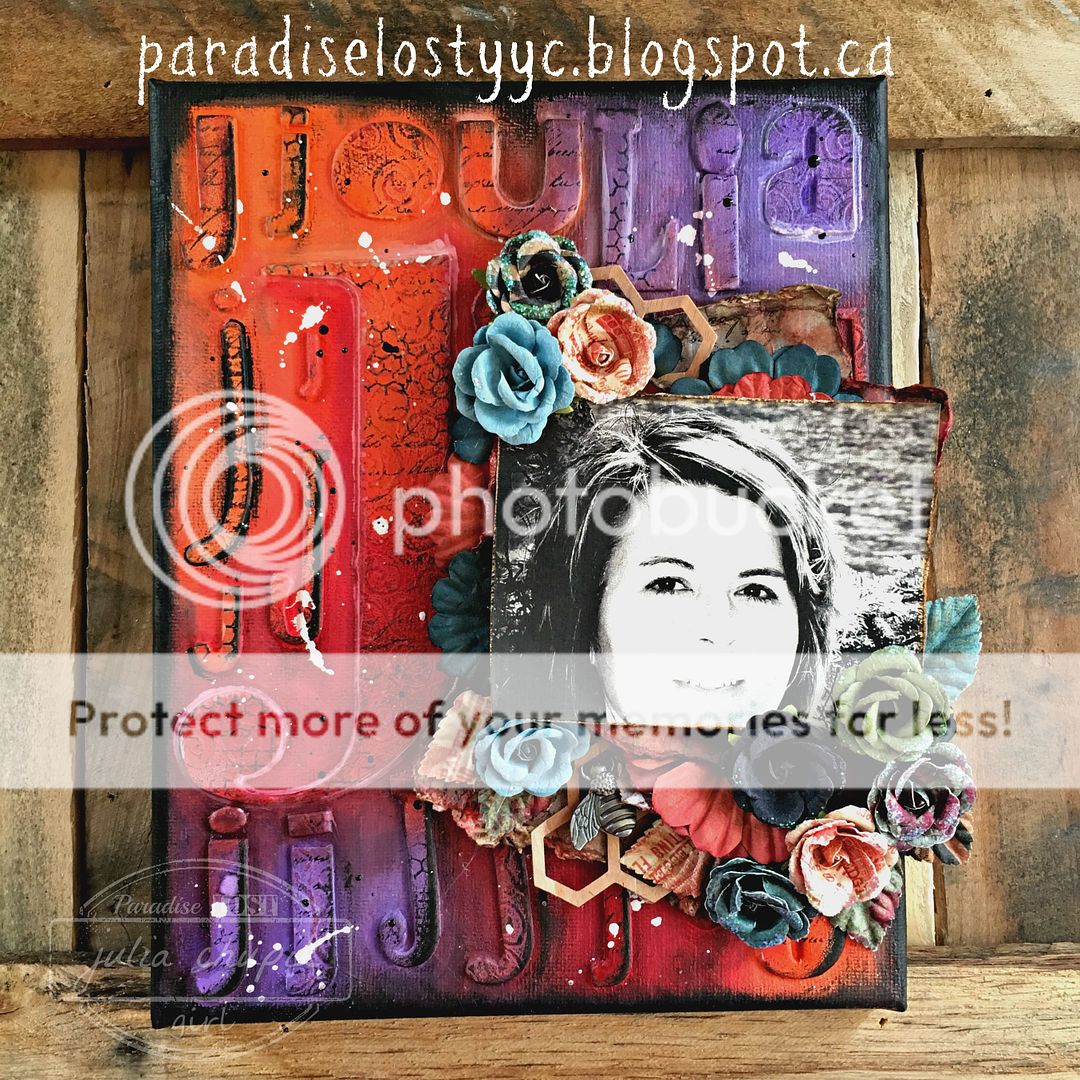
All The J's - any my final canvas in my family series

Well, this series of canvases have been a lot of fun to make.
It has also helped me use up A LOT of chipboard letters I have been hoarding in my stash.

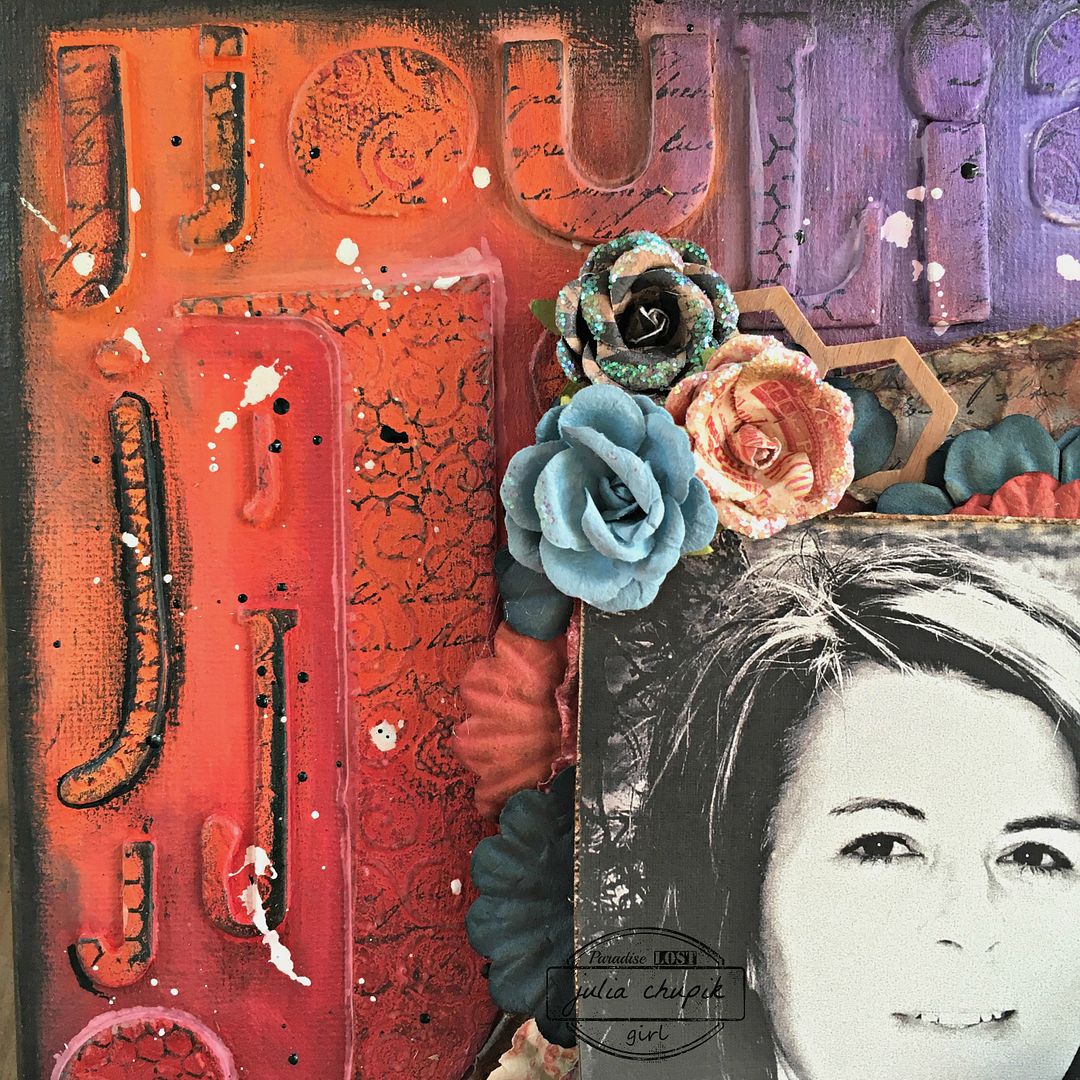
This canvas features a recent photo of myself that my husband took during our last trip out to 
Lake Louise, Alberta.

Before we get to the process photos here is the finished canvas ~

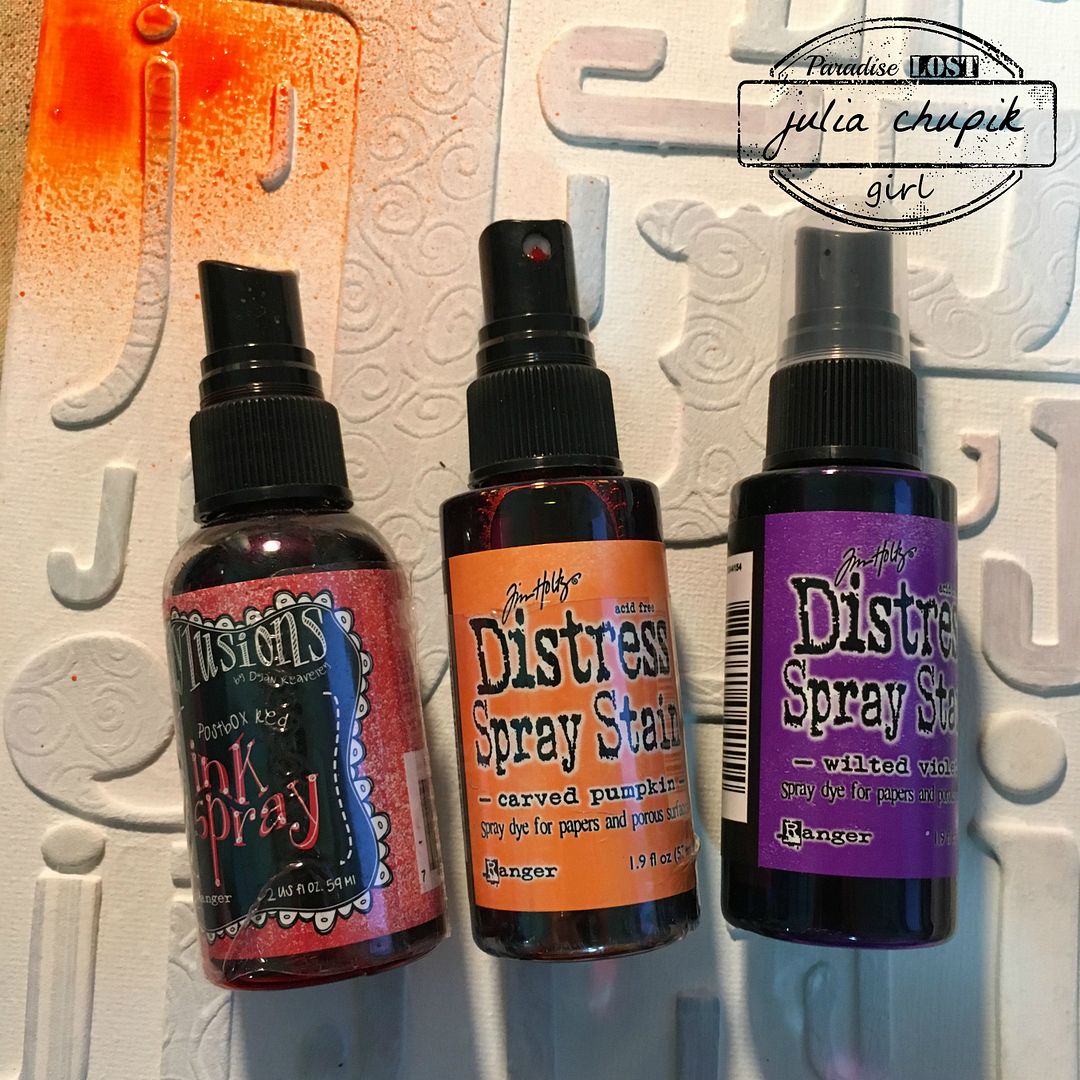
For this canvas I used Dylusions Ink Spray in Postbox Red and Distress Spray Stain in Carved Pumpkin & Wilted Violet.

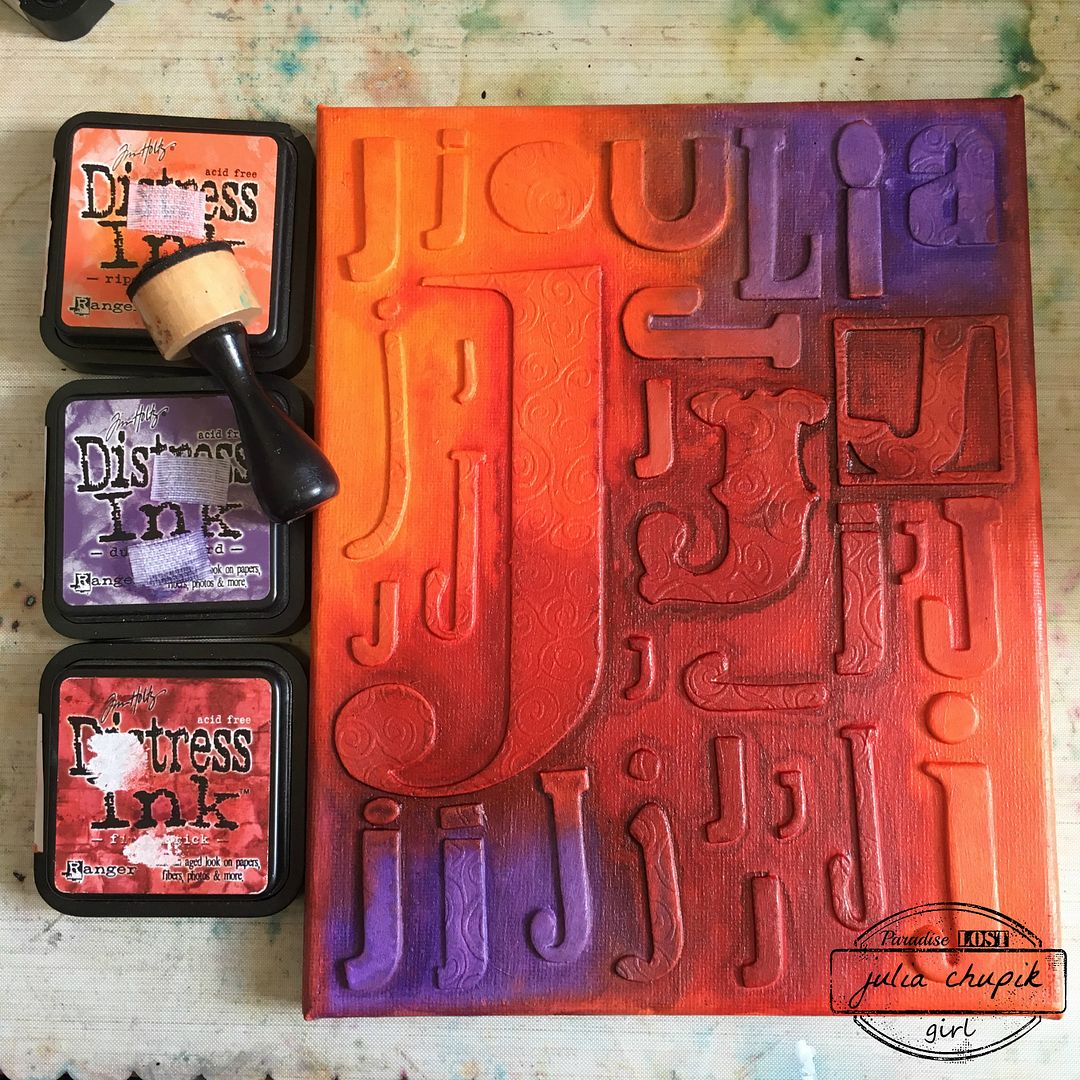
Once I was done with the sprays and dried the entire canvas with my heat tool - I starting applying Distress Ink with a blending tool.

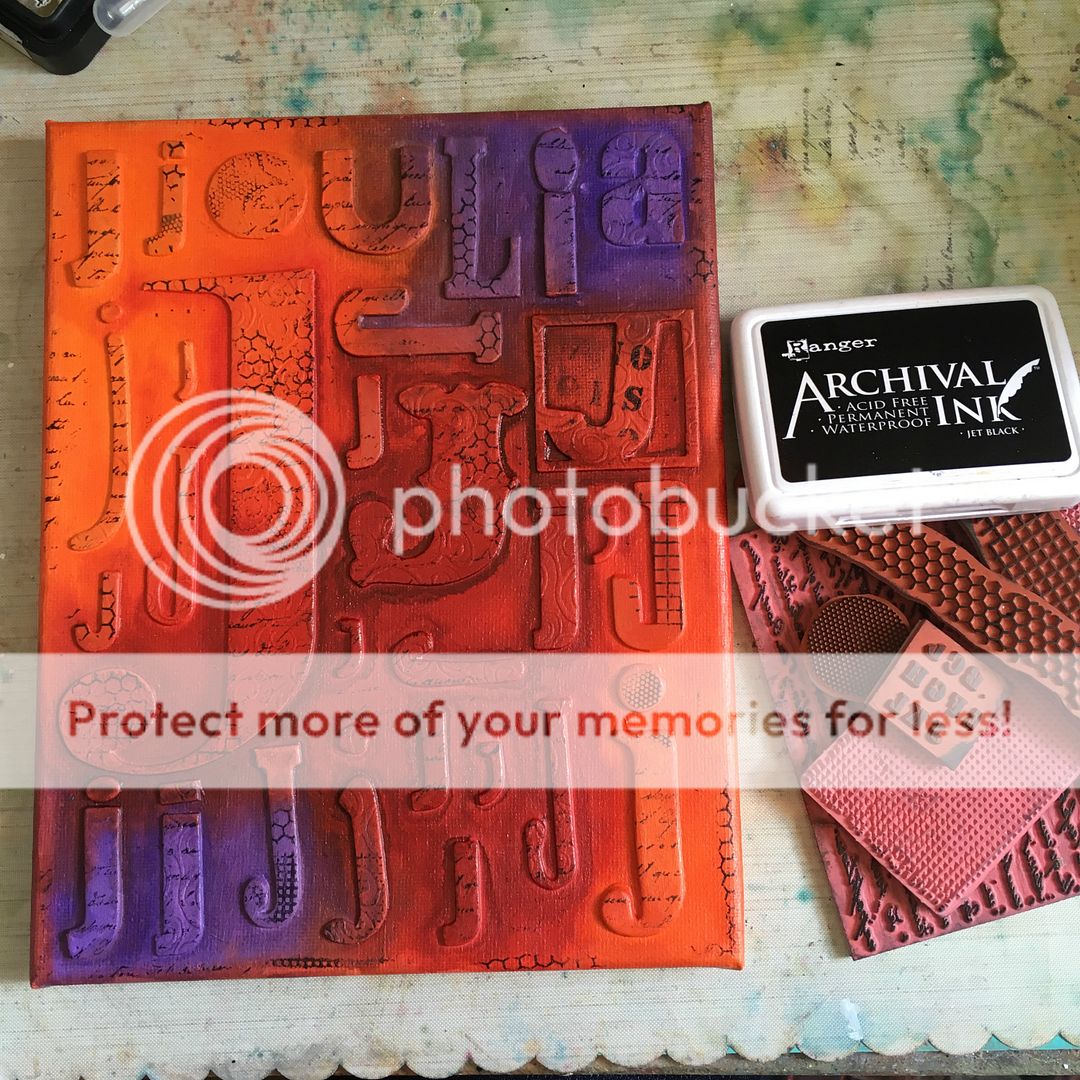
Next, it was time to apply some texture stamps with Archival Ink.

At this point, I took a small paint brush and gesso and painted the entire background leaving the letters. It helped blend the background colours and make the letter pop.
Unfortunately, I forgot to take a photo. Ooops.

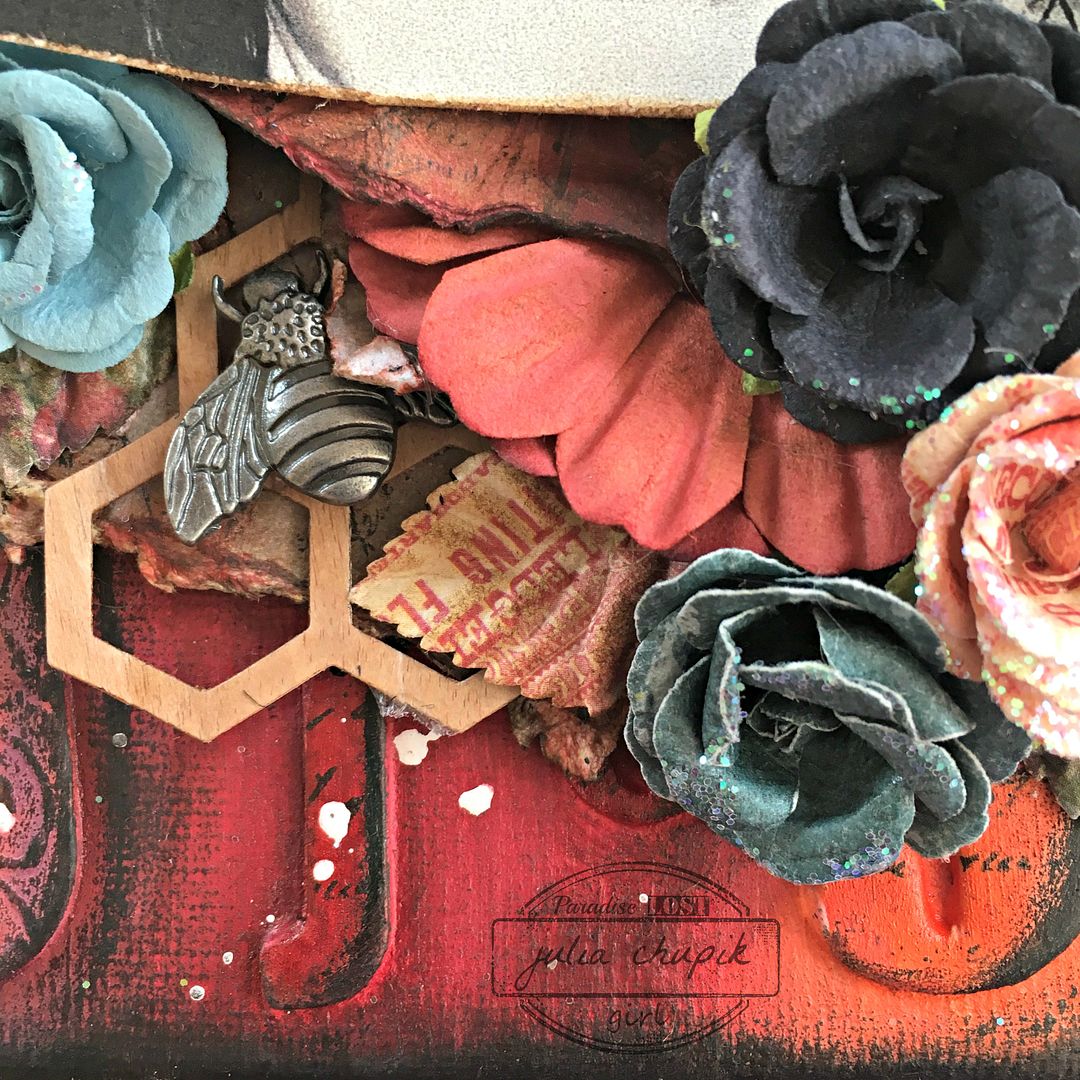
My focal point consisted of paper and flowers from the Prima Stationers Desk line.
They worked perfectly with the canvas. The metal bee embellishment was another stash find.


Monday, 7 December 2015

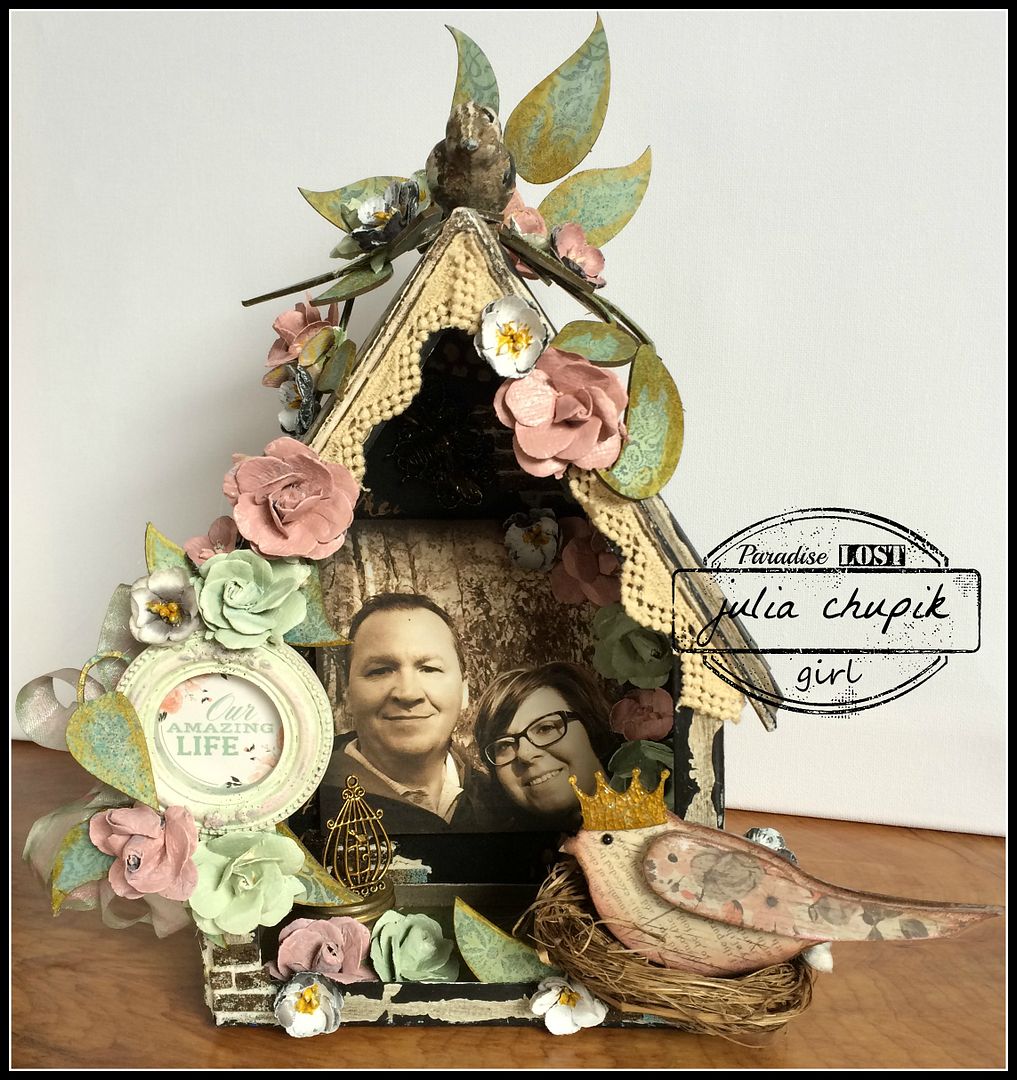
Our Amazing Life.....De-Stash Project #4

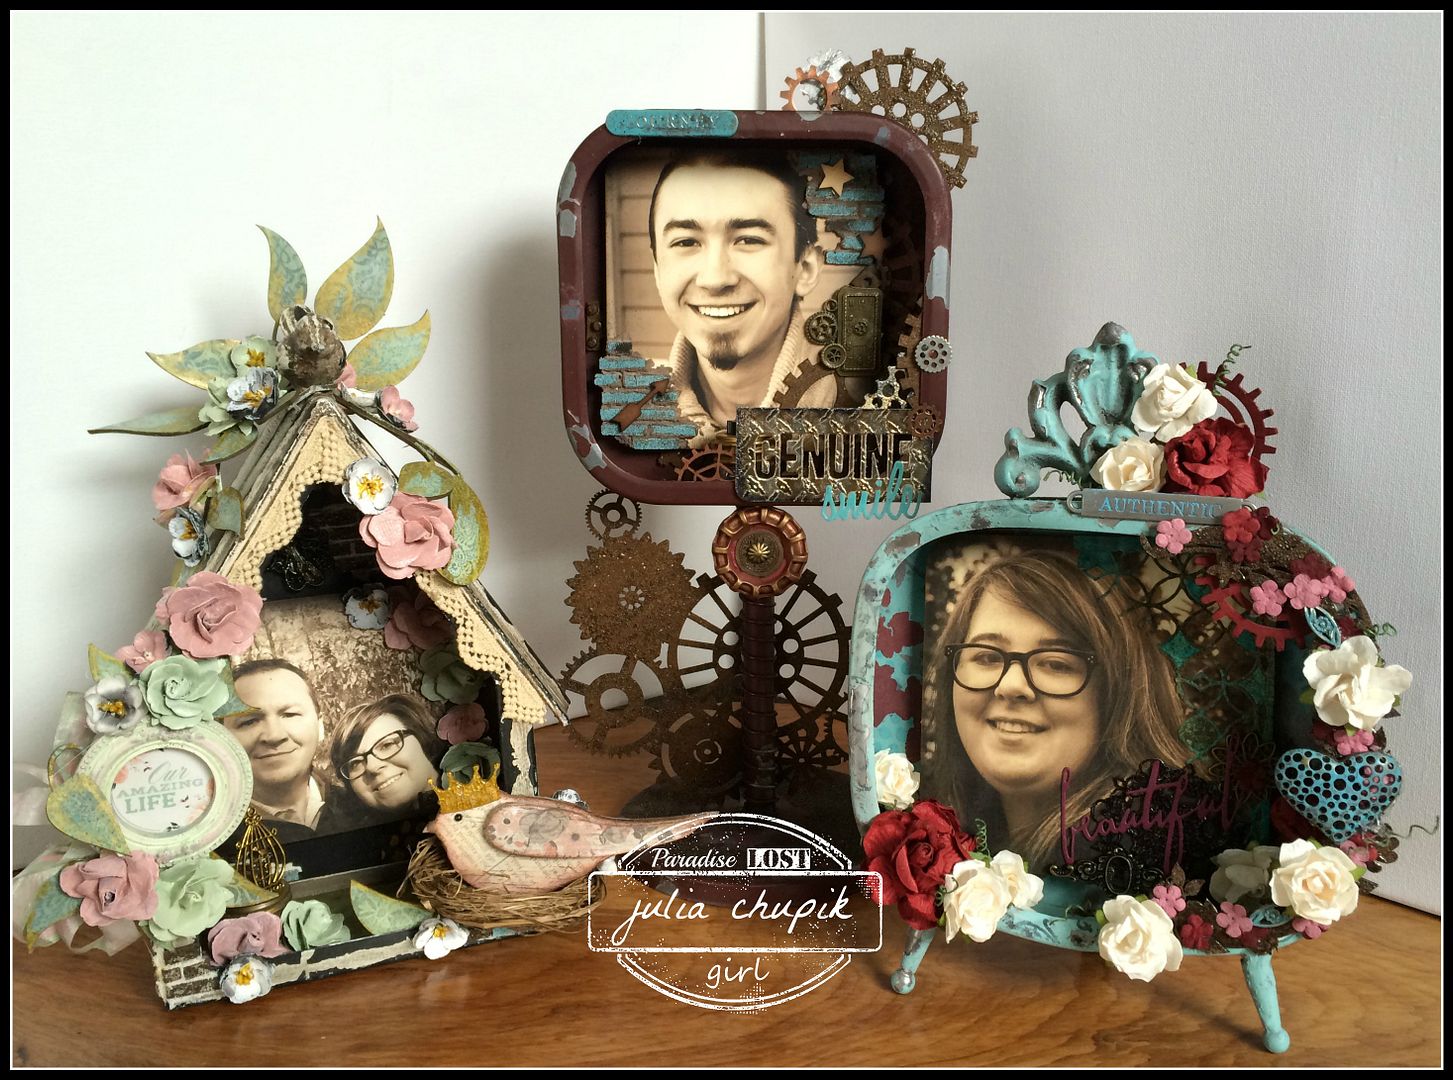
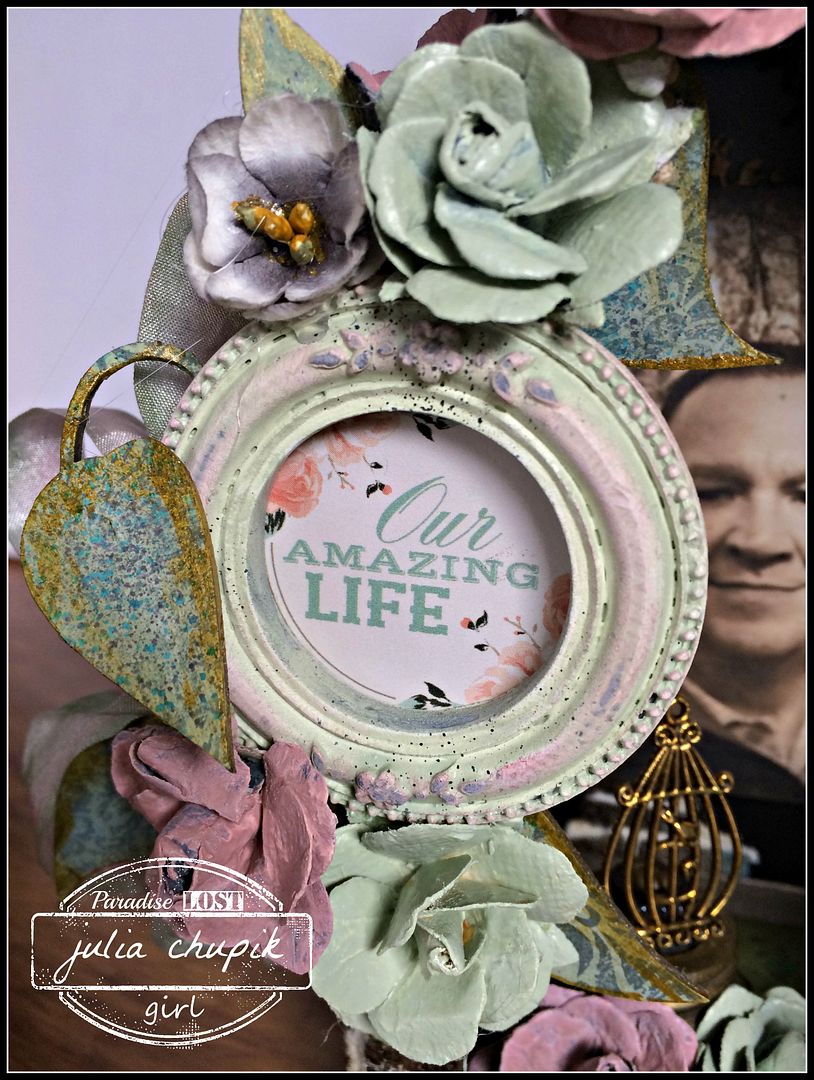
I have another De-Stash Project to share and this is using my last metal frame from Prima. I am half sad and half excited. Sad that this is my last metal frame but excited that these frames are finally out of the stash and on display. 
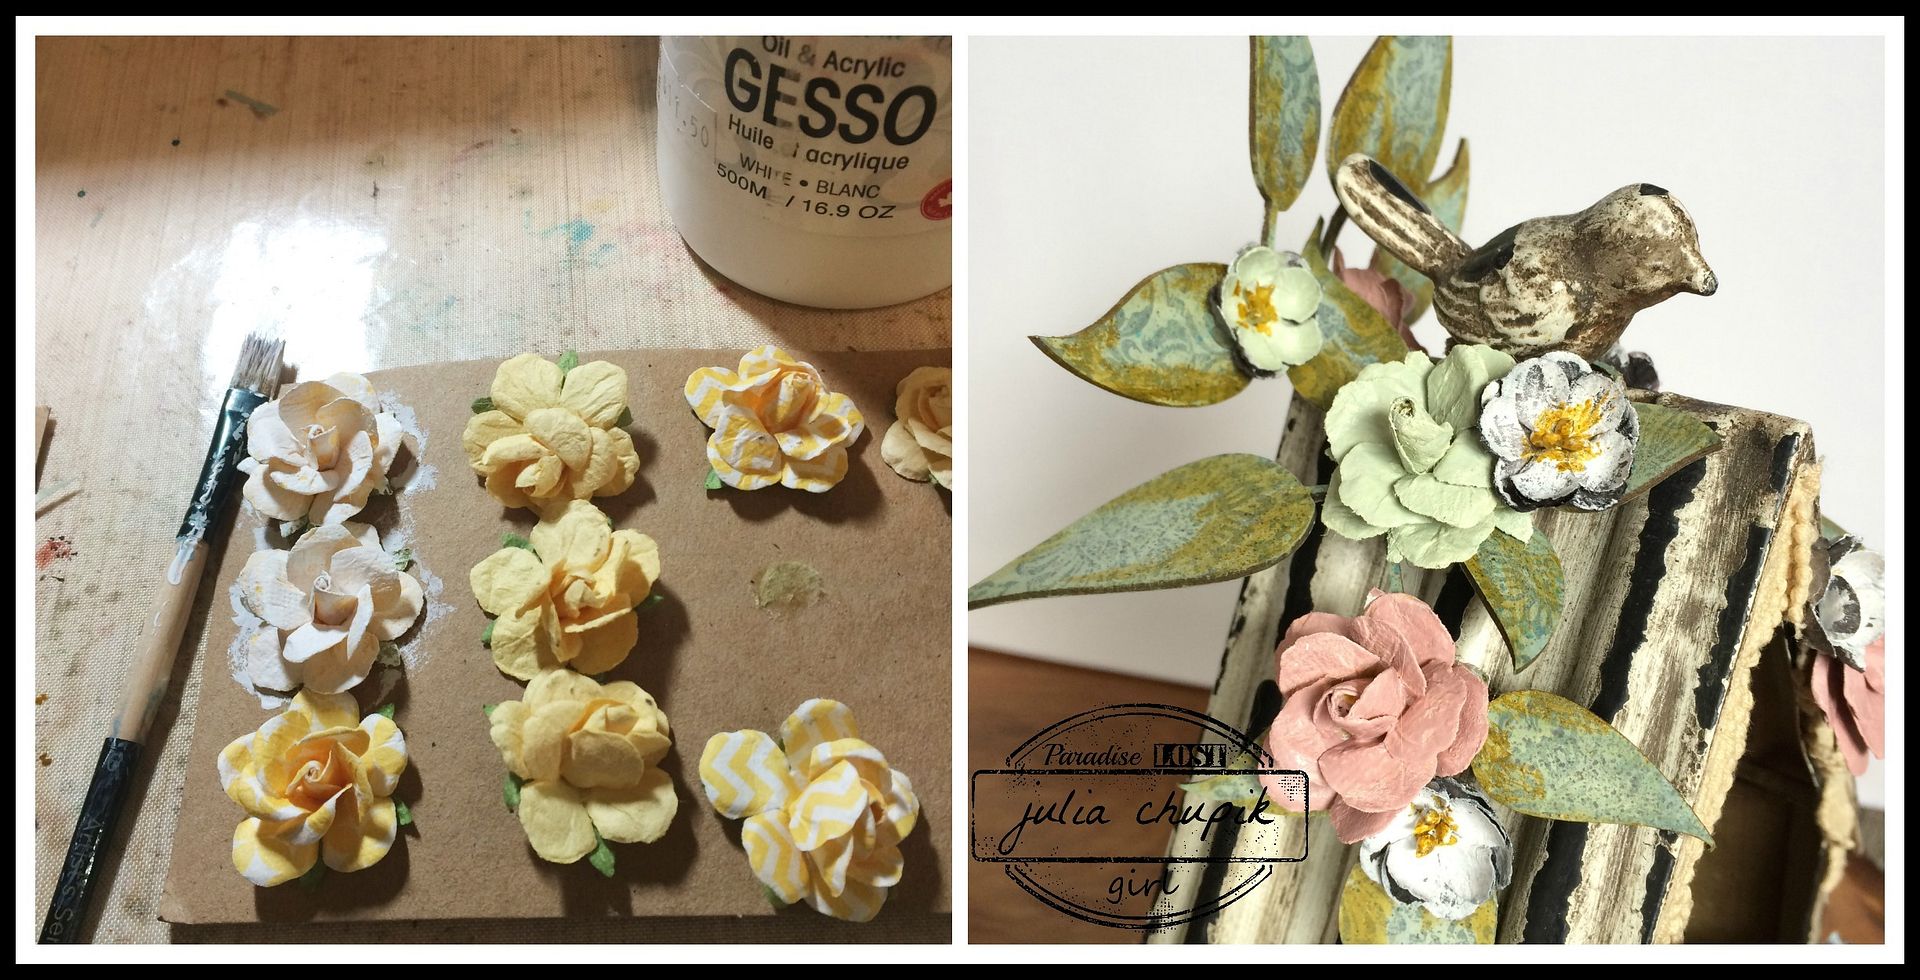
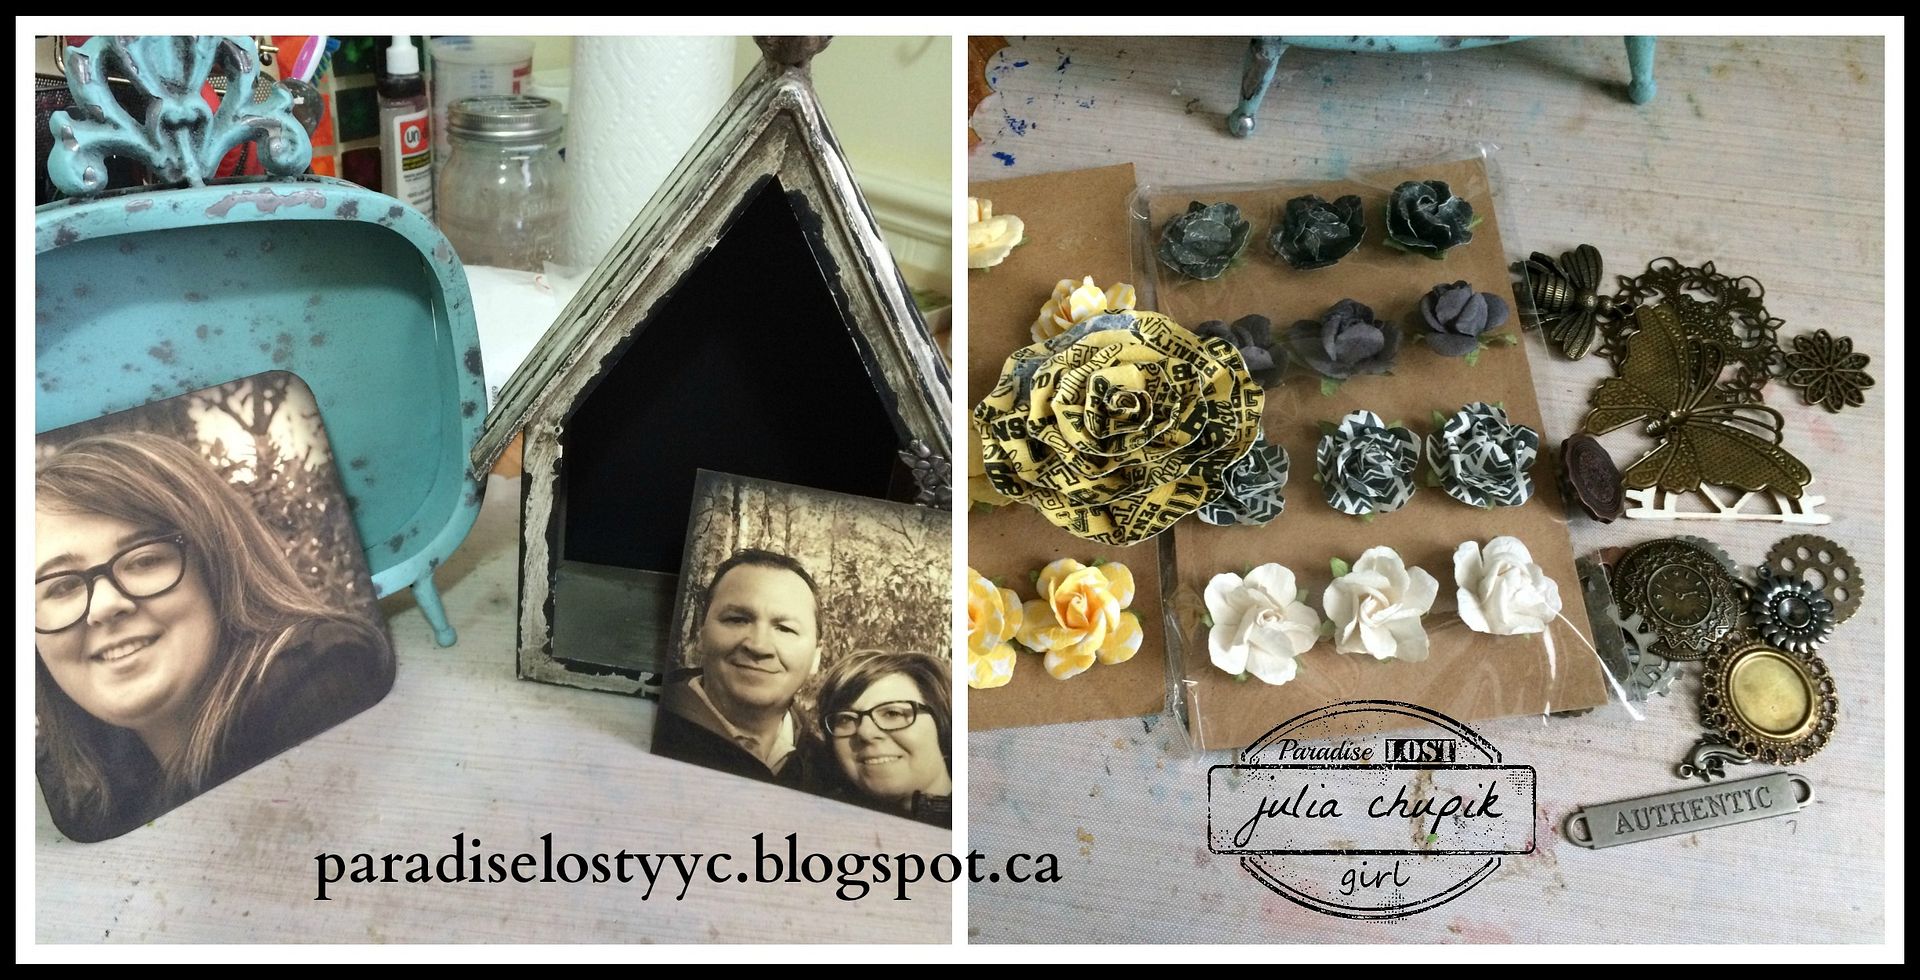
My goal for this project was to use up the last of these fabric flowers. 
Unfortunately, they were patterned yellow & black fabric flowers.
No worries, a coat of gesso and couple coats of Distress Paints and they were perfect for my project.
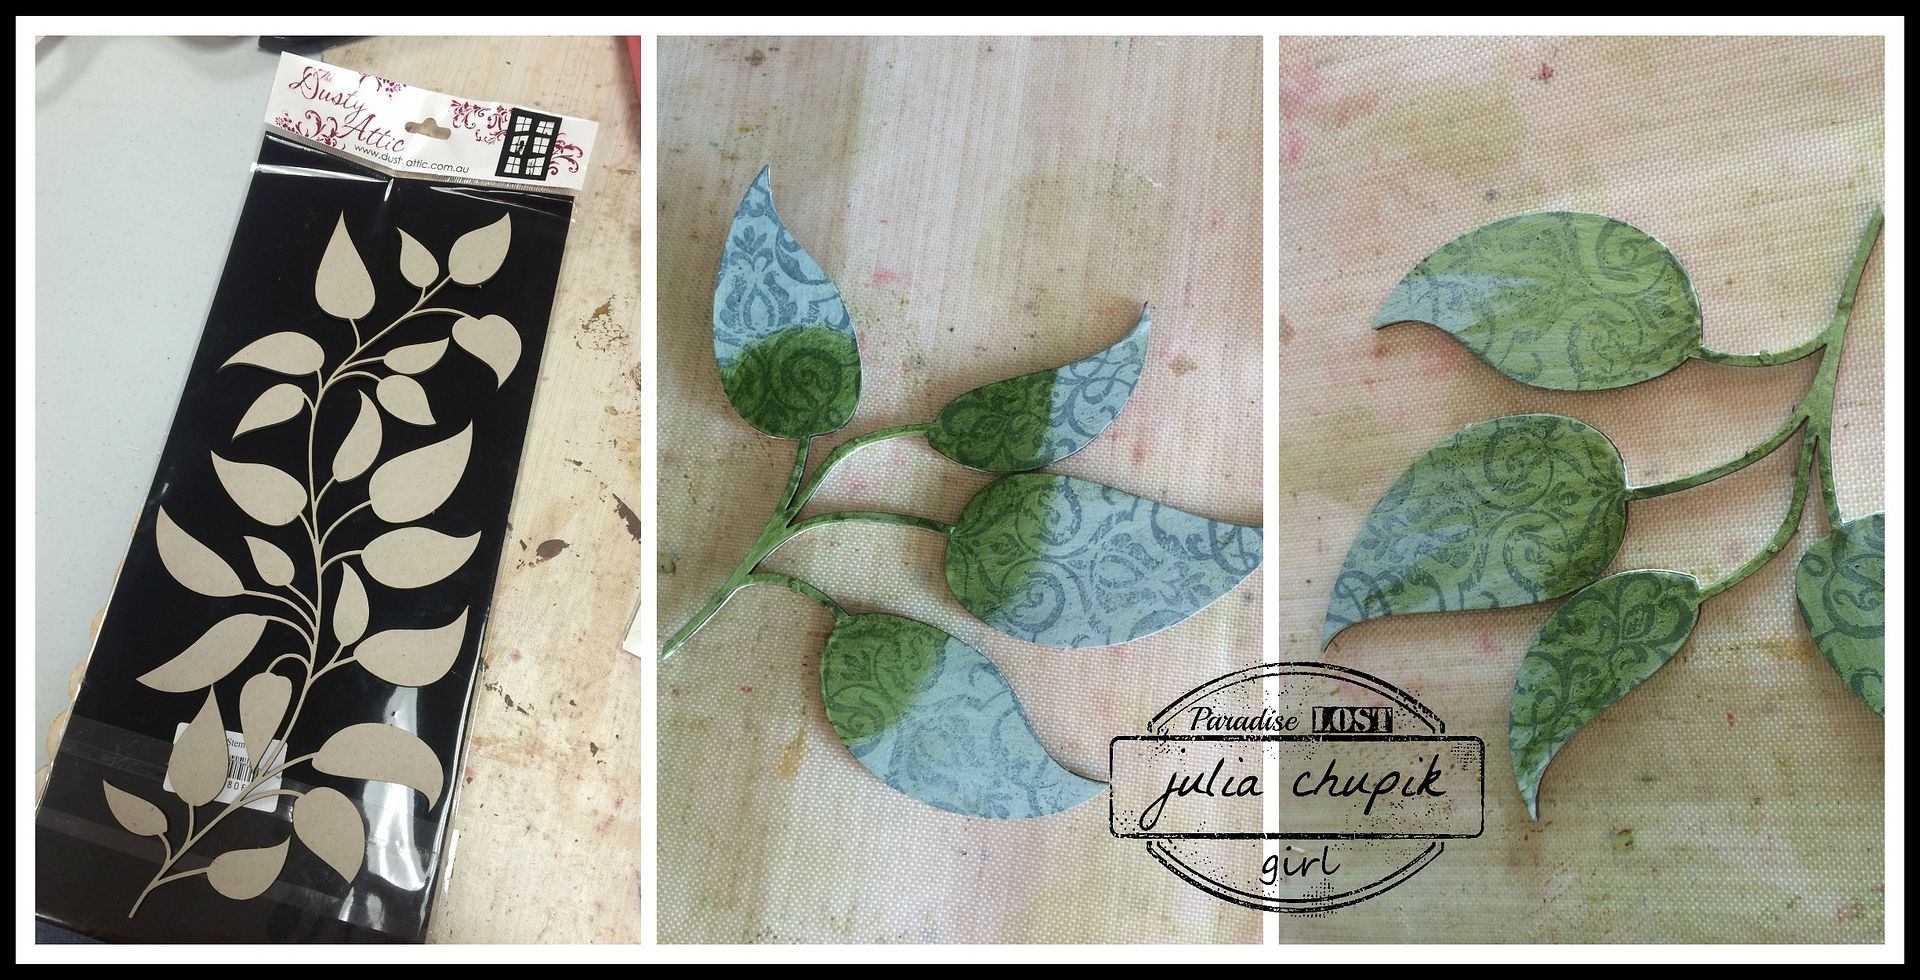
A chipboard leafy vine from Dusty Attic ~ a coat of gesso, stamped with a pattern, coloured with Distress Paint and finally finished off with Bronze Distress Paint ~ perfect for my birdhouse frame.
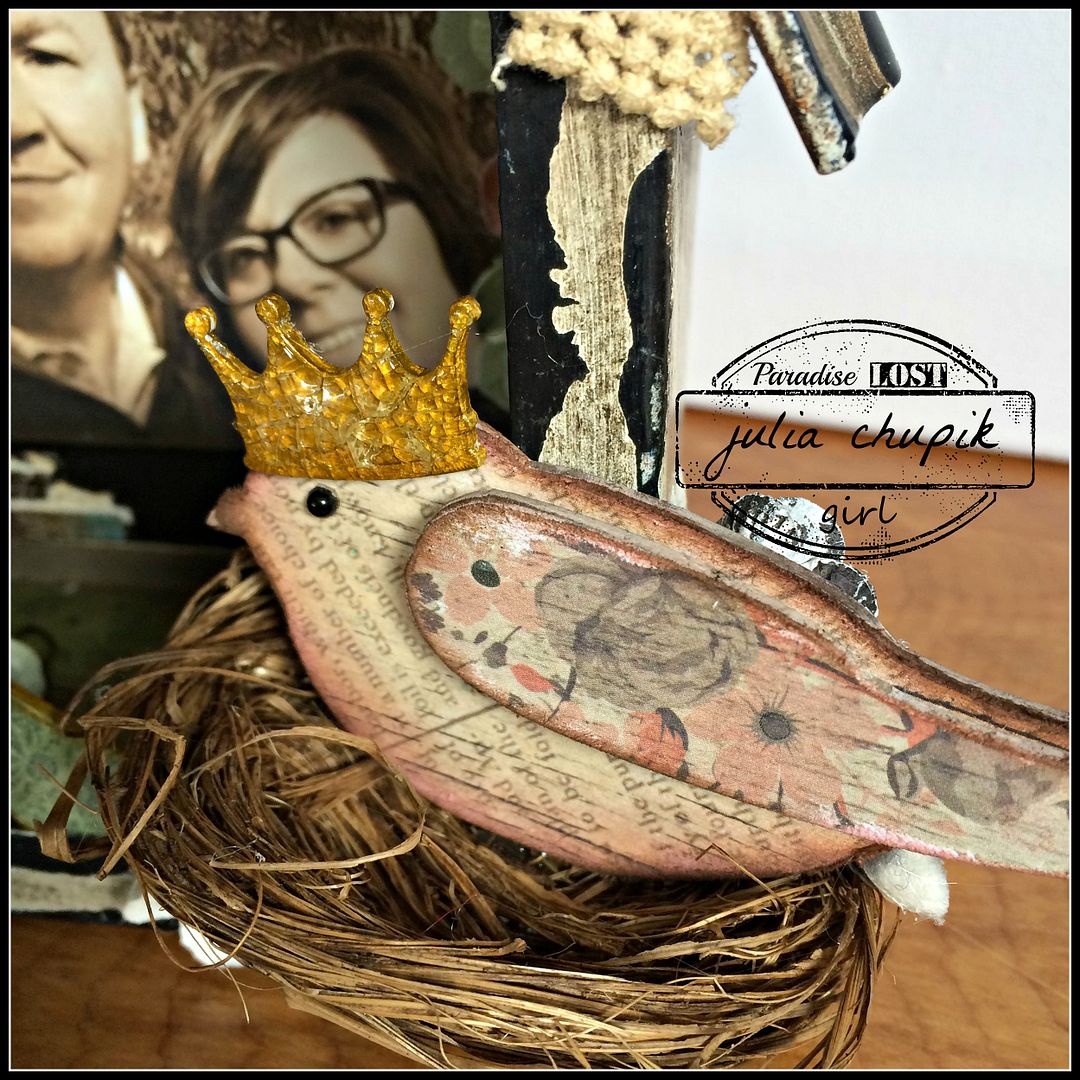
I can't have a birdhouse without a bird so I just had to use this crowned bird from Leaky Shed. My wee bird is sitting in a nest I picked up at the dollar store last year.
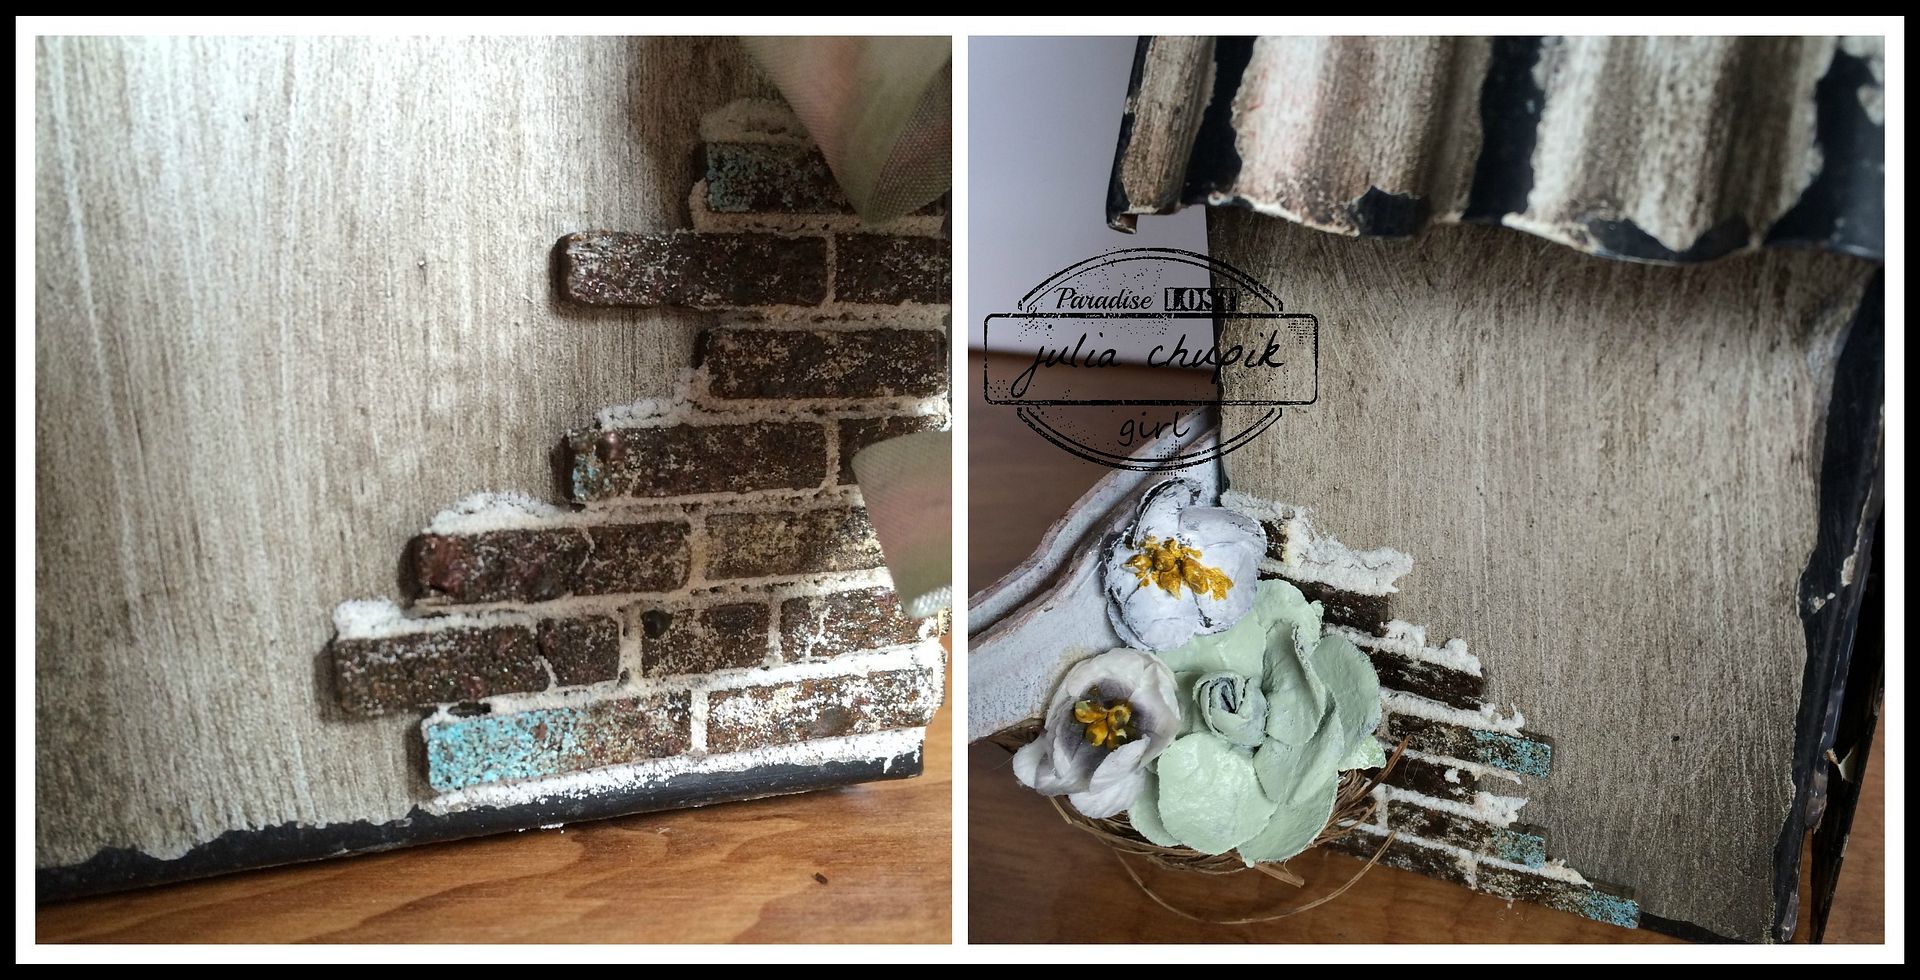
I had a few bricks left over from my De-stash Project #1 so I had to use them to add some texture to the outside edges of my frame.
Thanks so much for visiting my blog today. 
Please leave my a comment and your blog info so I can come visit.

Don't forget to visit the Emerald Creek Dares blog and enter your Festive projects for a chance to win a $25 credit to the online store!
http://blog.emeraldcreek.ca/2015/11/bringing-bits-of-cheer.html


~~stay crafty~~

Monday, 30 November 2015

Authentic Beauty....DeStash #3

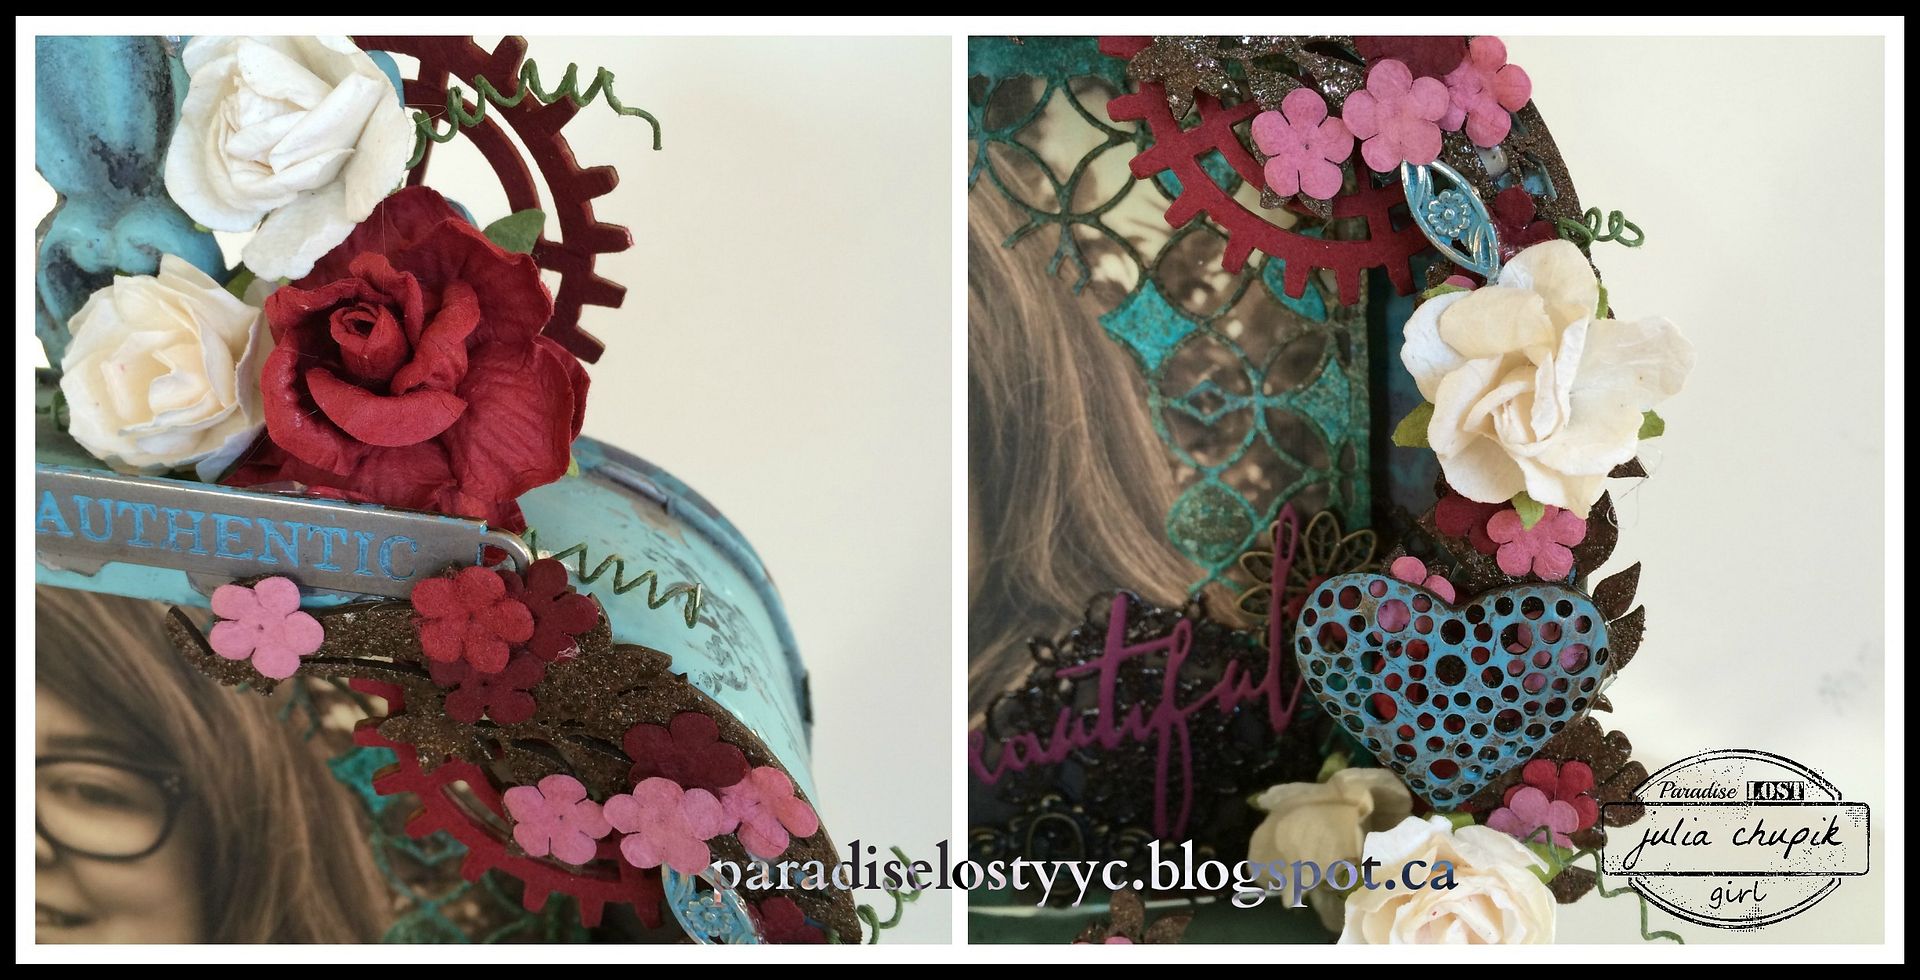
It's time for more de-stashing and this week it's all about those teeny, tiny Prima flowers that came in those amazing milk bottles. I didn't physically count how many of those little suckers were in the bottle but I guesstimate around a million. Yes, it was definitely time to start using those.

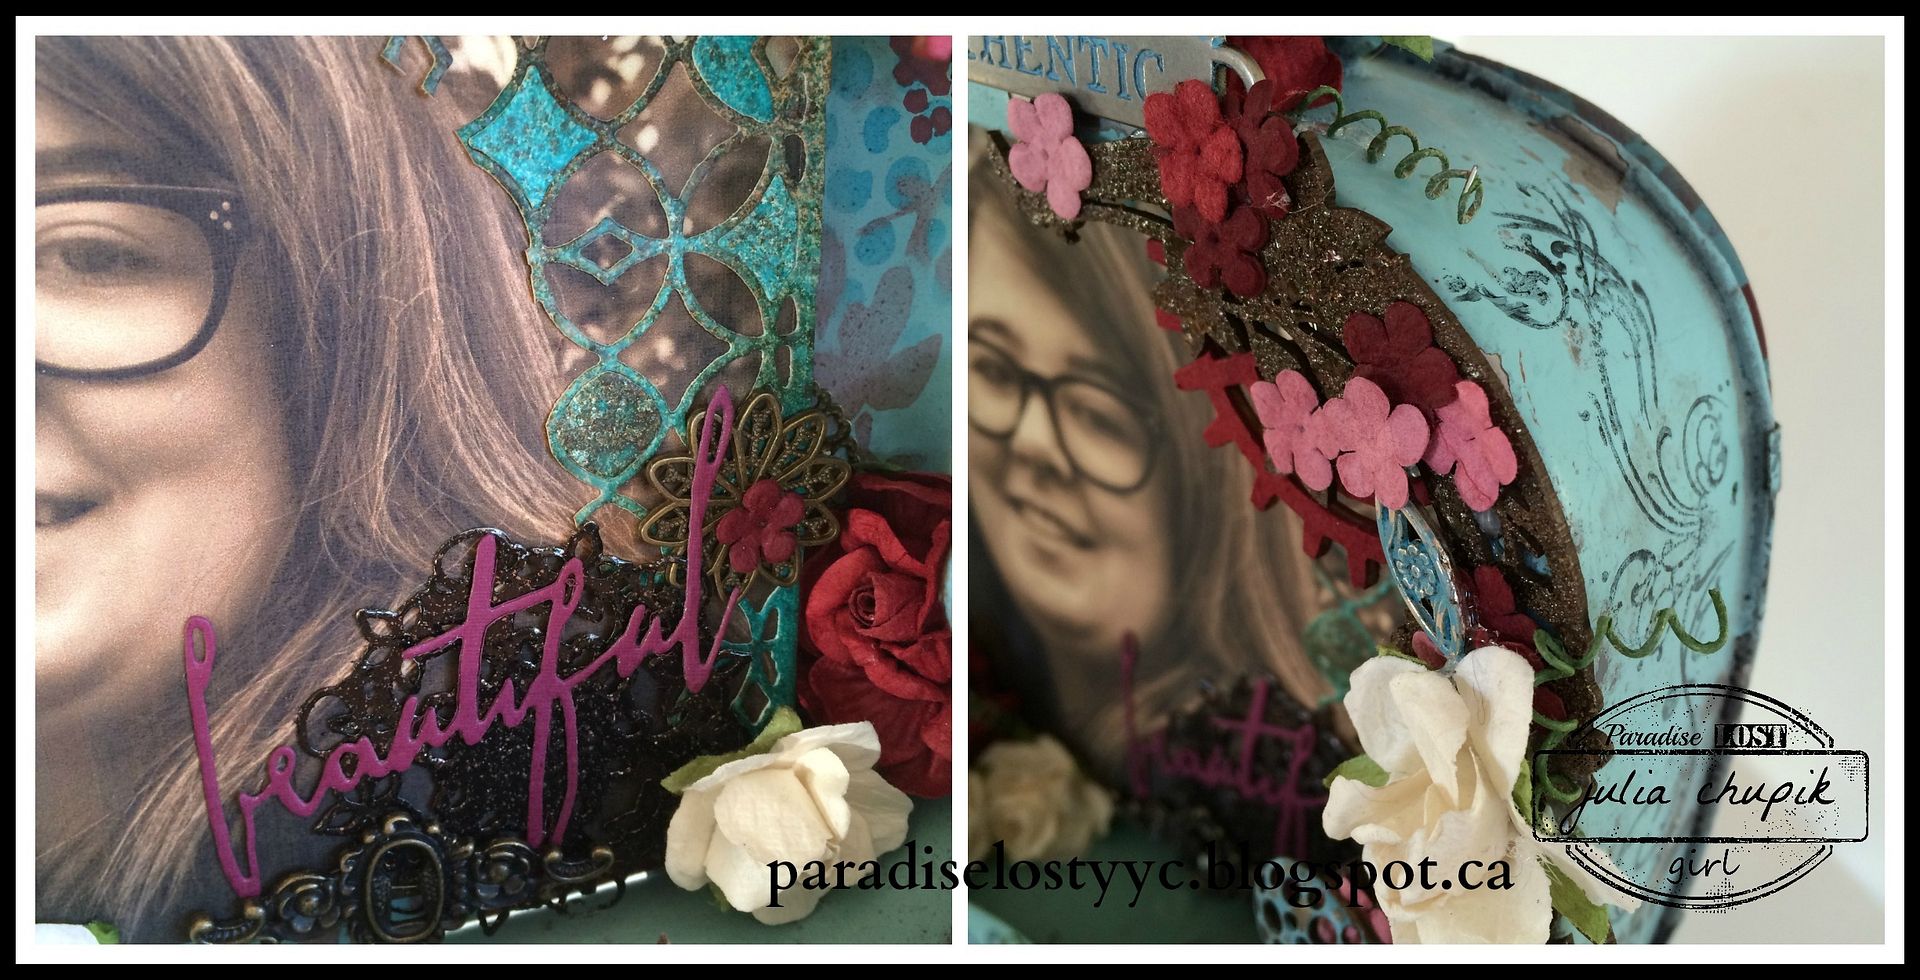
I am also using #2 of the 3 metal frames from Prima. When I first bought this frame I knew I wanted to use it to feature a photo of my daughter, Breanna. I then went through  my stash of flowers & metals bits and made sure my hot glue gun was plugged in.
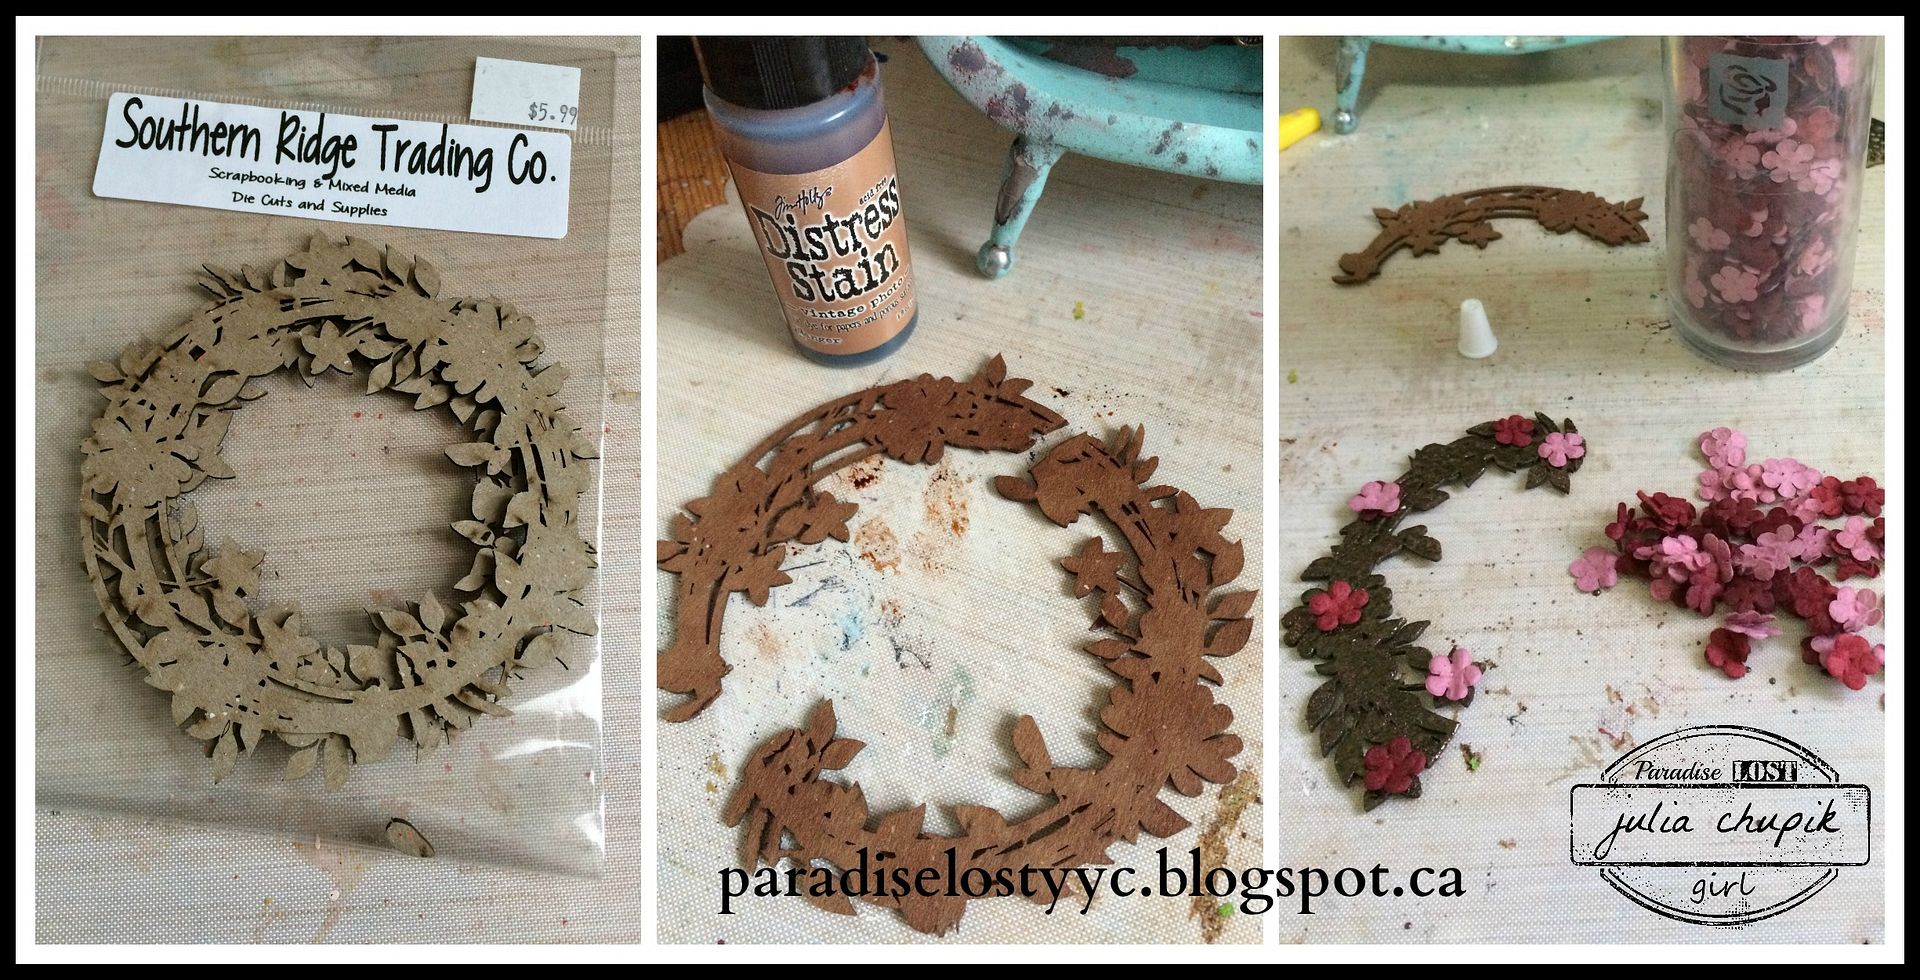
I also grabbed this brand new die cut from Southern Ridge Trading Company.
 It's so beautiful as a wreath but I needed it to frame the outer edge of my frame so I cut it apart.
I then stained it, and applied some my favourite Hot Stuff Embossing Powders from Emerald Creek Craft Supplies. I used mostly Burnt Coppers Leaves  with just a sprinkling of Oil Rubbed Bronze.
I then started gluing on those teeny Prima flowers. And I kept gluing. And gluing. I still have a tonne of those suckers left.
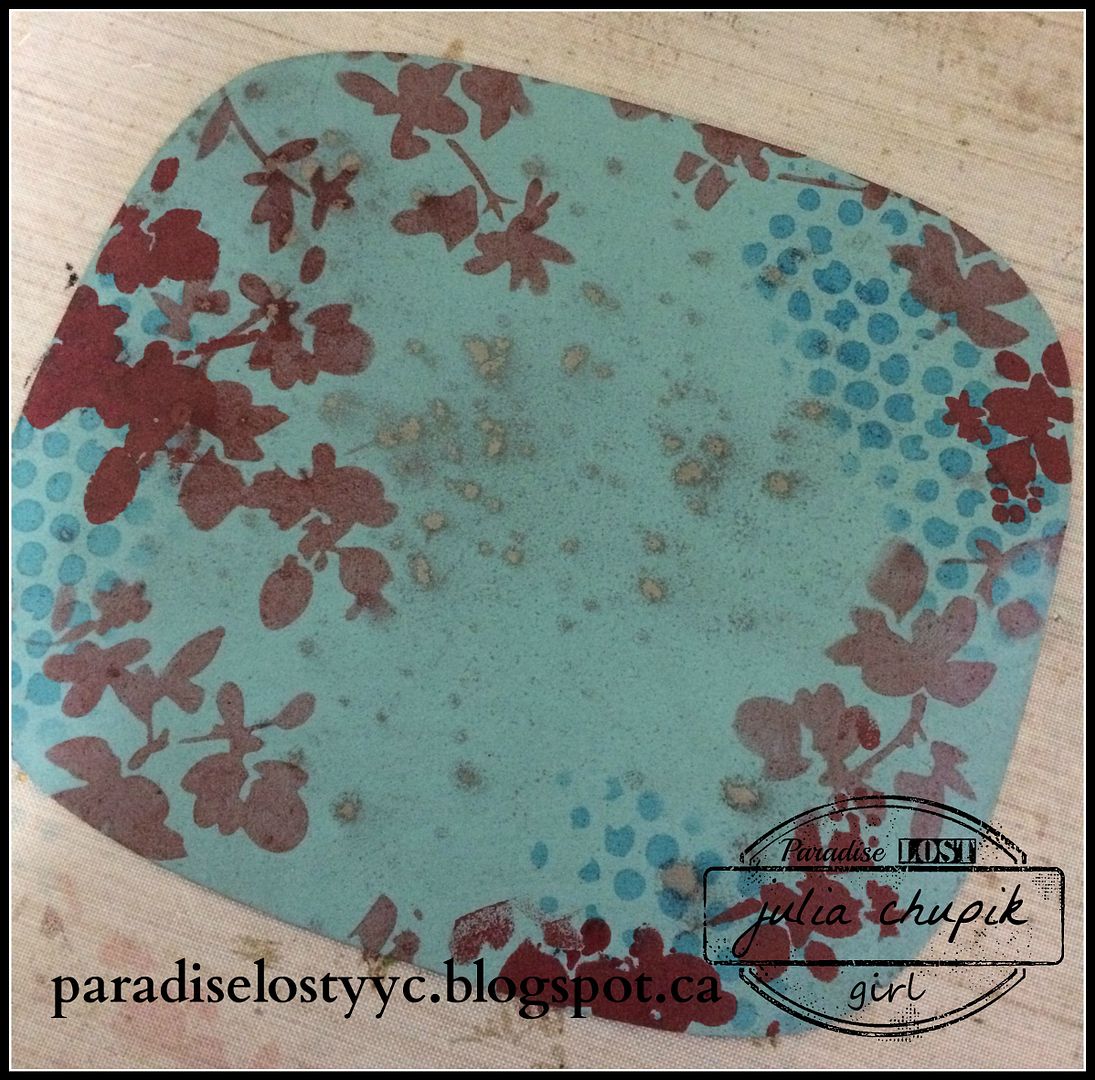
 Just before starting to assemble my frame I stenciled the removable back 
with inks and paint just to add a bit more depth.
I used a lot of little bits of bobs including a few Flower Link Charms from Emerald Creek. 

Here is finished frame.

Thank you so much for visiting my blog today!
~~stay crafty~~