Friday, 30 October 2015

Happy Halloween Eve.....

Happy Halloween Eve my crafty friends!
I know a lot of you have been busy creating spooky, creepy and all things ghoulish projects because I have seen so many in my trip around blogland.
Emerald Creek Craft Supplies is hosting a Trick or Treat Dare over on the blog.
Come visit us and share your Halloween Tricks with the Design team for a chance to win a Treat!
Click on the button below to enter your Halloween themed project today!

 photo ECD Button.png

Wednesday, 28 October 2015

We're going to have a party!

Oh, yes...and what a party it will be.
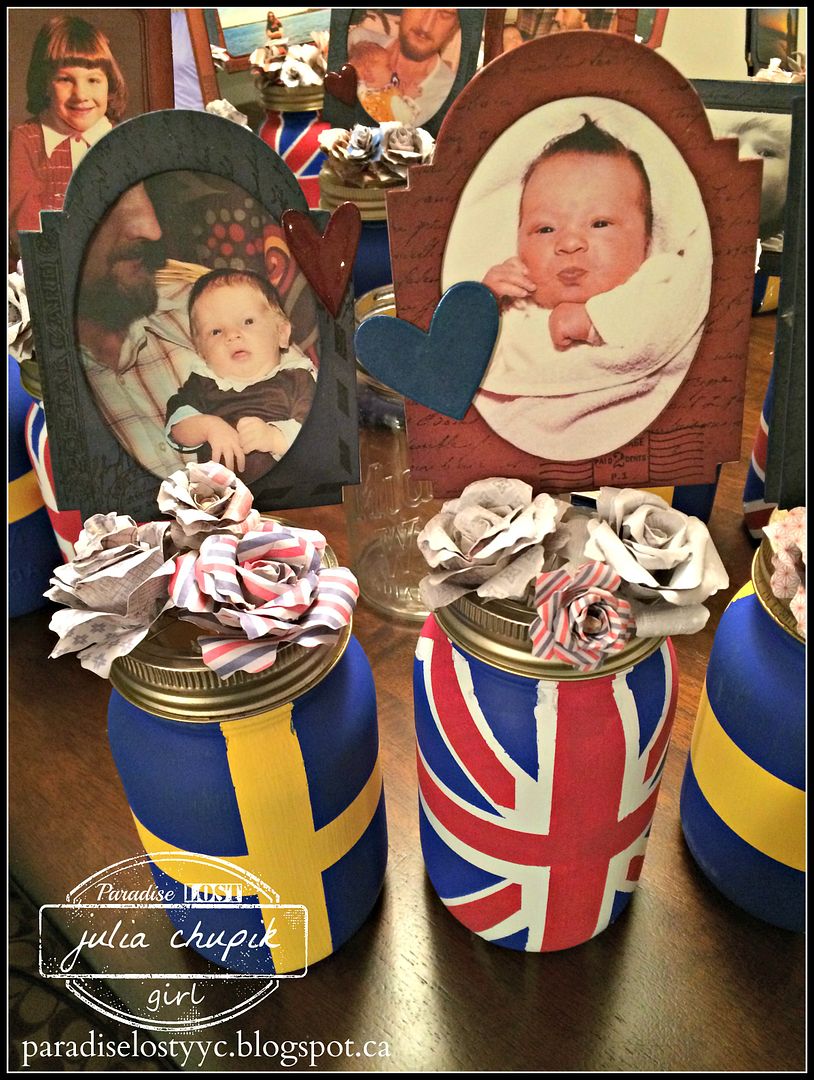
A Bangers & Balls Engagement Party - celebrating the love of Simon the Swede and Jessica the Brit. Well, my sister is really Canadian with British ancestry......and Poutine & Balls just didn't sound right.
 
I offered up my crafty services and *ping* I got a message on Pinterest. From my sister.
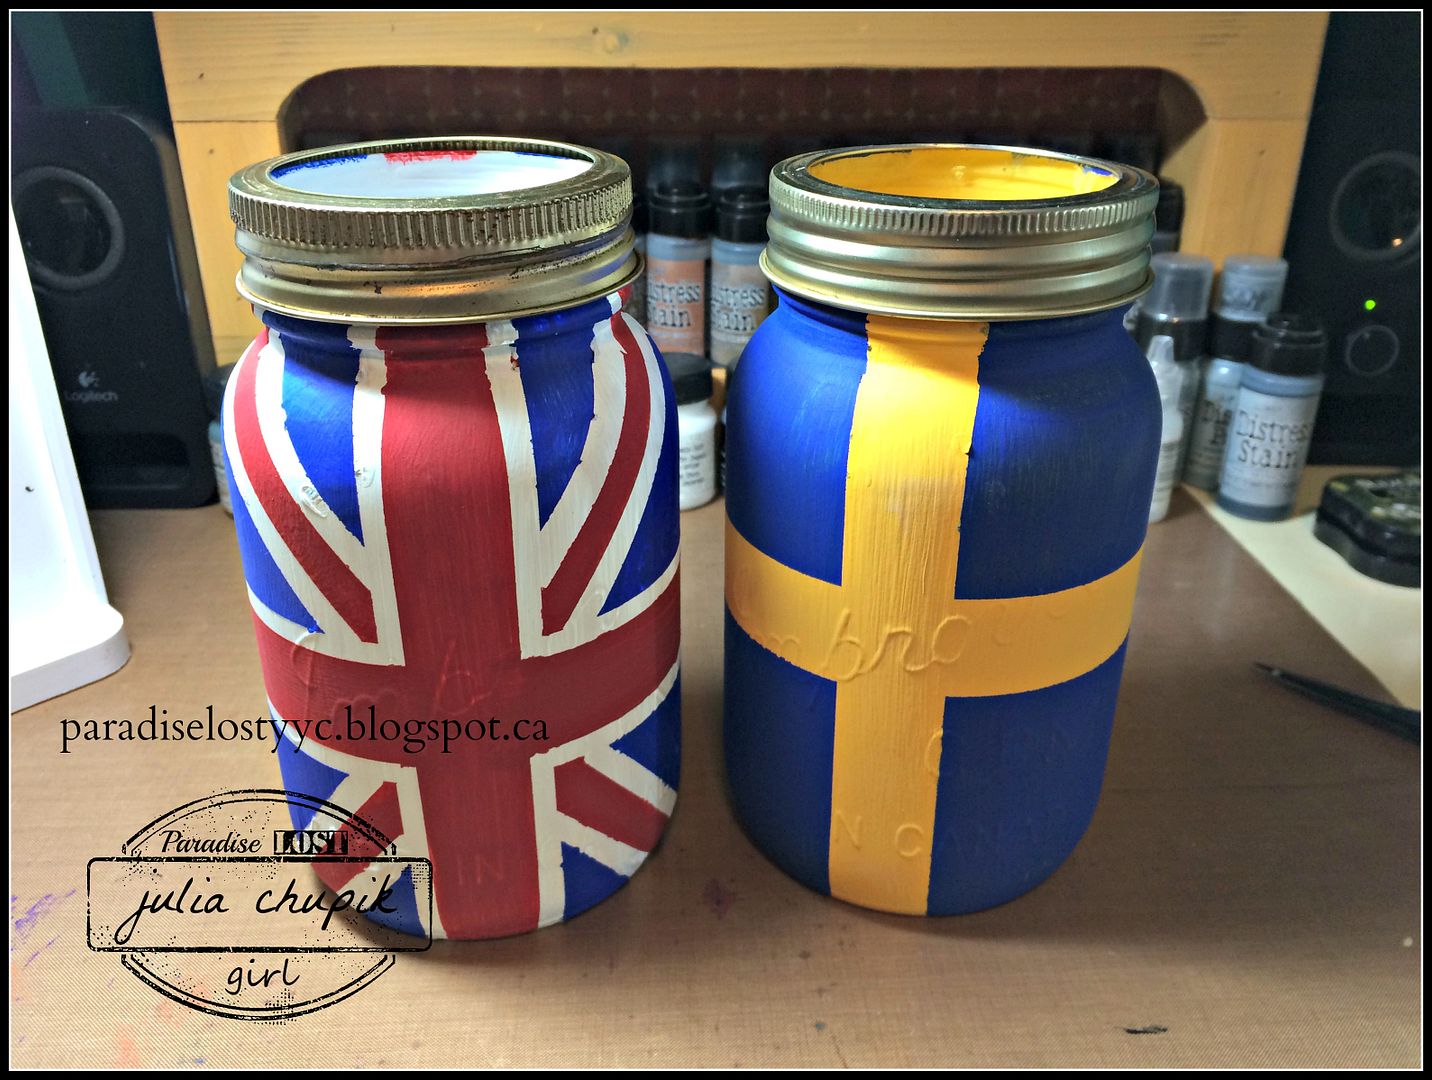
This link in fact...Union Jack Mason Jar...asking me if could make centerpieces.
I checked out Linda's blog - It All Started With Paint and decided I was up for the challenge.
Linda did say in her blogpost that it wasn't easy and  and she was brutally honest in how long it took but in my enthusiasm I went full steam ahead. 

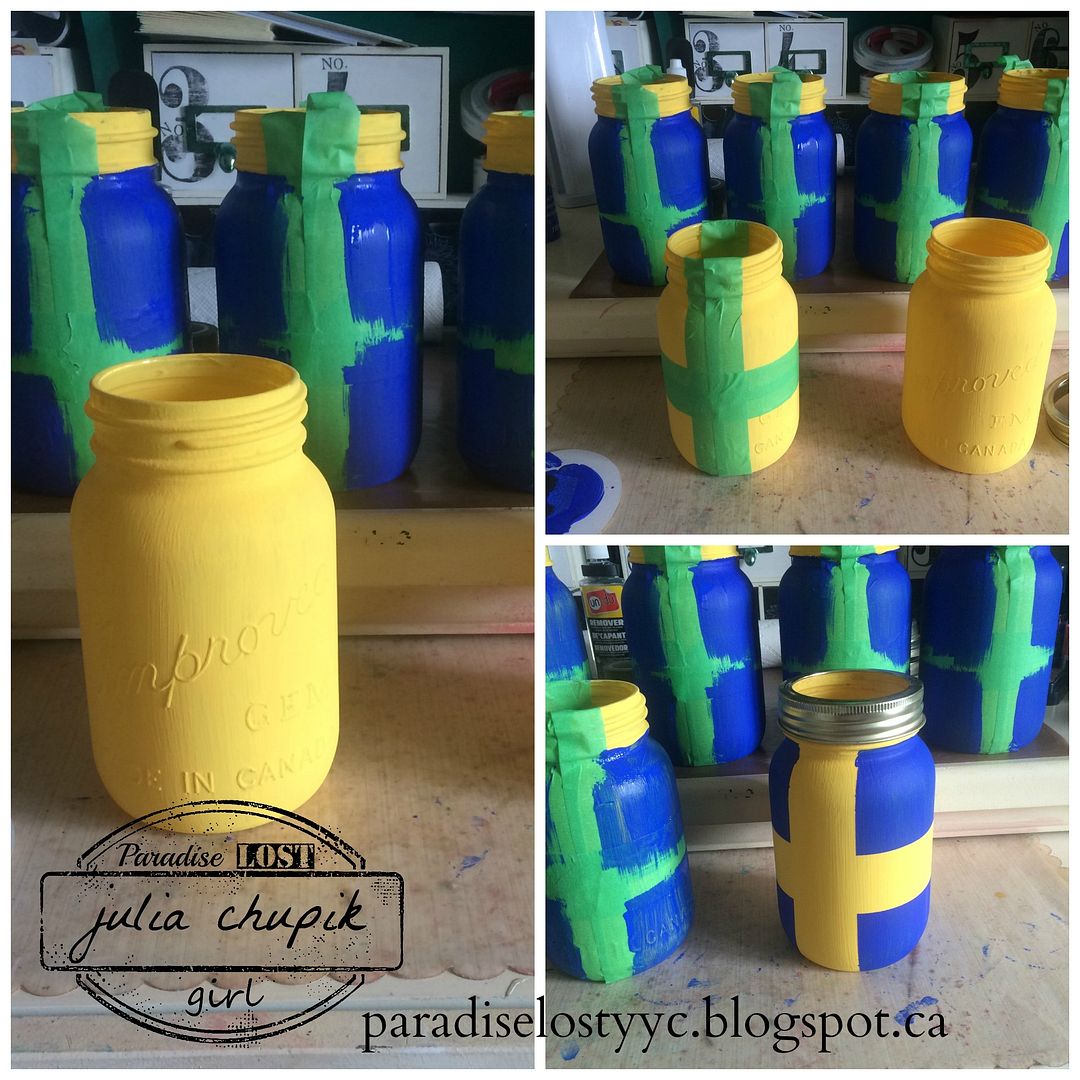
The Swedish flag was a piece of cake compared to the Union Jack and it was probably a good thing I didn't start with the Union Jack as I probably would have had a meltdown and not finished at all.

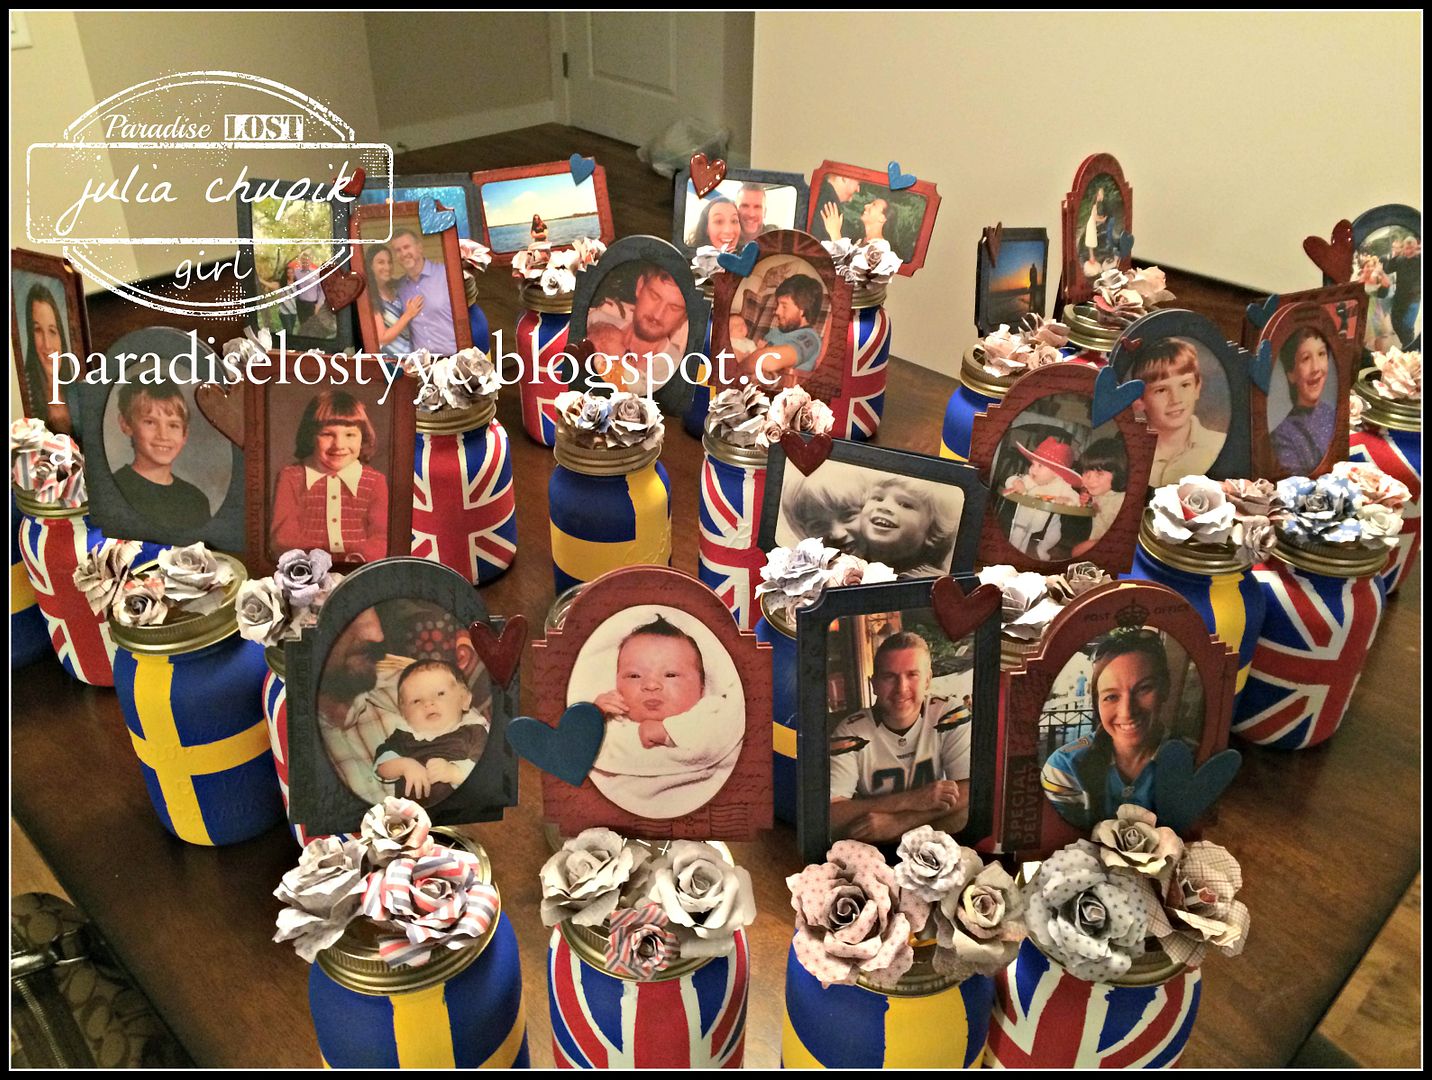
To paint 24 jars ~ 12 of each flag ~ it took me about 3 weeks. 
Three weeks and about 8000 metres of painters tape. And patience. 
Plenty of patience. 
 
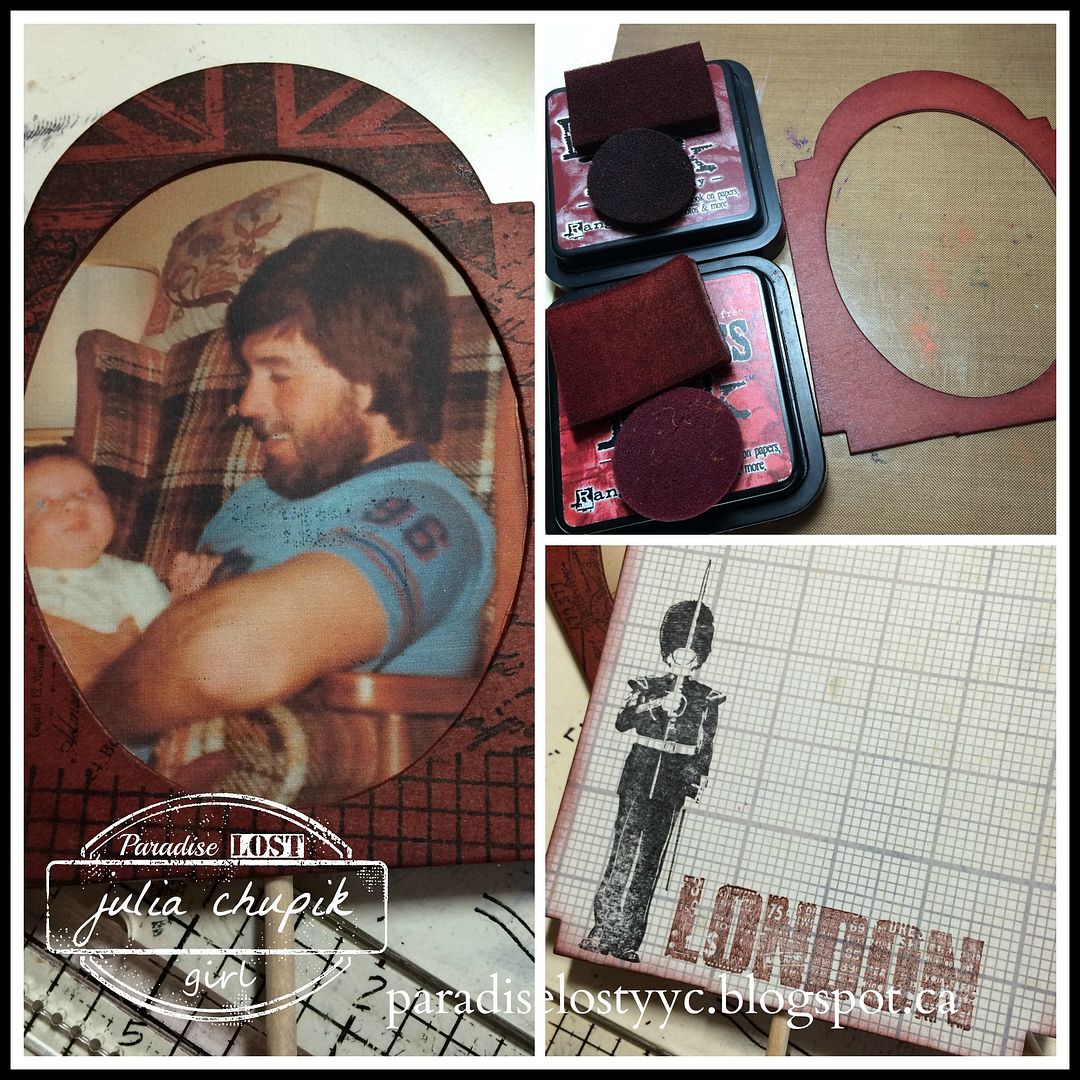
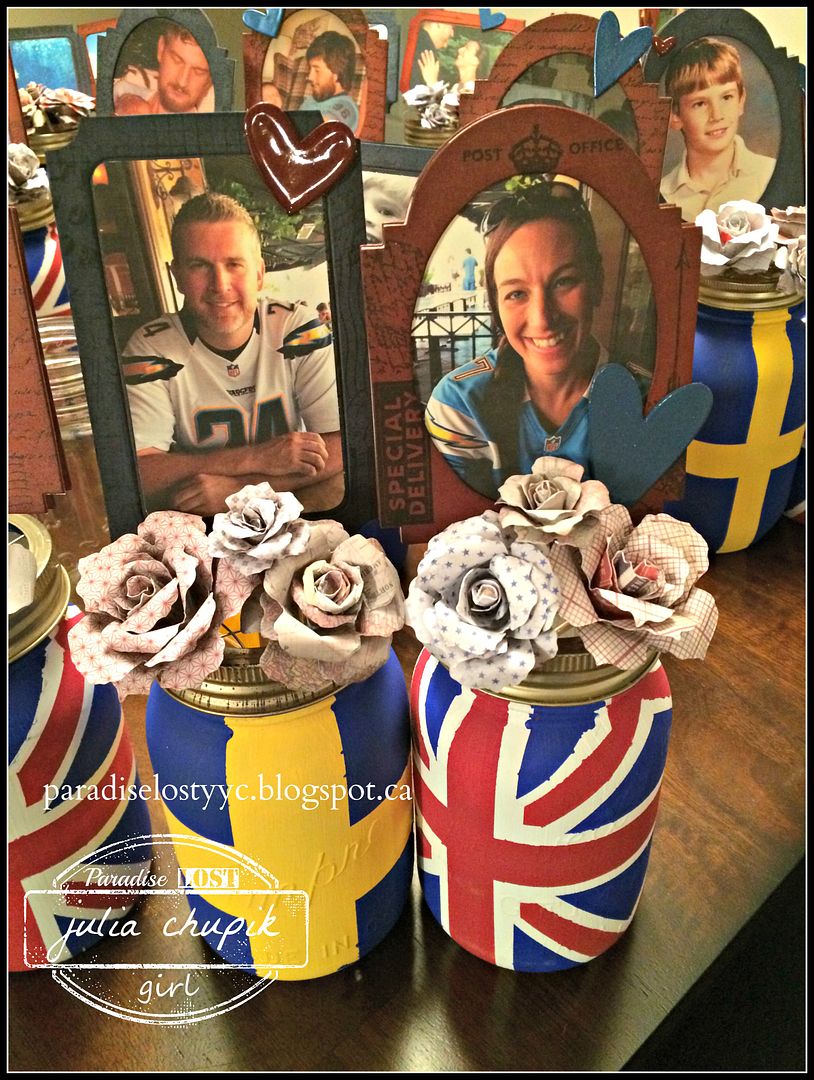
Once the jars were done the fun part really began - my sister and her hubby-to-be sent me photos of themselves from babyhood to very recent. I paired photos together of them around the same age and printed them out on cream linen cardstock.
I then used the Big Ticket Die and Vintage Cabinet Card Die from Sizzix/Tim Holtz Alterations 
to frame each photo.
It was a fabulously inky time! I made a front and a back layer with a small dowel glued in between.
I used the following Stampers Anonymous sets from the Tim Holtz Collection to add interest on the frames ~ Here & There, CityScapes, Paris to London, London Sights & Correspondence.
 
I felt the jars needed a little something so off I went to make flowers with my Tattered Pinecone Die & Jumbo Pinecone Die from Sizzix/Tim Holtz. 

The Correspondence Paper Stash from Tim Holtz Ideology made lovely flowers for each jar.


So there you have it - 4 weeks of work and 24 completed jars all ready for the big party!


Thank you so much for visiting my blog today!

~~stay crafty~~

Thursday, 22 October 2015

Poe knows.....Curiosities

It's getting spooky over at the Emerald Creek Dares Blog ~ be sure to check out some 
of the weird and wonderful creations from the Emerald Creek Design Team

My creation is a  shadow box made from a wood frame I bought at my local dollar store.
I started by first painting the entire frame with black acrylic paint (probably bought at the dollar store too). I then applied Ground Espresso Distress paint with my fingers along the sides and in the corners to grunge it up a bit & added a bit of texture paste through the 
Harlequin & Speckles stencils by Tim Holtz.

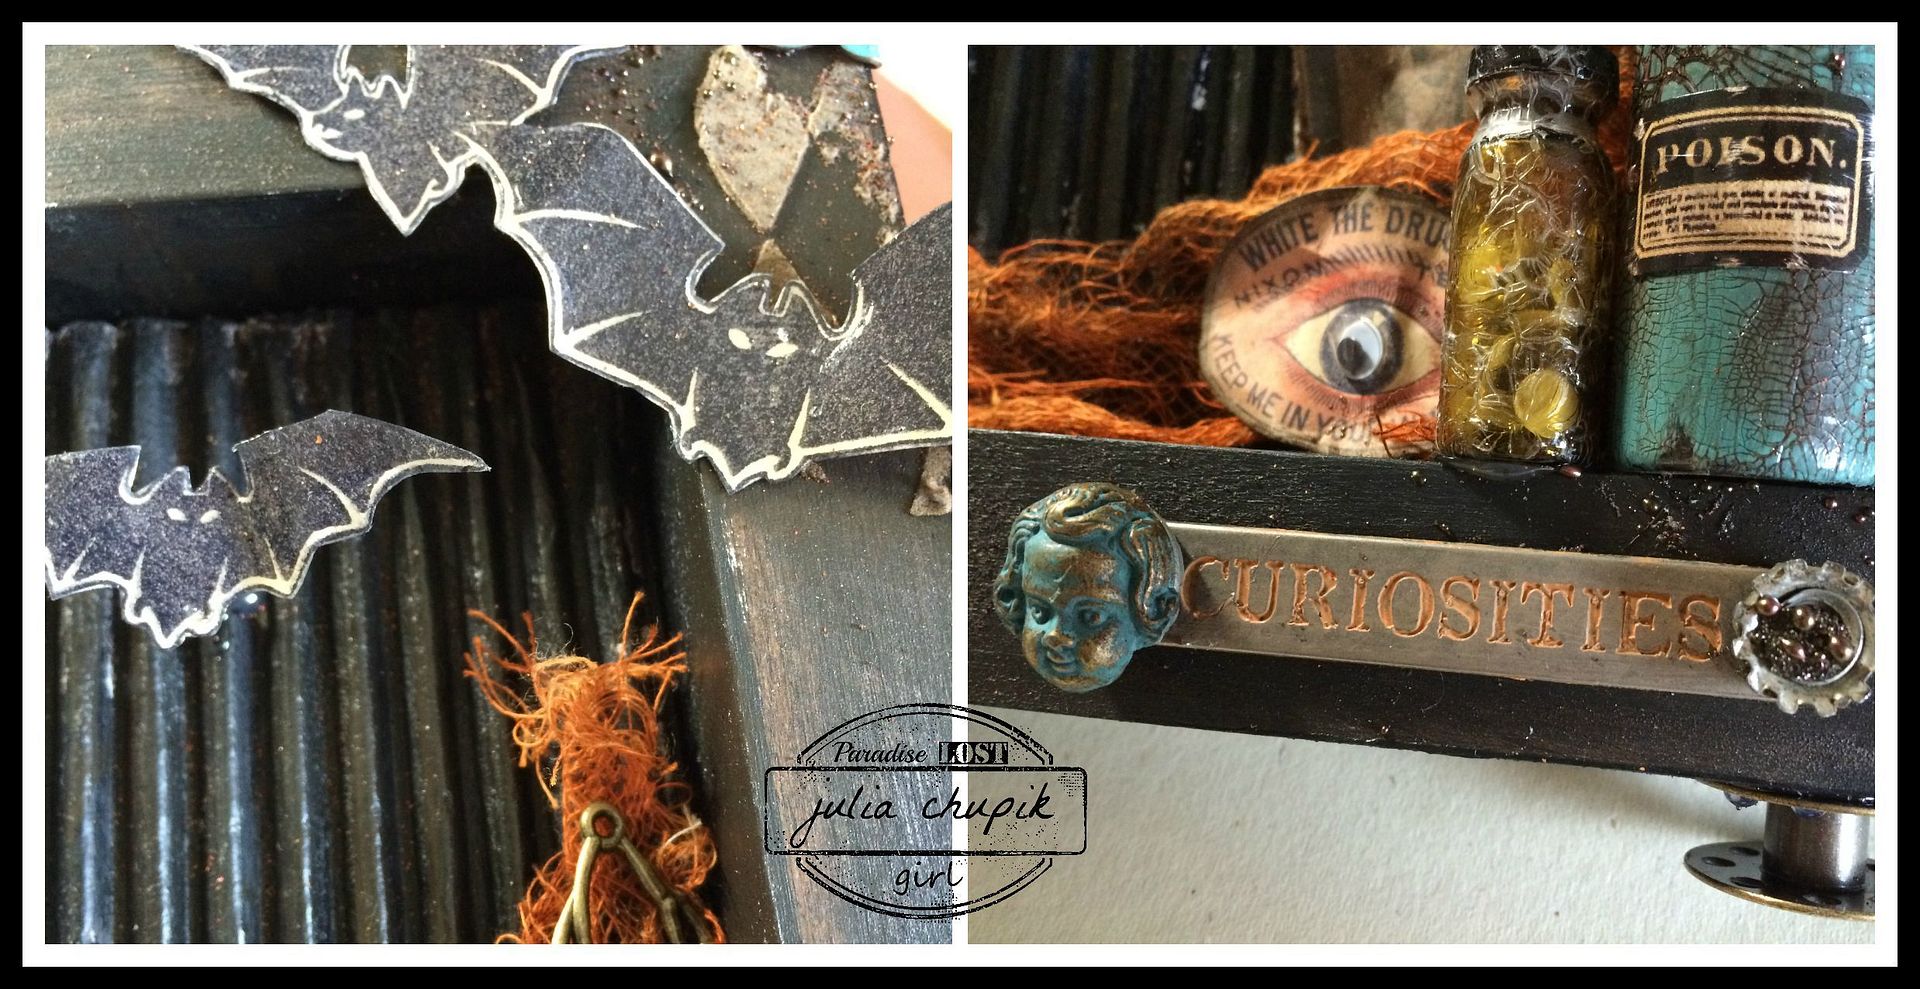
The bats are made using the Batting Practice stamp from Emerald Creek Craft Supplies - I stamped them on cardstock then cut them out. They were a perfect addition to Mr. Poe's 3D Box of Curiosities.


To add some texture to the inside of the frame I peeled back the outside layer of a piece of cardboard to expose the corrugated part. I painted this using the same products as the outside of the frame.
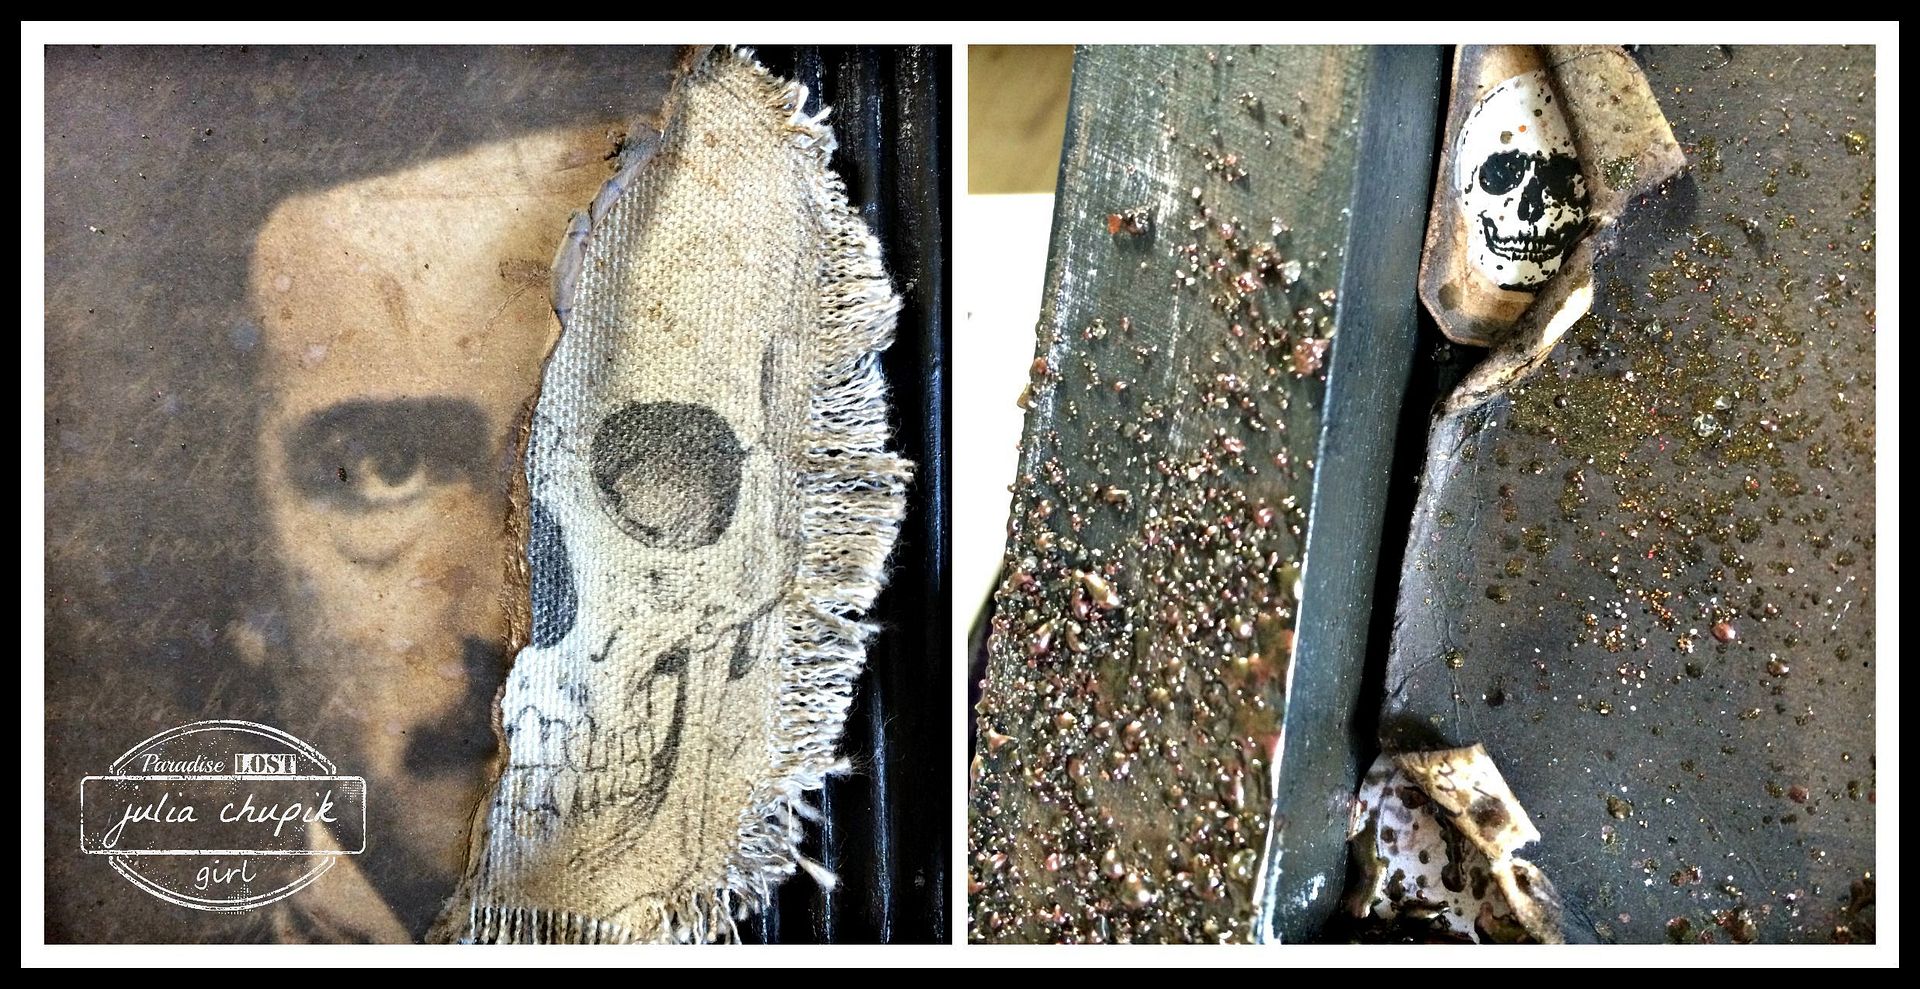
Mr. Poe's skull is from The Graphic's Fairy - which I downloaded, resized and printed onto a piece of canvas that I then grunged up using Ground Espresso inks & stains.


 My favorite part of this whole project was the glass vials. The larger one I bought, where else, the dollar store & the smaller one is from the Apothecary Vials set from Tim Holtz.
I first painted the large vial layer of Patina Green Antiqing Cream from DecoArt Media then when that dried painted on a fairly thick coat of clear rock candy Distress Crackle Paint. I finished it off with a bit of Ground Espresso stain to bring out the gorgeous crackle finish. I also stained the corks with Ground Espresso.
 

The final touch was sprinkling on some Burnt Copper Leaves embossing powder on the sides and in the corners of the frame. It gave it that grungy & dirty feel I was wanting.

Products Used:

Burnt Copper Leaves Embossing Powder - Exclusive to Emerald Creek Craft Supplies
8X8 Regions Beyond Paper Stash by Tim Holtz
Curiosities Remnant Rubs by Tim Holtz
Frightful Ephemera Pack by Tim Holtz

Thank you so much for visiting my blog today!

Be sure to check out the blog posts from the rest of the Emerald Creek Dares Design Team for a lot more Halloween Themed inspiration!

Diana Hetherington - missusgmoments
Cathy Potosky - Amethyst Dragon's Alcove
Karon Hughes - Karon's Krafty Korner 


Don't forget to check out the Emerald Creek Dares blog for your
 chance to win a $25 gift certificate to
Emerald Creek Craft Supplies

http://blog.emeraldcreek.ca/


http://www.emeraldcreek.ca/


Challenges Entered:

Tuesday, 20 October 2015

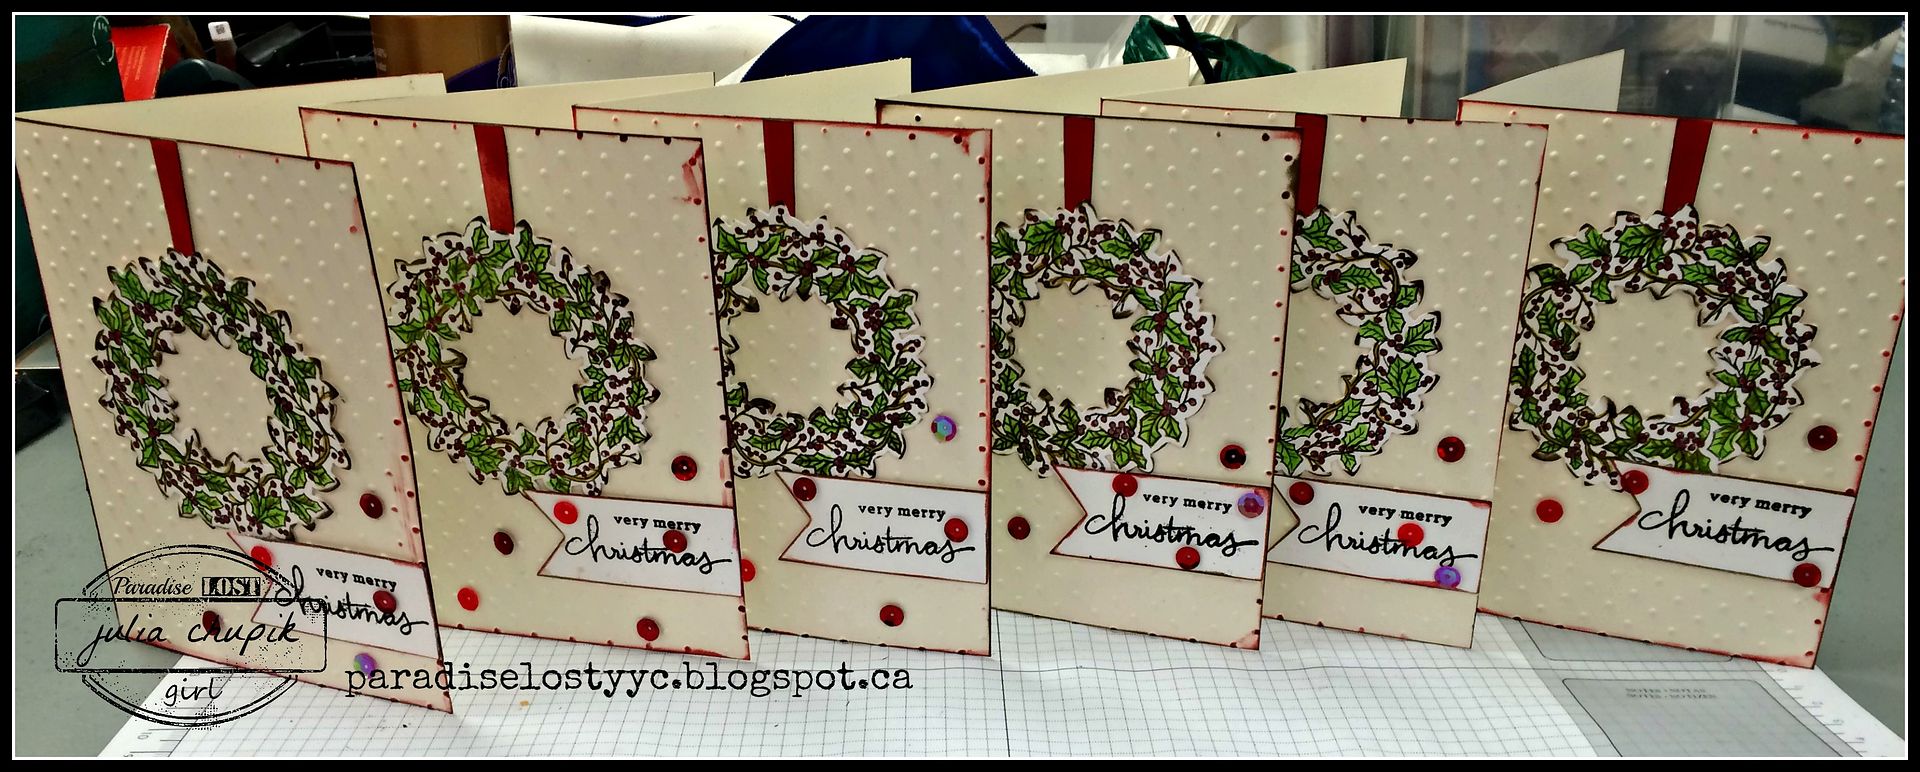
Peaceful Wreath

Saturday night was the first Paradise Lost One Day Crop of Fall 2015 and it was fabulous!
It was great to catch up with friends and to make some new friends.
Thank you to all the lovely ladies who attended!

 In the end, I wasn't really as productive as I had planned on being.
12 hours later and I had 6 Christmas cards.
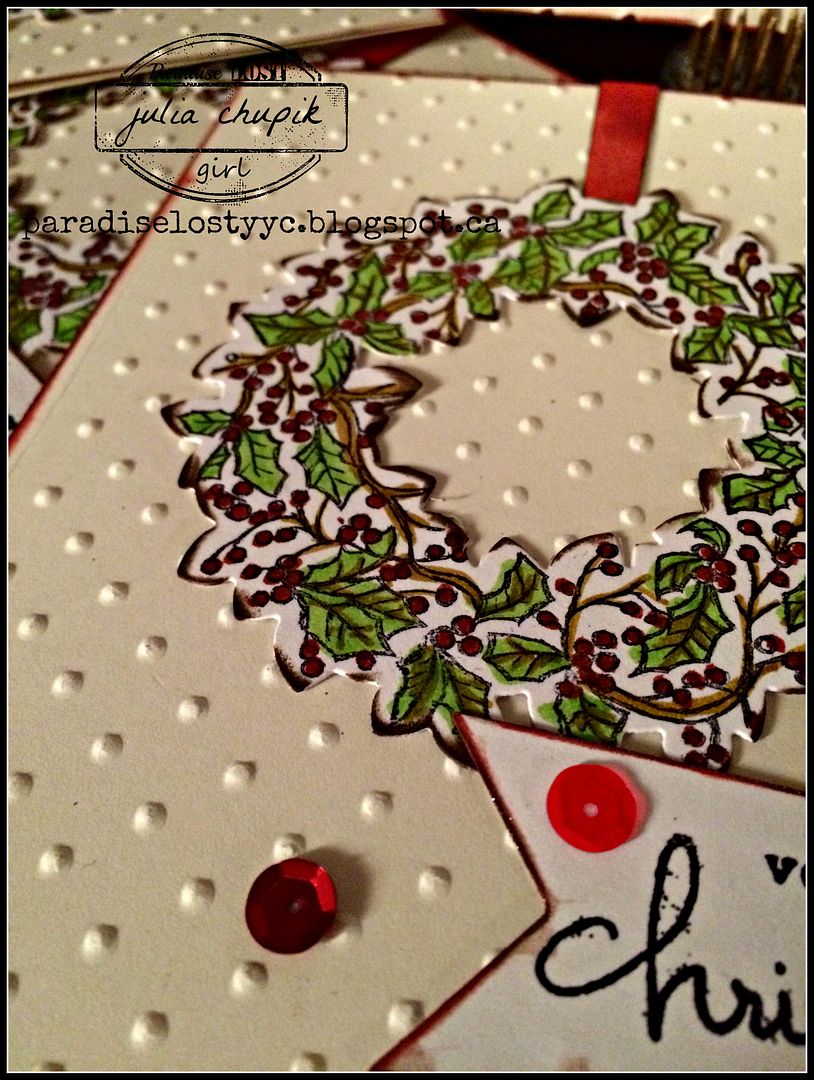
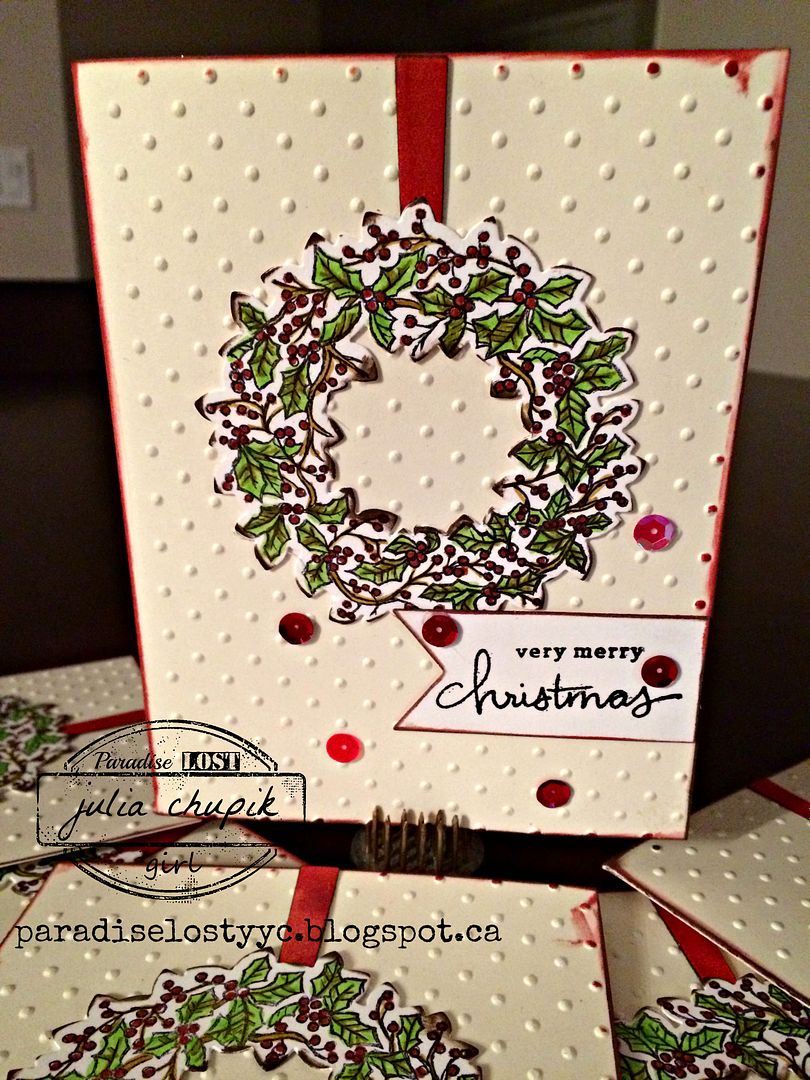
I am so thankful to Heather for bringing her Peaceful Wreath stamp set from Stampin' Up!
I used Fired Brick, Twisted Citron & Peeled Paint to colour in the stamped image of Peaceful Wreath.
I don't use sequins a lot but they worked really well with the dot embossed card base.
and added a wee bit of bling.

I'm starting to feel festive and inspired to make more Christmas themed projects!

Thanks for visiting my blog today!

Tuesday, 13 October 2015

Tim Tag - October 2015

Its time for another Tim Tag! 
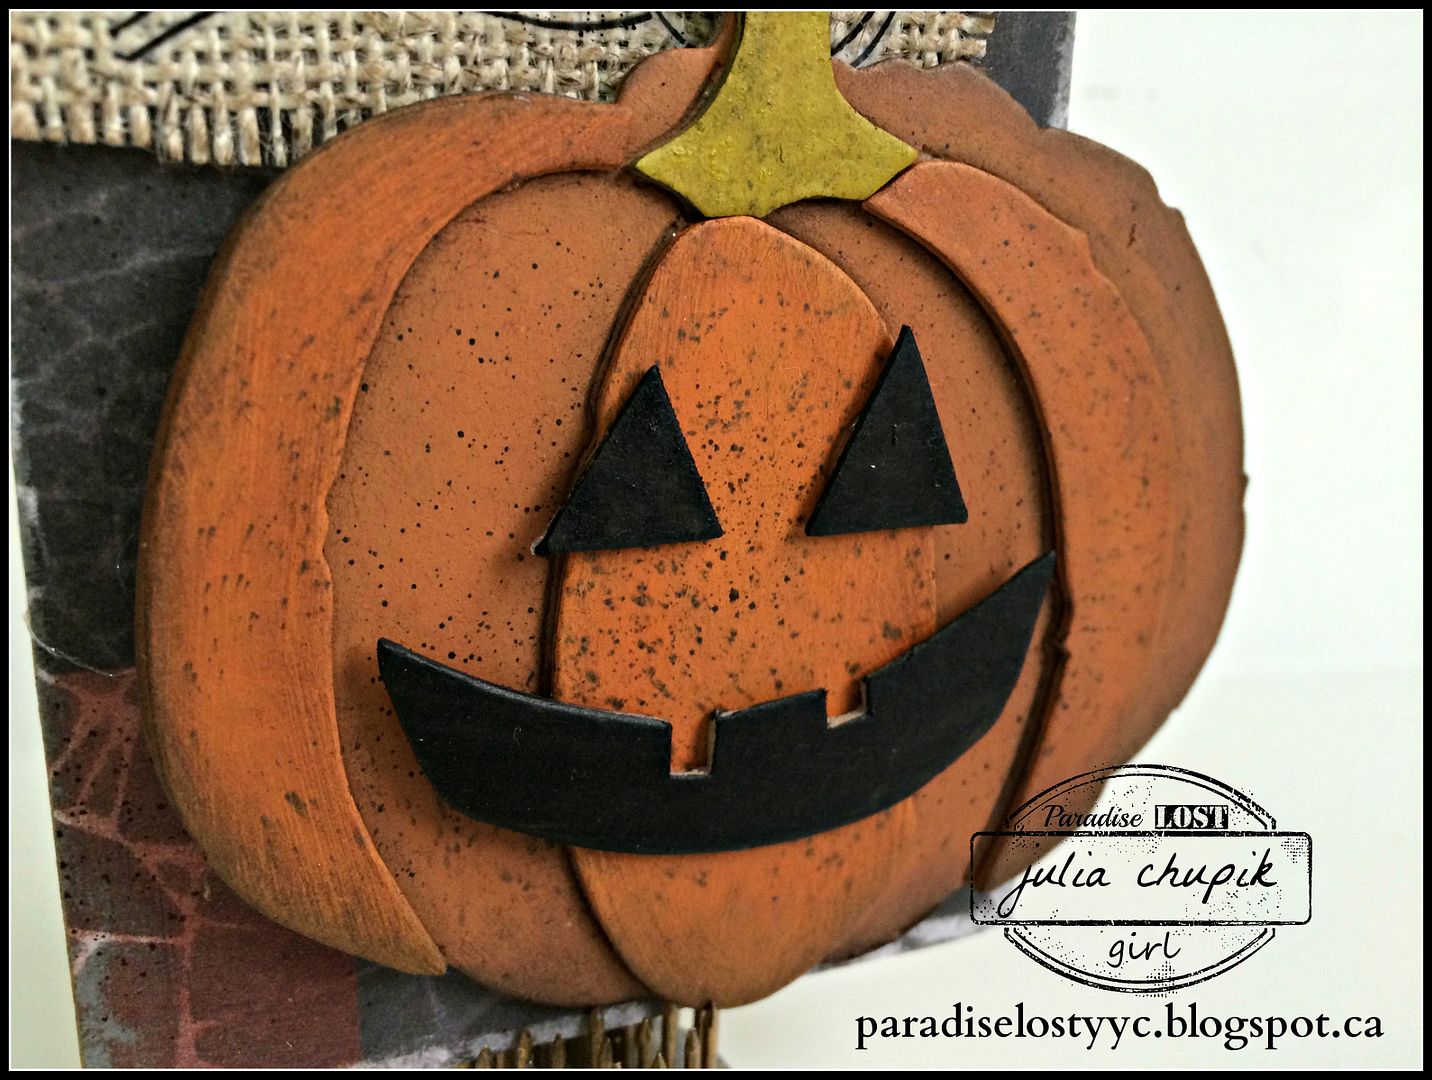
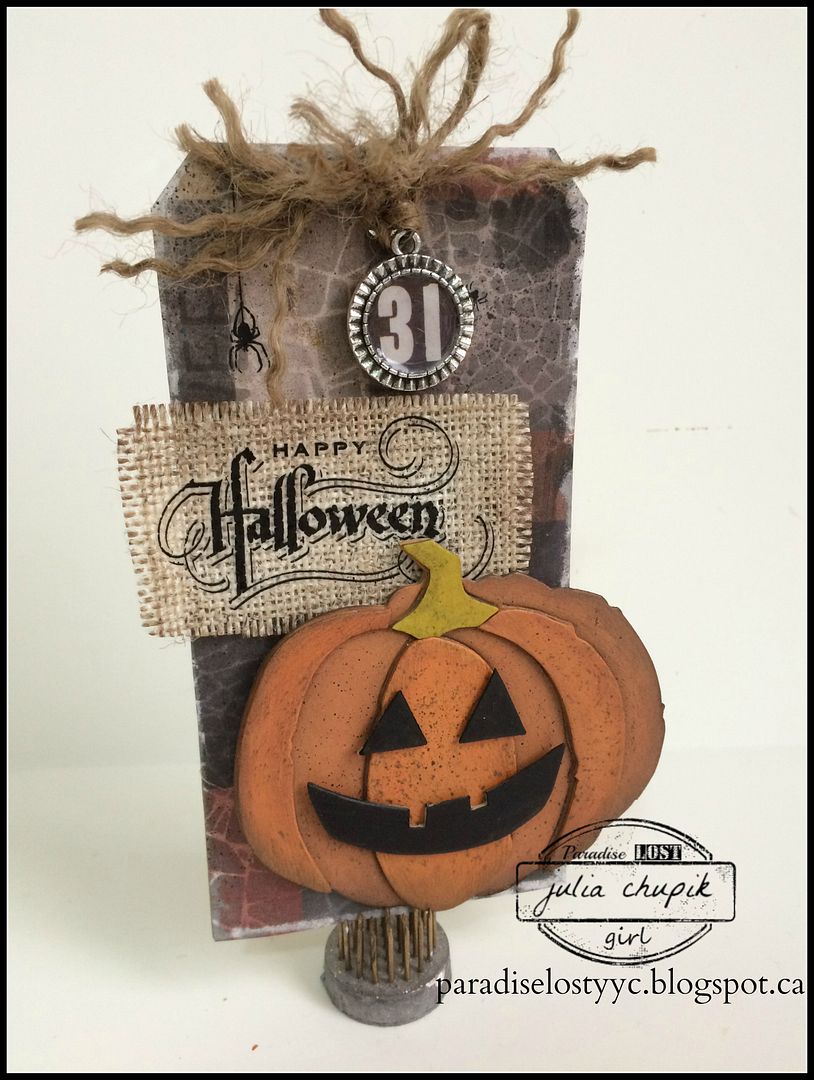
I don't own any of the monster dies - they really aren't my style - so I decided to use my Pumpkin Parts die and transform it into a jack o' lantern.

I just love his cute smile!
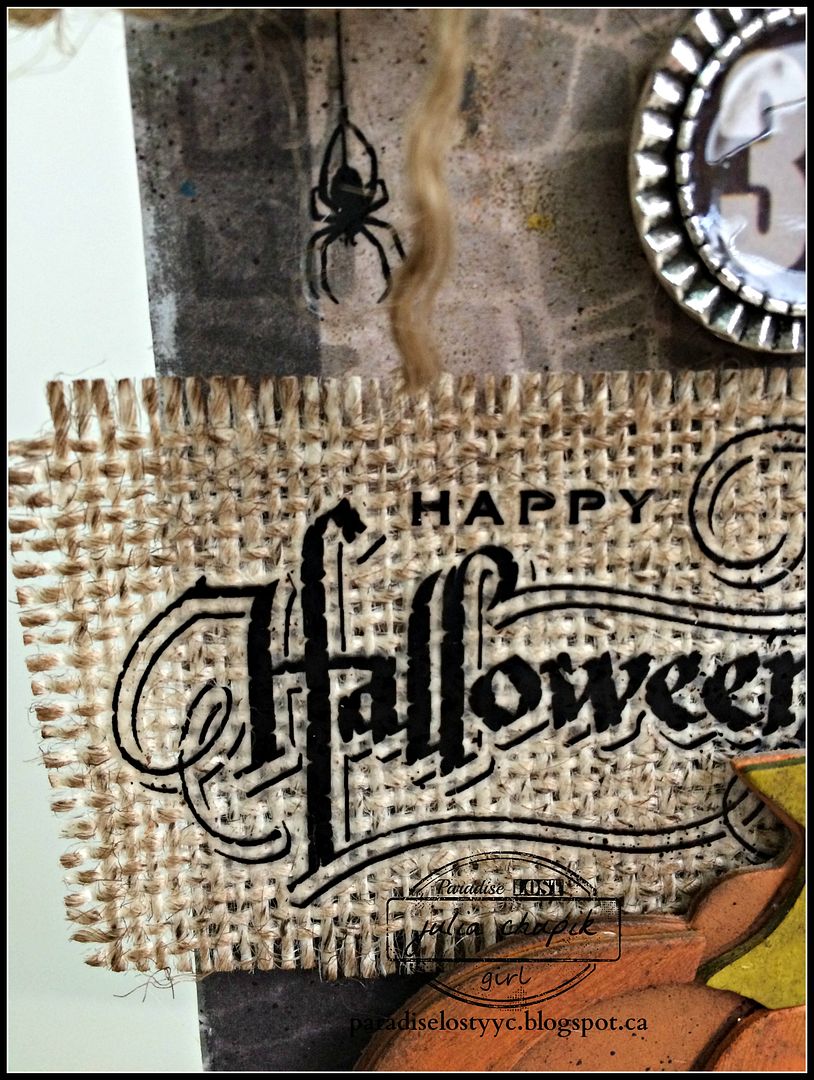
I then tranferred the "Happy Halloween" from the Curiosities Remnant Rubs on to a small piece of canvas I had in my stash. I inked up the edges with Ground Espresso Distress Ink. I also added a couple of spiders to the background too.
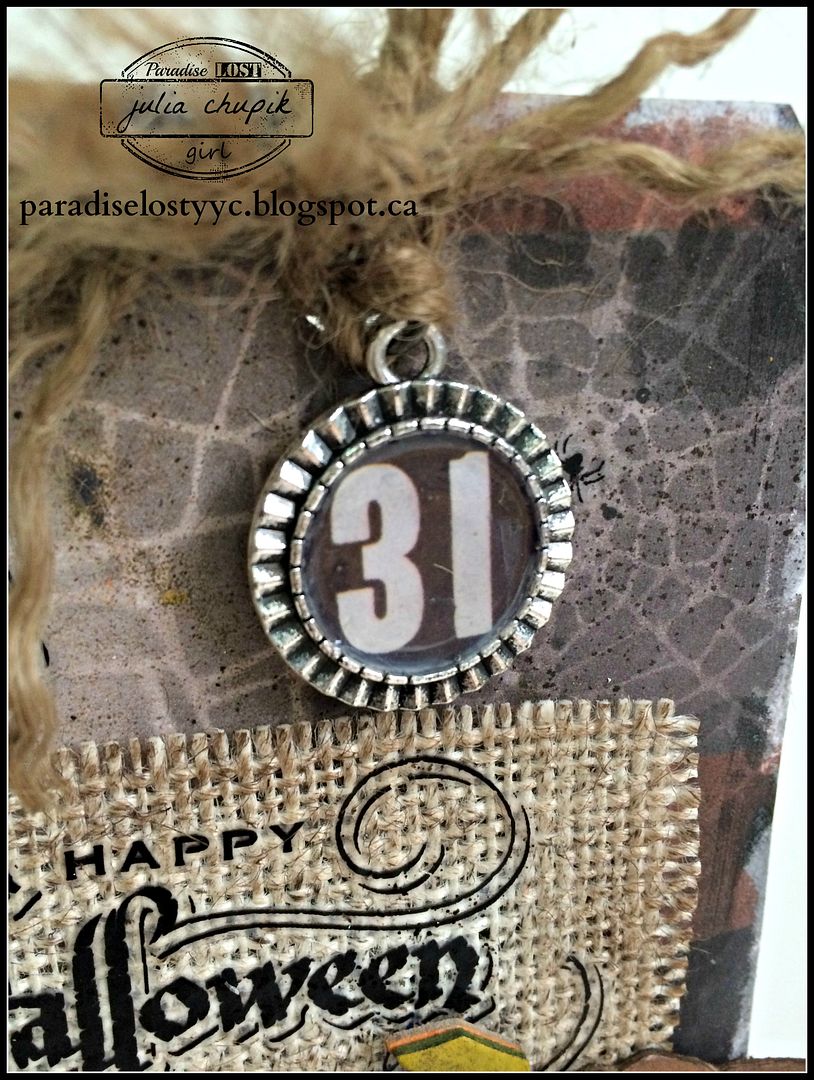
The Prize Cameo Charm from Emerald Creek. It is the perfect size for the '31' from the 8x8 Regions Beyond Paper Stash from Tim Holtz Idea-ology. I inked the Shatter Stencil with Hickory Smoke onto my background as well.

My completed tag - 

Submitted to challenges:


 Thanks for visiting my blog today!


Thursday, 8 October 2015

Fall-ing ~ Emerald Creek Design Team

It's time for the Fall release from the Emerald Creek Dares Design Team.
Now, I have to admit that I have mixed feelings about this season ~ I love the colours of the leaves as they change, the excitement of the NHL season beginning and the smell of a Pumpkin Spice Latte.
All of these things are wonderful but it also means that the snow can start falling anytime.

My project today was inspired by a walk I took with my dog in the beautiful river valley of the North Saskatchewan as it makes it way through Edmonton, Alberta.
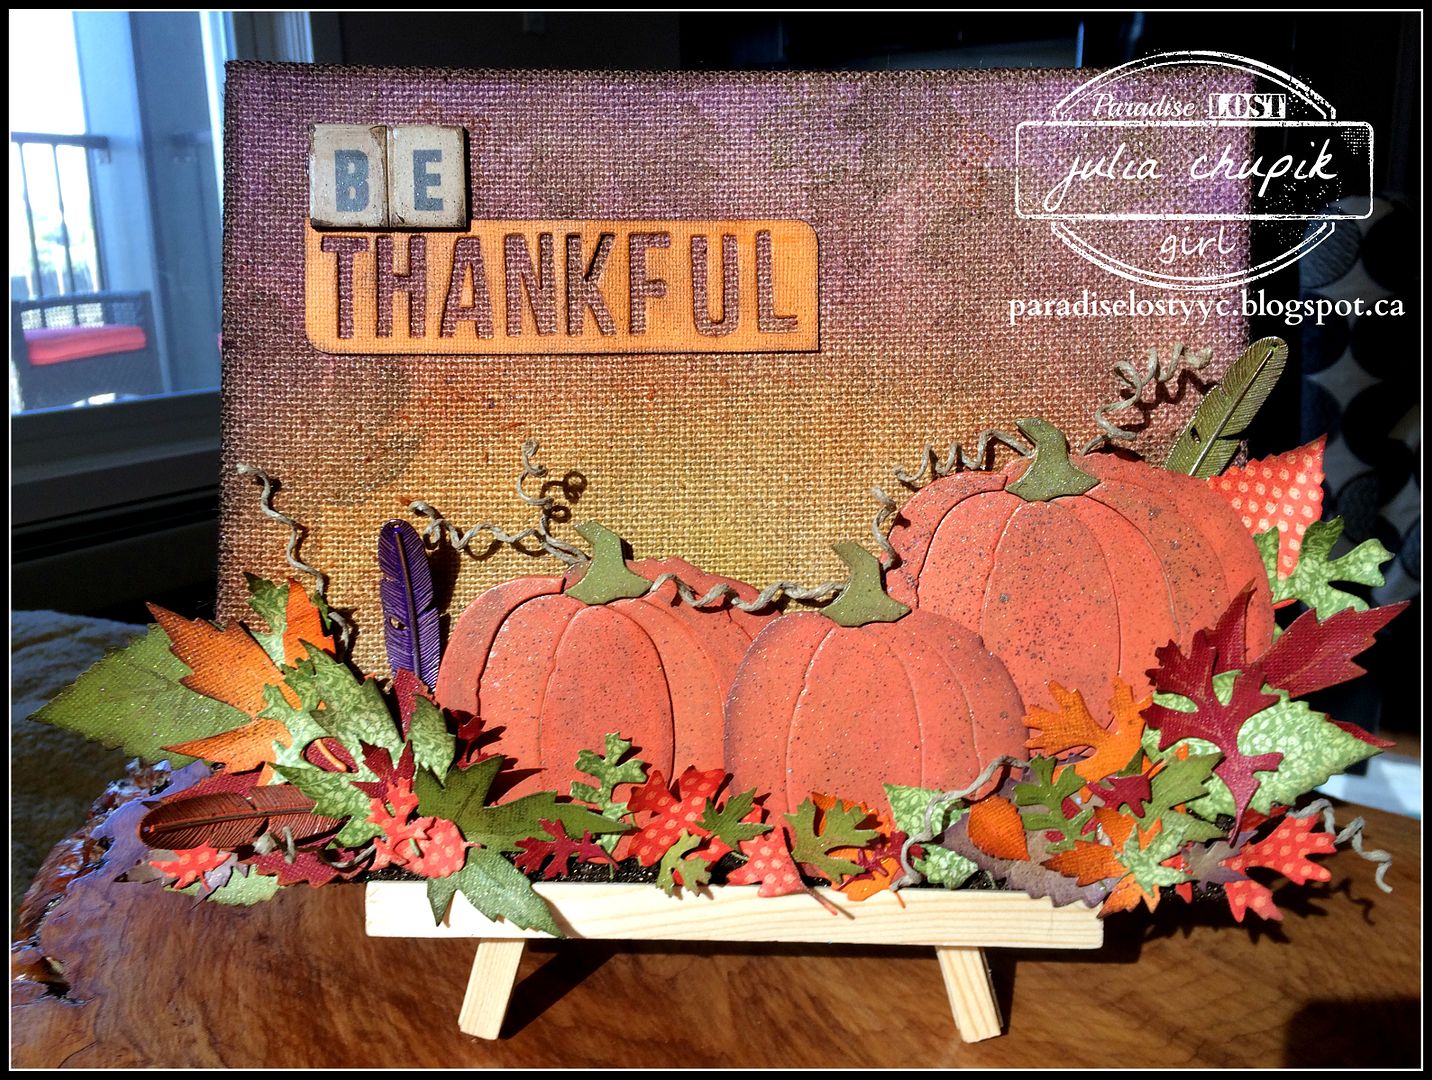
My base was an 8"x10" burlap canvas that I had in my stash.
I knew I wanted it to look like a pumpkin patch at sunset.
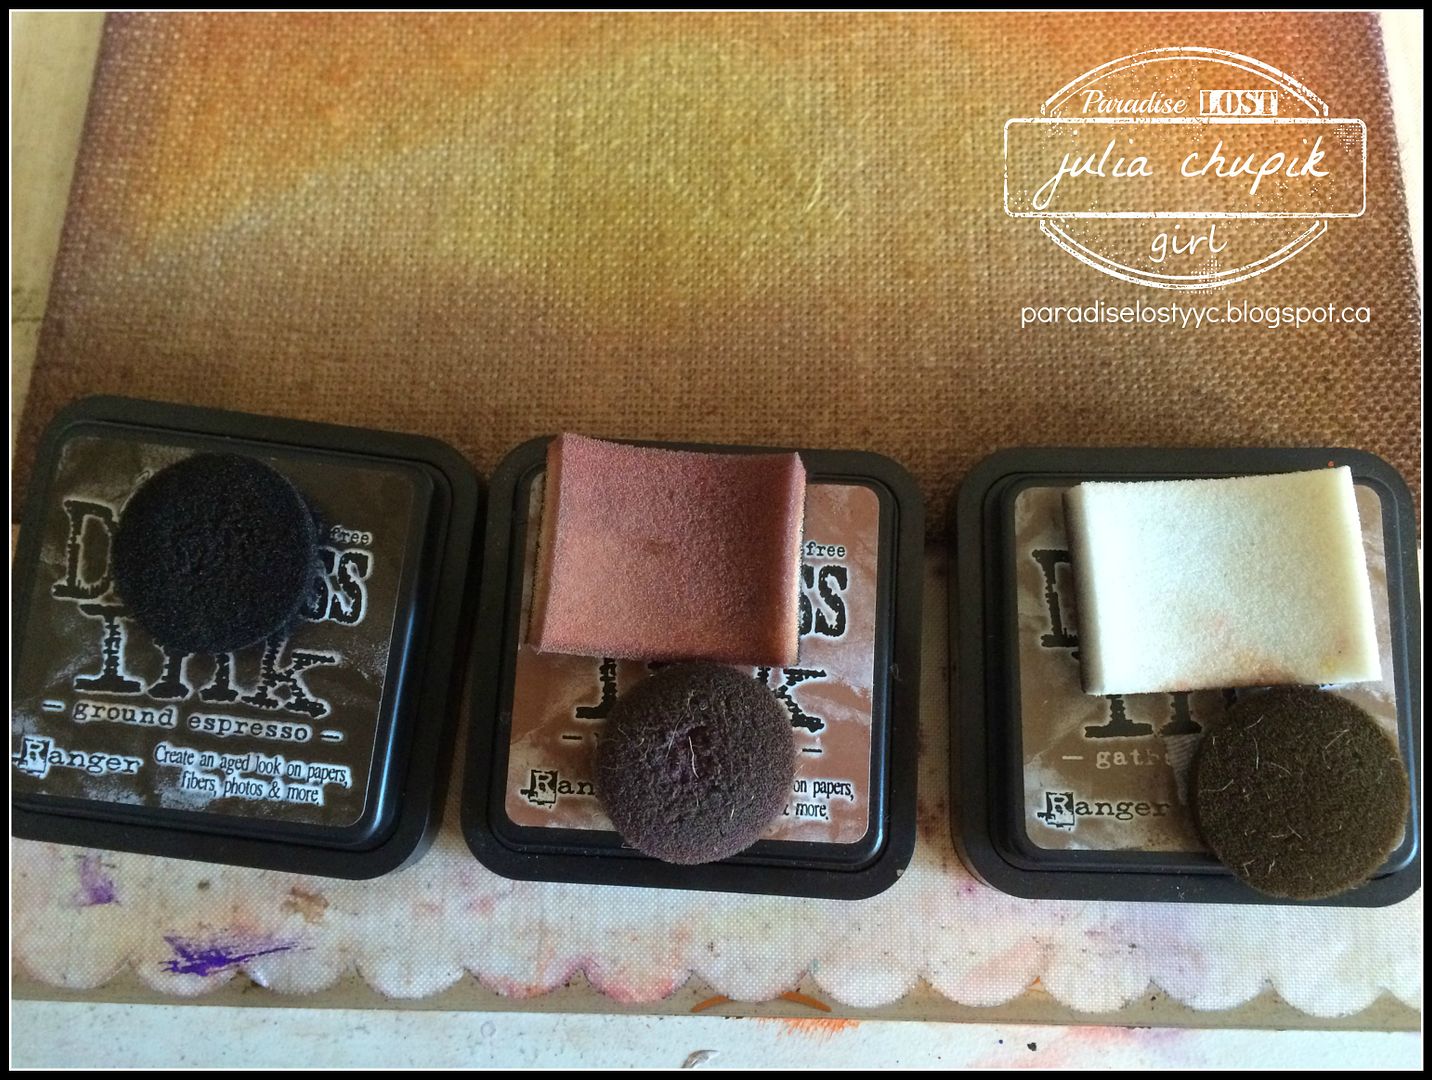
I used my blending tool to blend Vintage Photo, Gathered Twigs & Ground Espresso along the bottom edge of my canvas.
The sunset was a blend of several colours ~ Squeezed Lemonade , Scattered Straw, Spiced Marmalade, Fired Brick, Seedless Preserves & Wilted Violet.
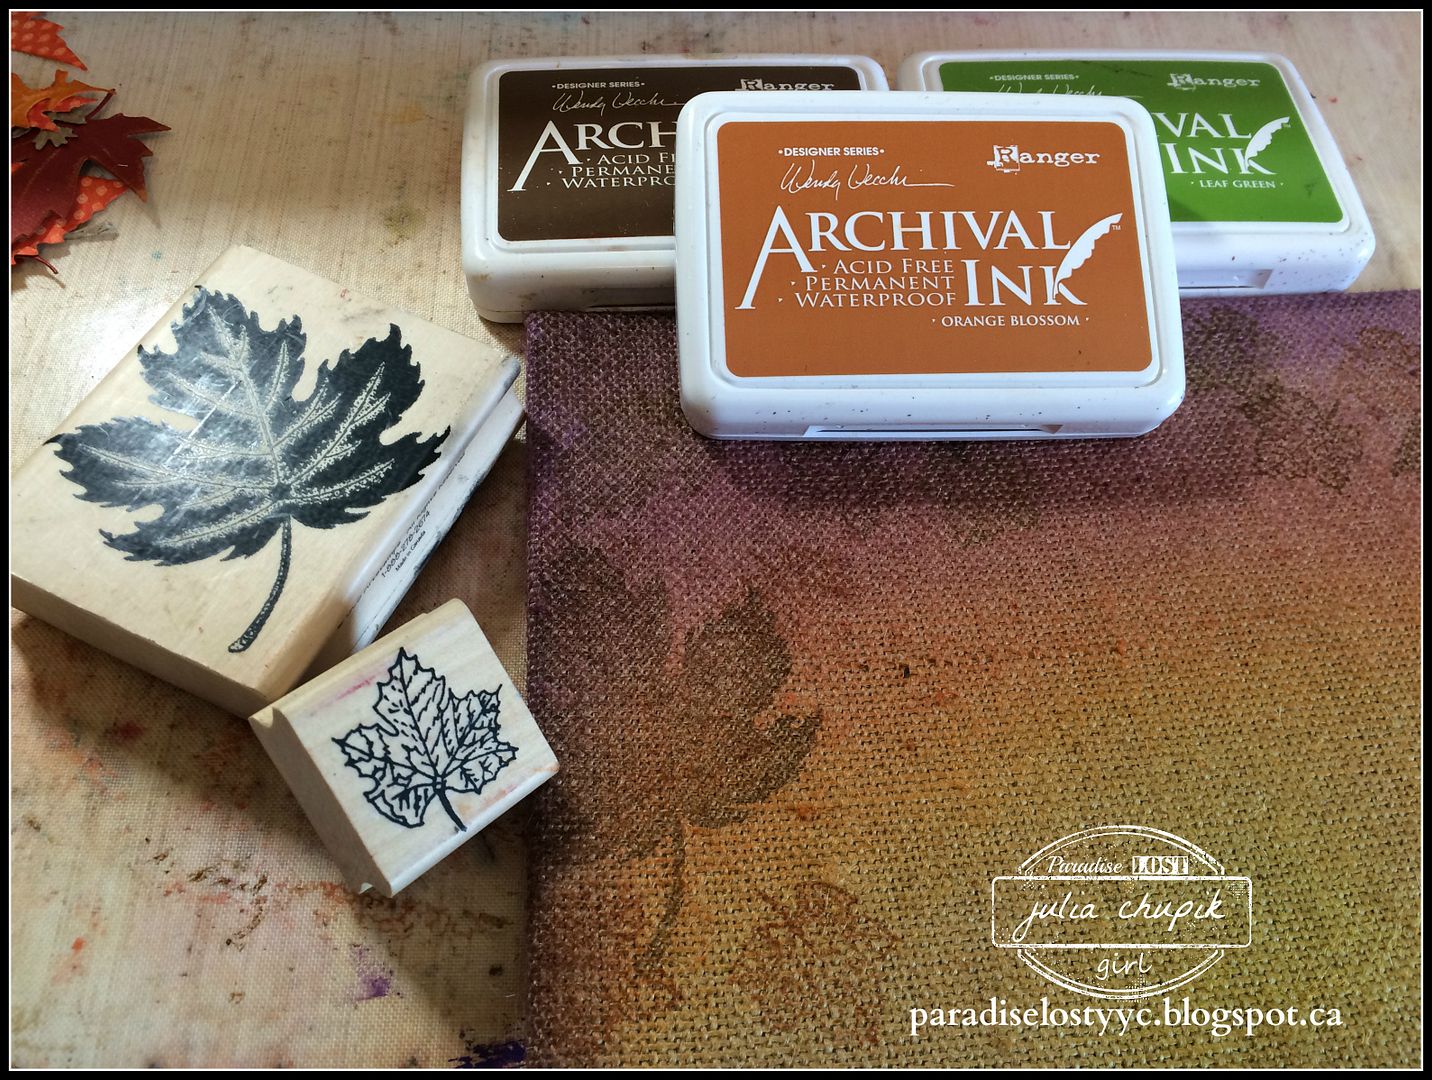
To add a little more interest to the background I stamped leaves in Archival Ink around the outside edges. I just love the Leaf & Maple Leaf stamps from Emerald Creek Craft Supplies!
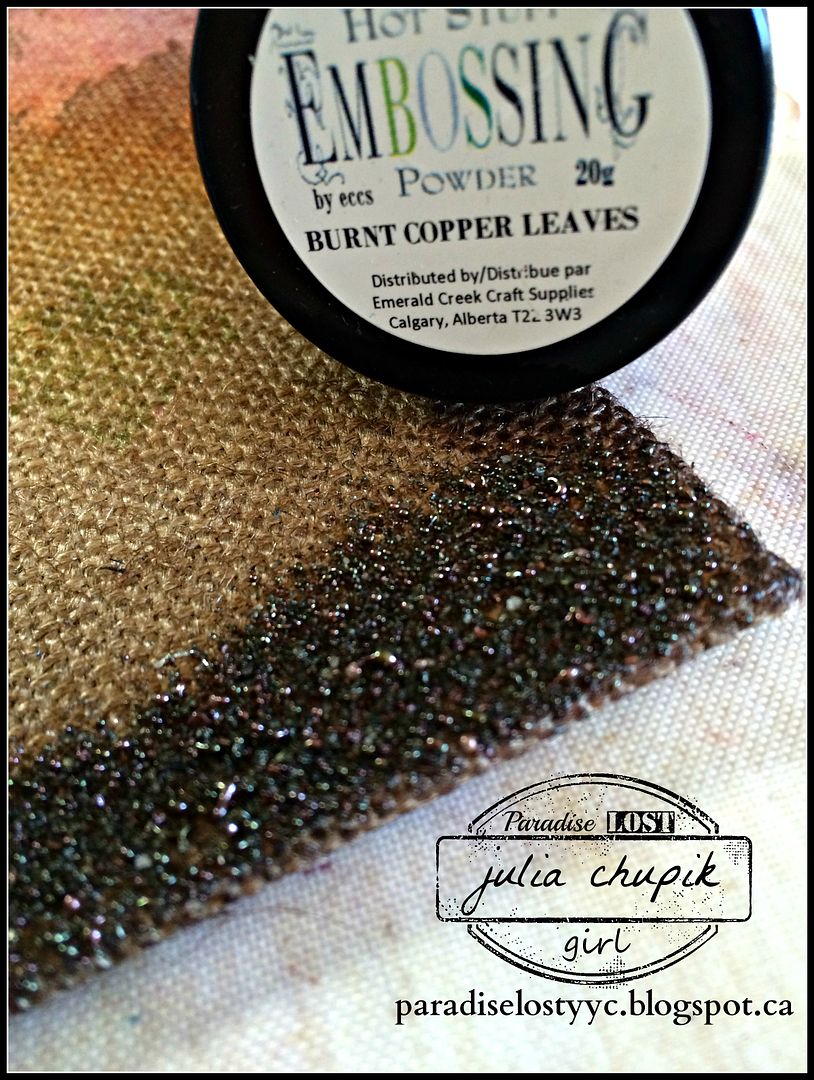
 I decided to add a bit more texture to the bottom edge by using the Burnt Copper Leaves Embossing Powder ~ this is an Exclusive blend only available at Emerald Creek Craft Supplies.

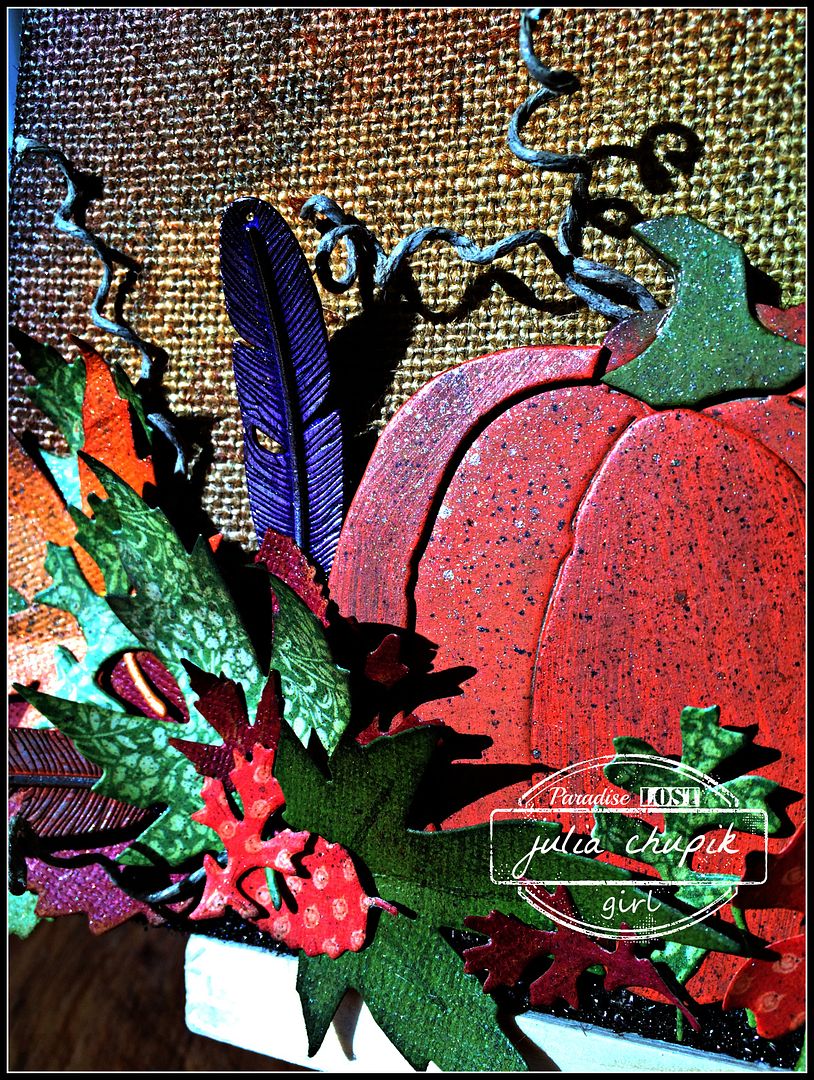
The Tim Holtz/Sizzix Pumpkin Parts die was new to me and I was very excited to use it.
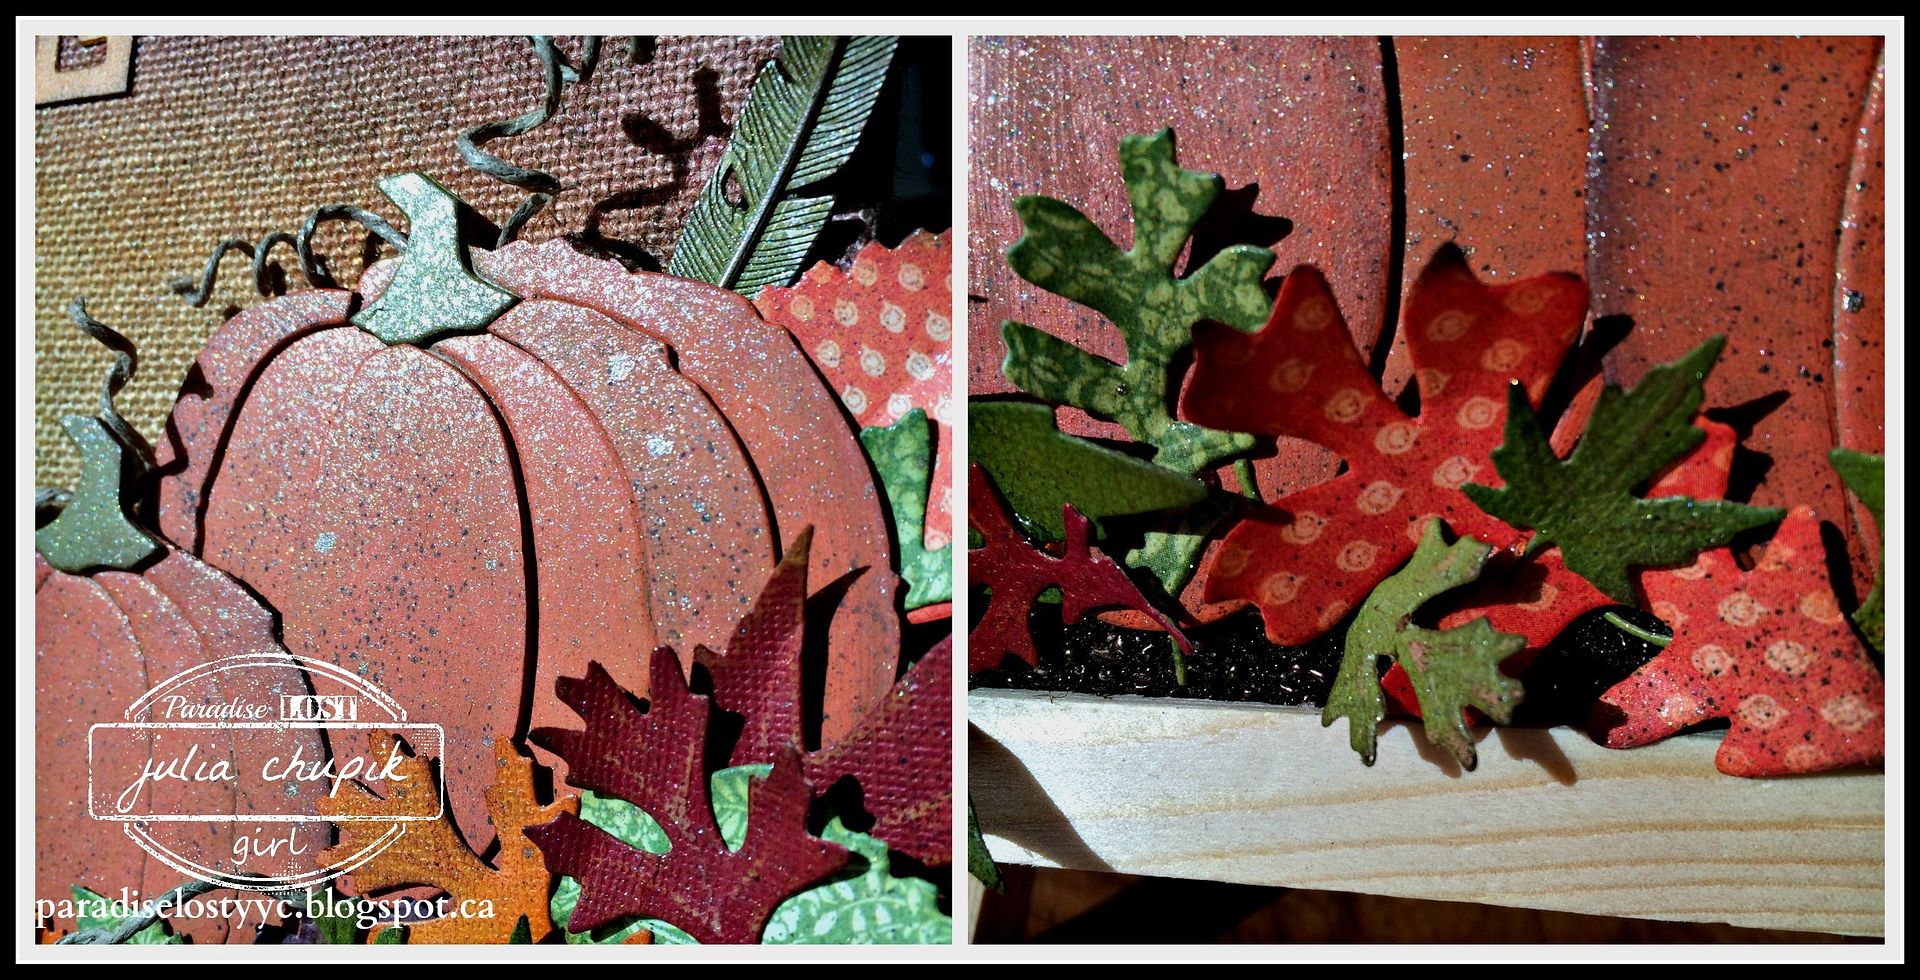
All three pumpkins were diecut  out of chipboard and coloured with Distress Paint ~ Rusty Hinge and Ripe Persimmon. The smaller pumpkin is the same die, I just trimmed off the outer sections of the pumpkin to get a different shape. The stems were coloured with Crushed Olive Distress Paint. The 'vines' were made using a wax coated hemp string that I had in my stash. I wrapped it around a skewer to get the curled look. To finish the look of the pumpkins I used my spritzer tool with my Ground Espresso Distress Marker.
A fall canvas would not be complete without lots & lots of colourful leaves!
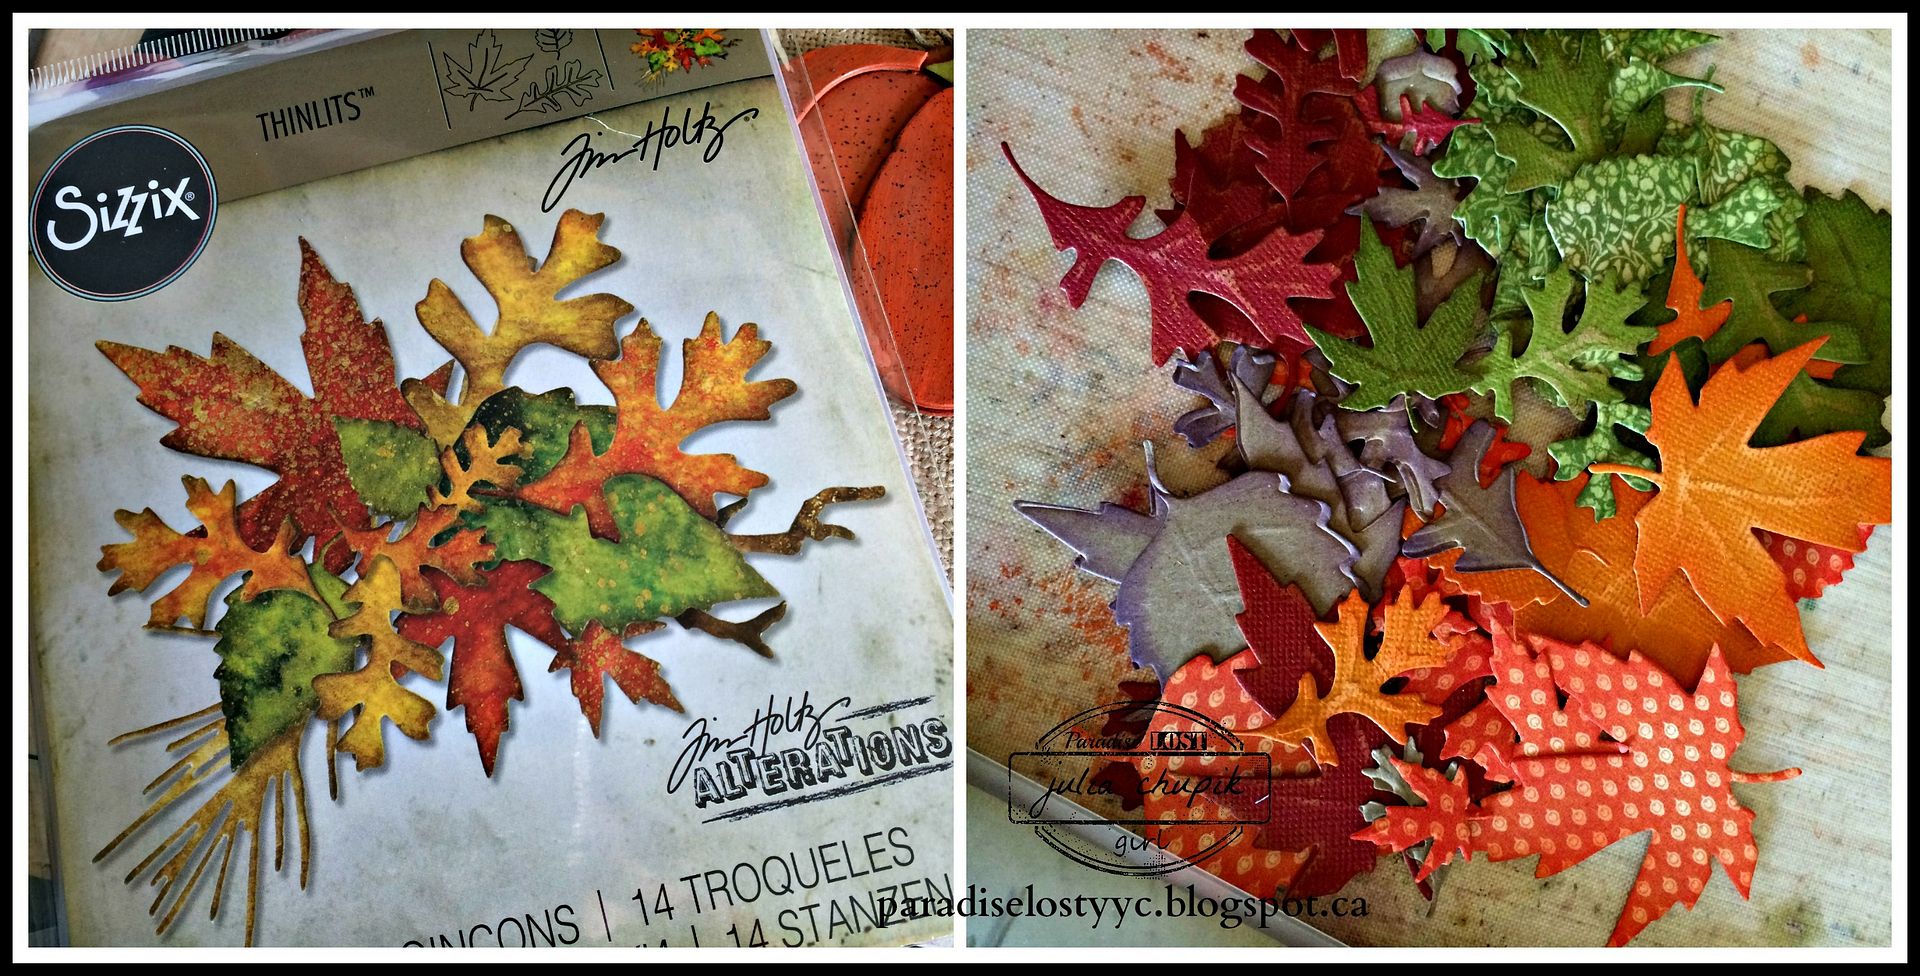
The Fall Foliage Thinlits from Tim Holtz & Sizzix was perfect!
I die cut  leaves out of Core'dination's Cardstock & printed paper then inked the edges.
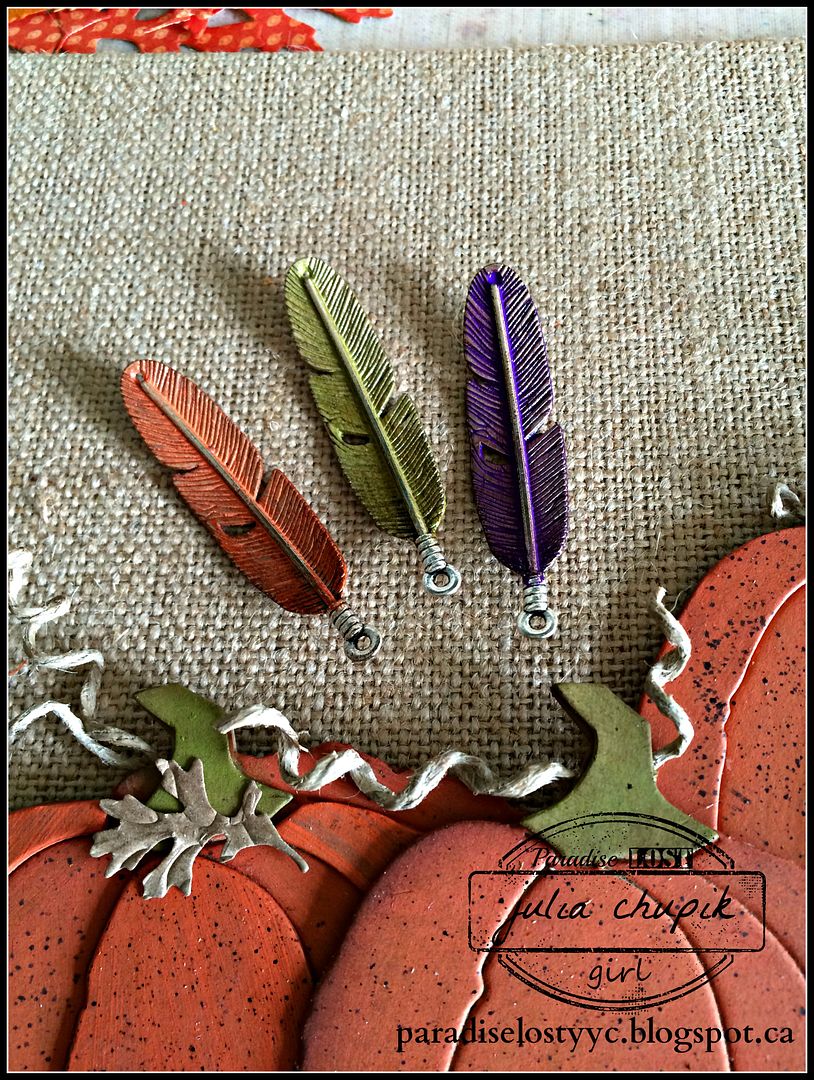
I couldn't wait to use my Distress Paint on these amazing Feather Charms from Emerald Creek.
I used Wilted Violet, Ripe Persimmon & Crushed Olive Distress Paint, wiping off a bit of the paint as it was starting to dry. I then used my Distress Blending tool to add some Ground Espresso Distress Ink to the edges.
It was time to adhere all these pieces to my canvas and after it was all glued down and just right, I gave the entire canvas a light spritzing with Perfect Pearls Heirloom Gold for just a bit of shimmer.

 Thank you for visiting my blog today!
Be sure to check out the blog posts from the rest of the Emerald Creek Dares Design Team for a lot more Fall Themed inspiration!

Nicole Wright Designs
Diana Hetherington - missusgmoments
Cathy Potosky - Amethyst Dragon's Alcove
Karon Hughes - Karon's Krafty Korner 

Check out the Emerald Creek Dares Blog for a chance to win a $25 online gift certificate!

http://www.emeraldcreek.ca/


Tuesday, 6 October 2015

The Journey......Art Journal Layout

I started an art journal a year or so ago and somehow, somewhere along the way I stopped.
I got into the habit of over-planning and over-thinking every creative project instead of just letting the creativity flow naturally.
I decided I just needed to sit down with my art journal and just let the ideas happen.
No planning. No thinking.


It was so refreshing and it reminded why I began an art journal in the first place.
This page a little bit of everything - painting with a brush and some with my fingers; stamping, stencils; texture paste;distress stains; metallic paint; gesso & rub-ons.
From start to finish this took me 45 minutes to finish including the drying time.

Hello, Art Journal. It's nice to see you again.

Thanks for visiting my blog today!
I really appreciate it.


Challenges submitted:

A Vintage Journey: Art Journalling With Tim

Friday, 2 October 2015

Mini Fall Canvas Set

Well, it finally happened - I took my dog for a walk at a local park in the river valley and I felt things.
The beautiful colours of the leaves, the rustling sound the leaves made as my dog ran & bounded through them. It was glorious!
All I needed a glass a warm apple cider and slice of pumpkin pie and it would have been perfection!

I came home full of inspiration and immediately went to, what I like to call, my Box of Bases!
It's where is keep canvasses, wood frames, 3D boxes etc etc. As I was flipping through I found 4 mini burlap canvasses - 4"x 4". Perfect!


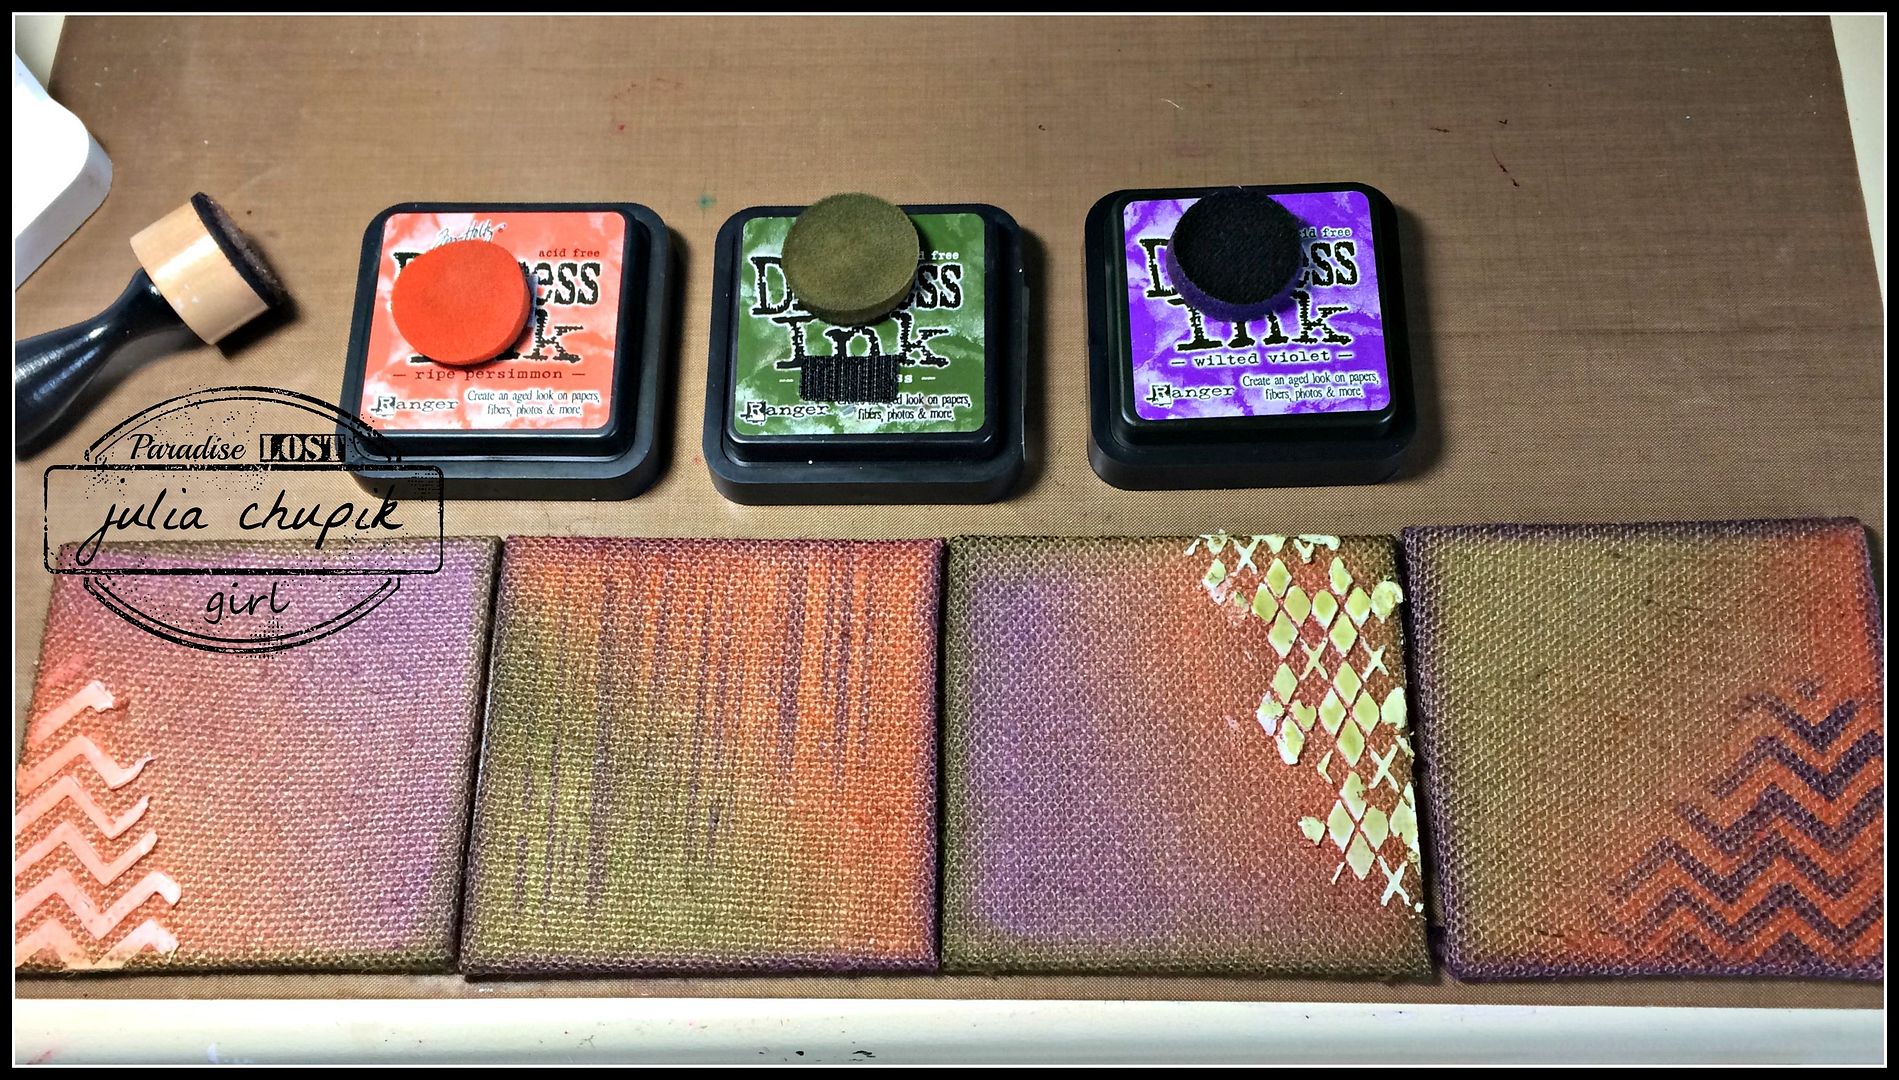
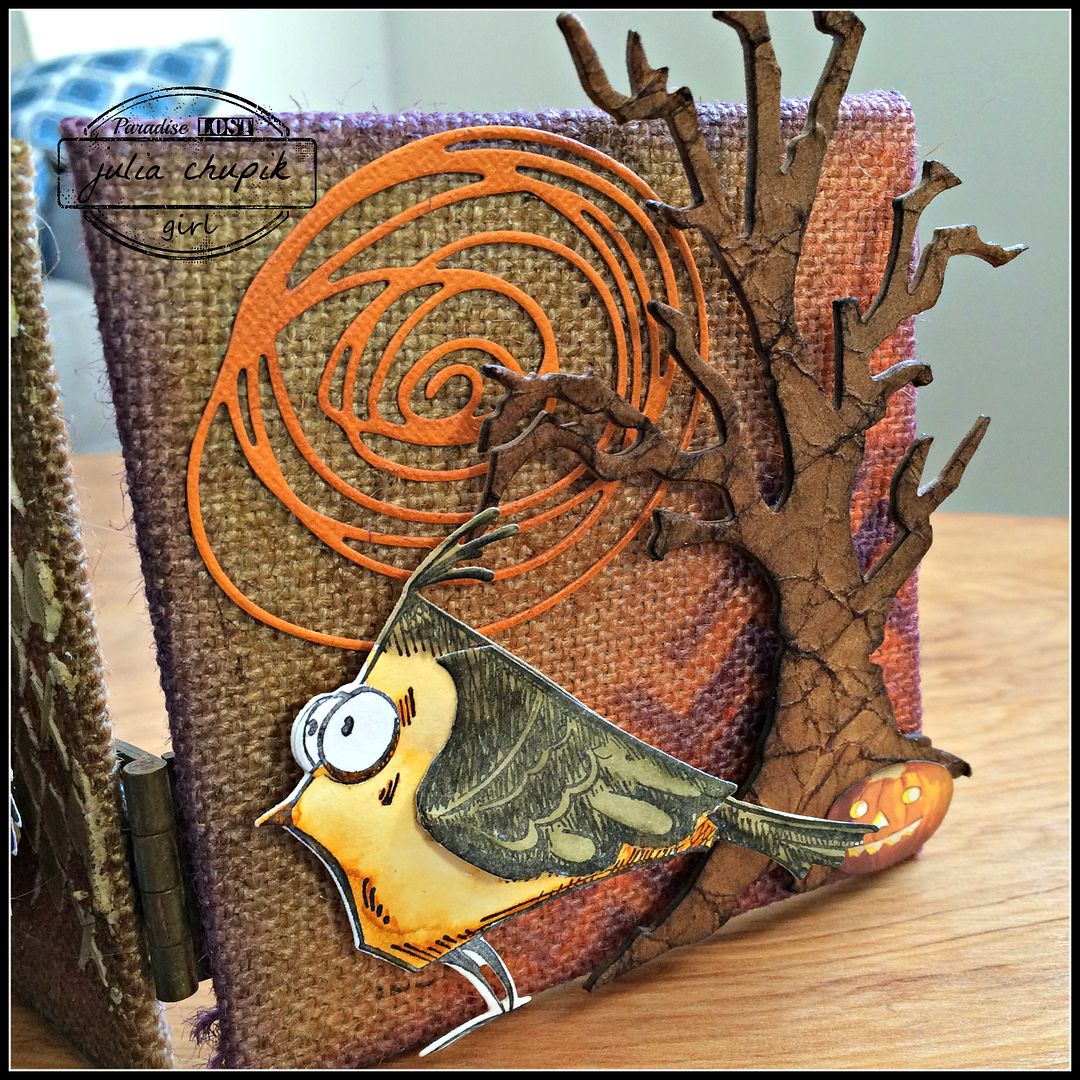
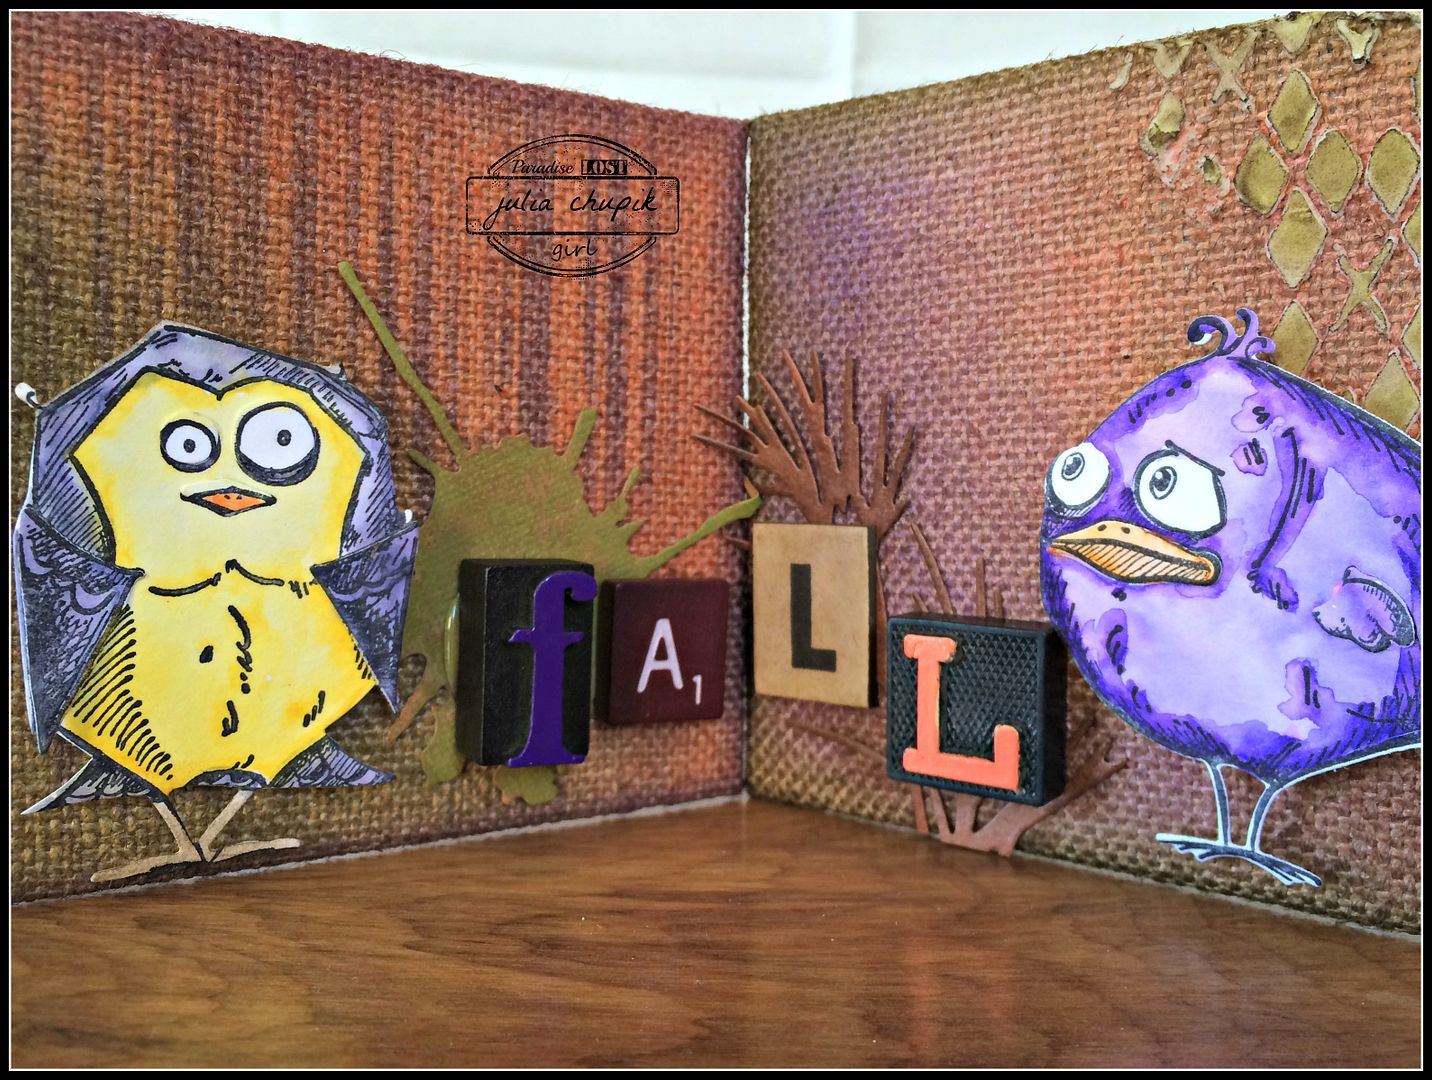
Ripe Persimmon, Forest Moss and my brand new Wilted Violet that I bought at Emerald Creek Craft Supplies is a gorgeous fall colour pallet. I used my blending tool to apply the the colours to the burlap. On 2 of the canvasses I applied Ranger Texture Paste through the Zig Zag Stencil & the Argyle Stencil by Tim Holtz & Stampers Anonymous. After the texture paste dried I applied more distress ink. I applied Wilted Violet with my ink blending tool through the Zig Zag & Stripes Stencils on the other 2 canvasses.
I decided to use the Bird Crazy Stamp set because those little guys were just the perfect size. 
I stamped & watercolored 4 of them with my Distress Ink. 
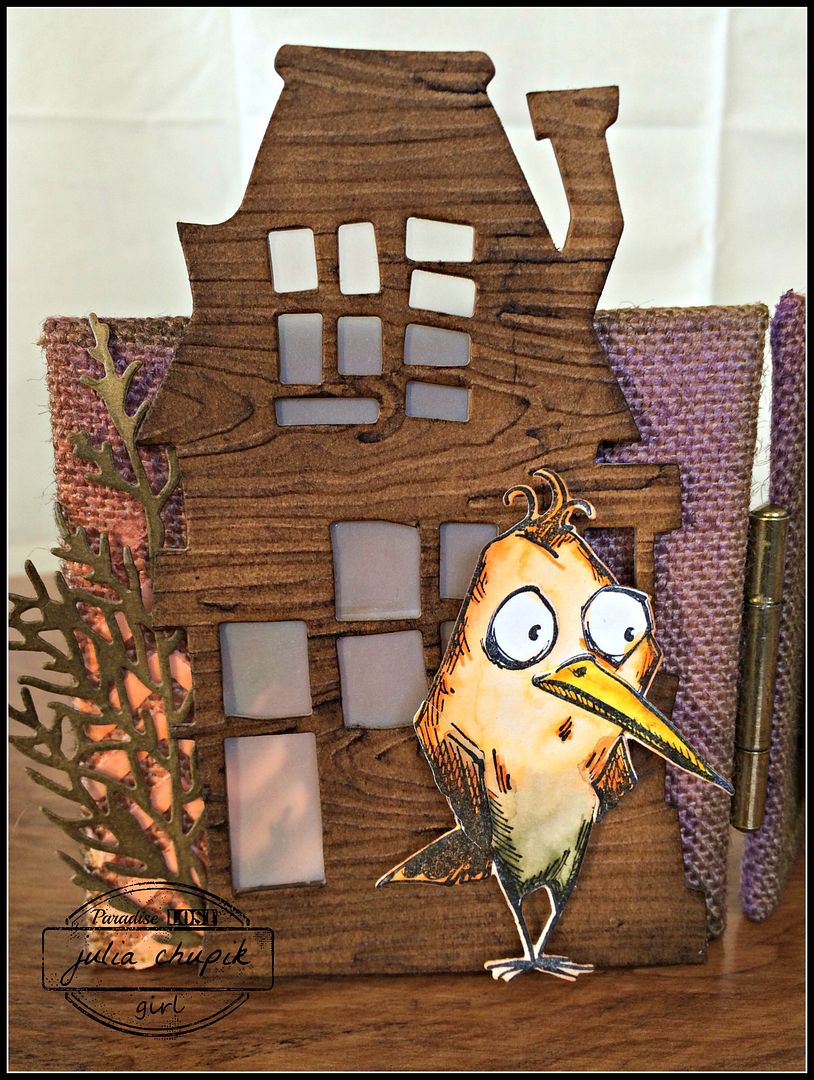
I wanted some larger die cut elements and the Branch Tree & Rickety House were just the right size. 


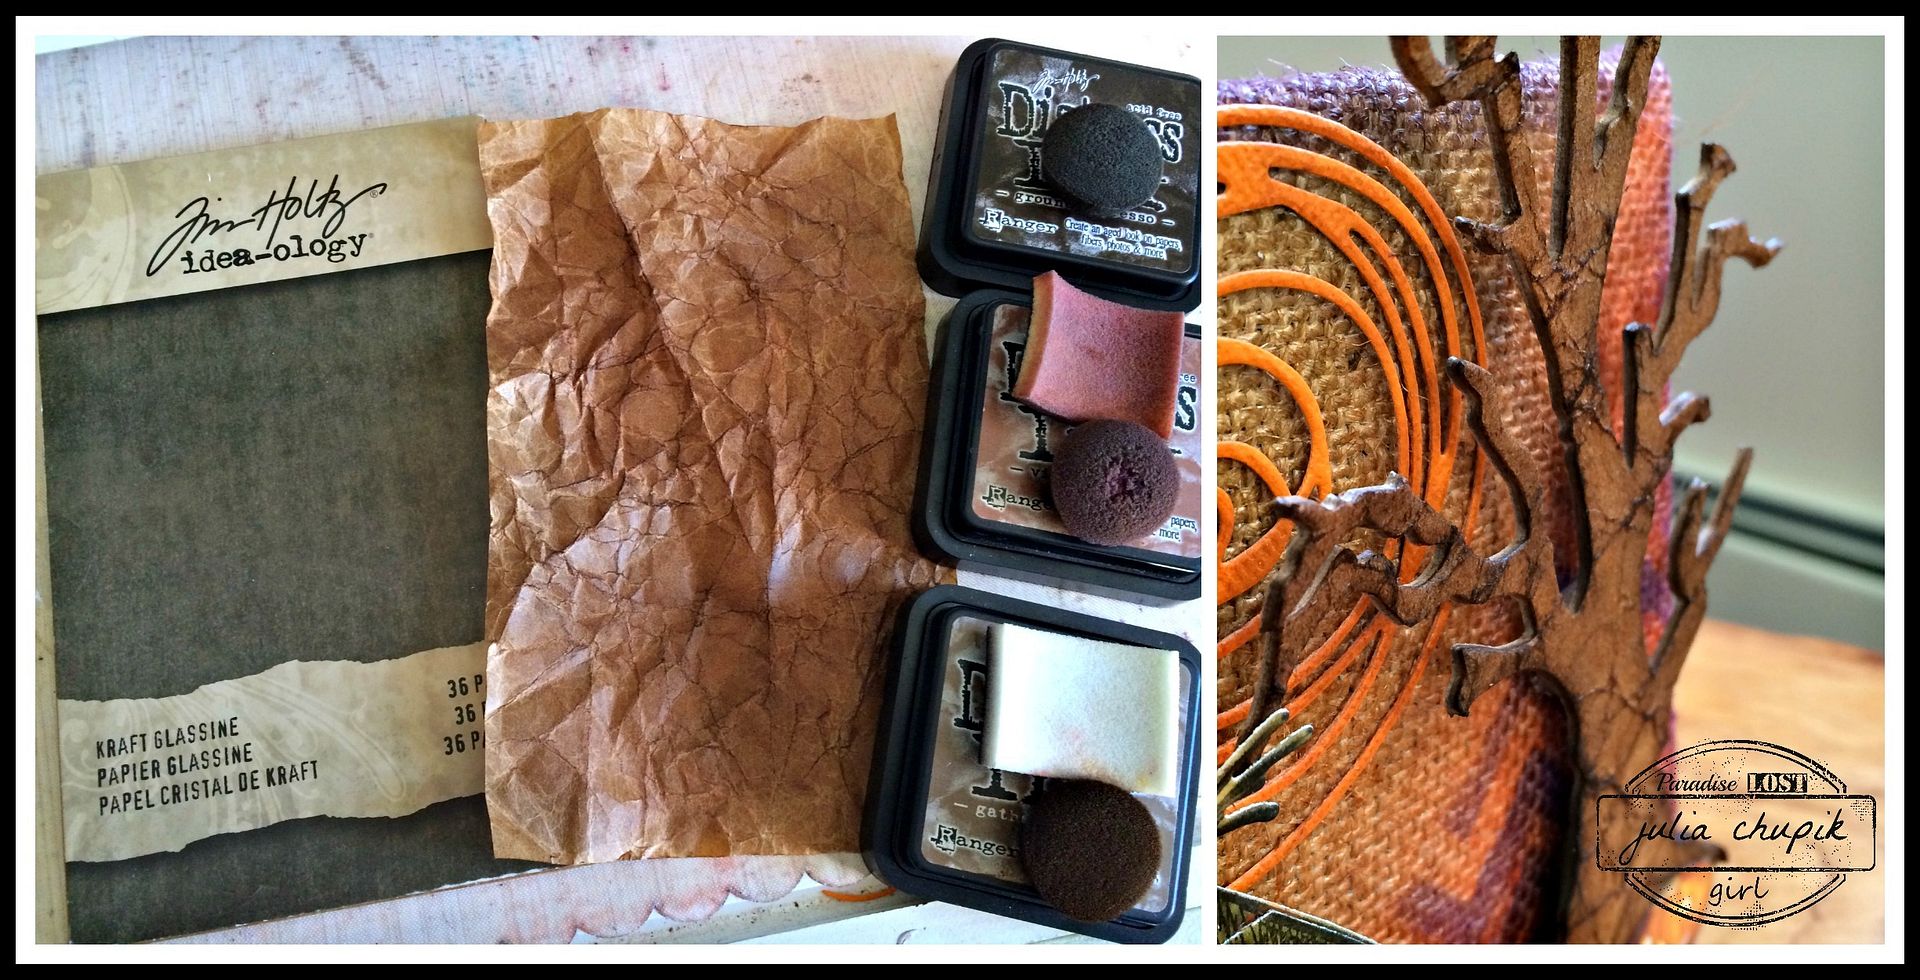
To get the texture on the tree I took a sheet of Glassine and scrunched it up before appling Ground Espresso, Vintage Photo & Gathered Twigs with my blending tool. I then used matte medium to adhere the glassine to chipboard before diecutting my image. I used the same technique for the rickety house except I used my woodgrain embossing folder the for texture.


I used the Holidays Greens and Scribbles & Splats Thinlit dies to add a few more elements and some random letters to spell our "Fall". 


Finally, I used some old rusty hinges that I bought at ReStore to join all four mini panels together.


Thanks for visiting my blog today! I really appreciate it!
Don't forget to check out the Emerald Creek Dares blog for this months challenge and for a chance to win a $25 gift card to the online store!
http://www.emeraldcreek.ca/
http://blog.emeraldcreek.ca/