Friday, 27 October 2017

Scrap Shotz Projects - My Favorite Things & Simple Stories products

Hi everyone!

I am on the 
blog today sharing some projects I mad using products available at the online store.


Head on over to the Scrap Shotz blog for more photos and a list of the products used.


Friday, 20 October 2017

Cabin Fever 12x12 Layout

Hello everyone!

I am over on the Scrap Shotz blog today sharing a 12 x 12 layout I designed using 
the Cabin Fever Paper Pack from Simple Stories.


Check out the Scrap Shotz blog for more photos and step-by-step instructions.


Wednesday, 18 October 2017

Tim Holtz Tag Swap

Hello my crafty friend!
I was fortunate enough to get in on a worldwide Tag Swap for
 Tim Holtz Addicts earlier this month. 
I was matched up with 2 lovely & super talented artists ~ 
Juli (from Florida) and Kathryn (from the UK). Now that they have
received their tags I can finally share them.

These tags involved a lot of layers so bear with me - 

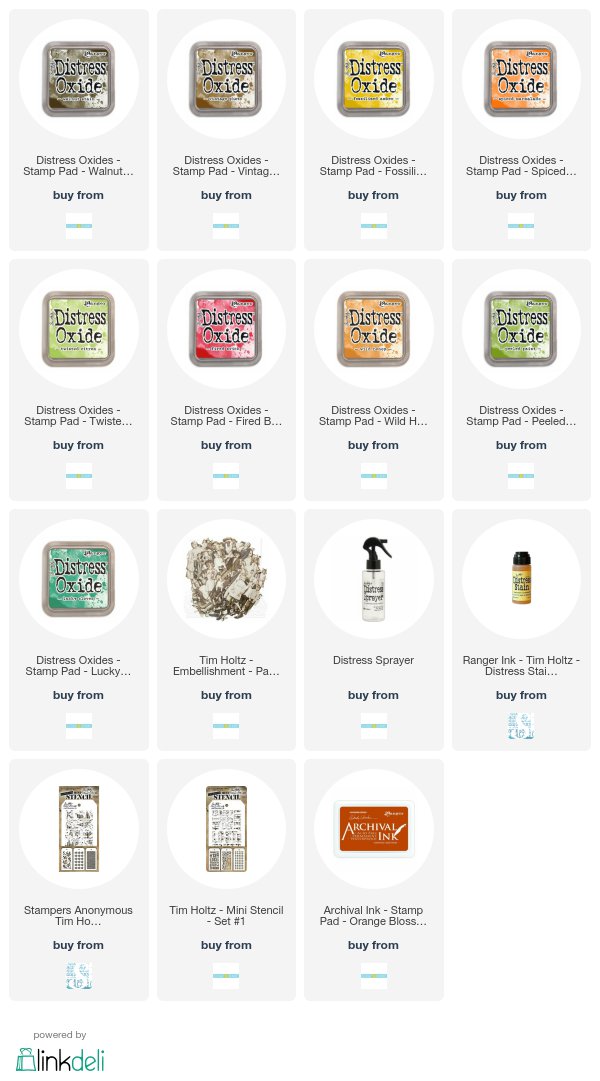
I started with 2 - #5 tags from Ranger. I used the smoosh technique to apply Distress Stains - Squeezed Lemonade & Ripe Persimmon.
Next I started applying Distress Oxides - 
Fossilized Amber Distress Oxide

Wild Honey Distress Oxide

Fired Brick Distress Oxide

Peeled Paint Distress Oxide

Walnut Stain Distress Oxide

I was happy with my tags but wanted to add some more green to one and orange to the other.

On this tag I added some Lucky Clover Distress Oxide.

On this tag  added some Spiced Marmalade Distress Oxide.

Next I took my Fall Leaves Mini Layering Stencil and used my blending foam applicator and applied Wild Honey Distress Oxide and then added a bit of Vintage Photo Distress Oxide.

Once my tags were completely dry I added some Distress Grit Paste through the Lost & Found Mini Stencil from Set #1.

I let the grit paste dry for a couple of hours before finishing my tags. I added a bit of script stamping with Orange Blossom Archival Ink & tinted some crinkle ribbon with Twisted Citron Distress Oxide.

To complete my tags I chose some paper dolls from Tim Holtz Idea-ology and used Distress Markers to tint them & a phrase from the Chit Chat collection.
My tags were done and ready to be mailed off to their new home and into the hands of some new friends. Everyone loves Happy Mail!
Products used to create this project:


Monday, 16 October 2017

A Gentle Heart Art Journal Page

Welcome my friend! I am so glad you decided to visit today.
I would like to share an art journal page that I created using some new stamps from 
Viva Las VegaStamps.

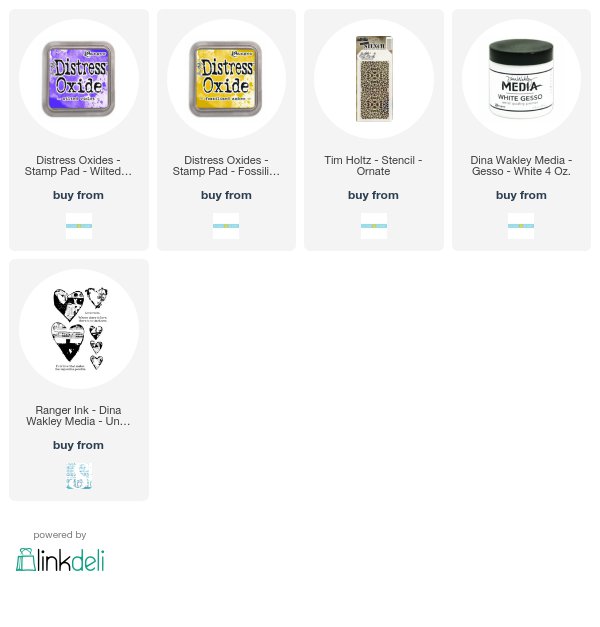
I started with a page spread in my calculus journal. These pages had already had a light coat of gesso applied. First I took the Tim Holtz Ornate Layering Stencil and pressed my Fossilized Amber Distress Oxide ink pad over it, sprayed it with a bit of water then pressed it to my page. I repeated this step with Wilted Violet Distress Oxide Ink. I also added some additional stamping in the corners with some texture stamps & Archival Inks in Potting Soil & Fern Green.


I stamped my images on cold press water colour paper with Archival Ink - Jet Black. I used my Tim Holtz Stamp Platform to get the best stamped images. 

Once I had them stamped I used my Distress Markers to colour them in. I fussy cut them out and adhered them to my pages.

I used a piece of black thread for the balloon string and added the shadow to the girl with my Hickory Smoke Distress Marker.

Products Used:


Friday, 13 October 2017

Freaky Friday Blog Hop - Scrap 'n Stamp

Witches and Goblins and Ghosts! Oh My!
It's Friday the 13th and I am joining  a spooktacular blog hop with Scrap 'n Stamp.

This month was team was asked to create a project using the new Paper Doll Pack - Ancestors from Tim Holtz Idea-ology. I love using the paper dolls! These are so much and can be used in so many different ways.

I chose to make a Halloween themed journal using the Sizzix Scoreboard XL Journal Die from Eileen Hull. I paired this with Graphic 45 - An Eerie Tale Paper pad and of course my Ancestors. I have named this witchy pair - Prudence and Winifred.

I made 4 booklet inserts using plain copy paper and Graphic 45 pattern paper for the covers.

I decided to decorate the cover of each booklet. Every good witch needs to keep track of her potions, spells, poisons and pumpkin pie recipes, right?

I used the Twisted Edge die and Distress Cardstock; scrap paper from the Graphic 45 Eerie Tale pack for the labels.
 
I had to include some more Ancestral Paper Dolls for the covers too.
I added a skull rub-on to the face of the boy on the Poison booklet.

Here is the finished journal with a few added metal charms from my stash.


Be sure to check our all the other ghoulish creations from the rest of the team:


Below are a list of the affiliate links for the products used in this project:


Wednesday, 11 October 2017

Twisted Trinket Box

Welcome back! 
I am here to share a 3D Halloween decor piece today.


I used the 3 In 1 Trinket Box Scoreboard XL die by Sizzix from designer Eileen Hull. 
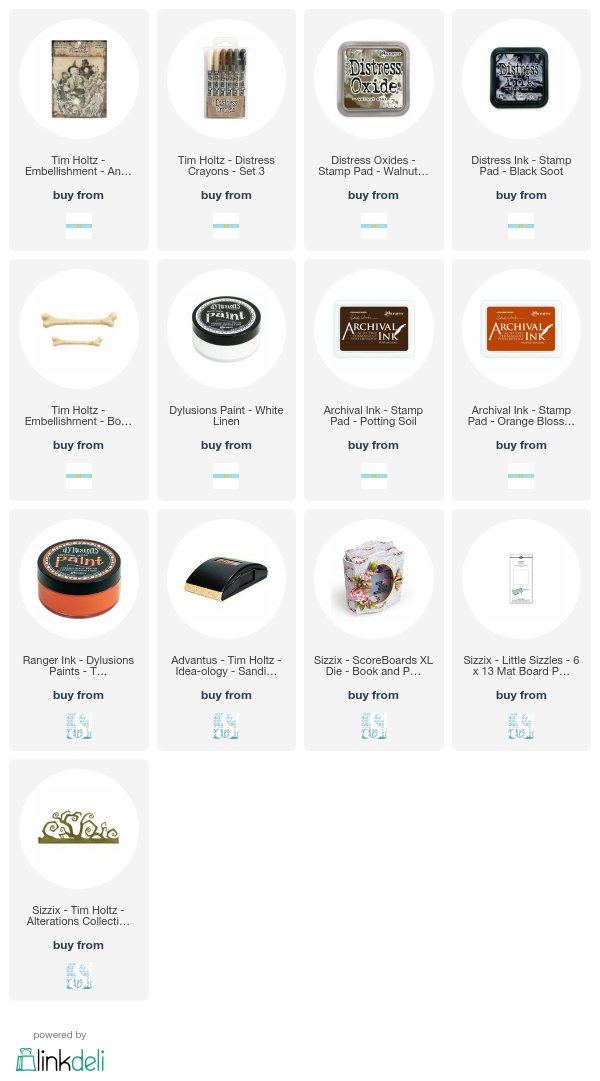
I cut our the pieces using white mat board. I painted these with Dylusions Paint: Tangerine Dream.
Then sanded the edges.

Next I inked them with Walnut Stain Distress Ink. The sanded areas picked up the ink really well to give the painted mat board a dirty distressed look.

Then I added some more grunge with Black Soot Distress Crayon.

Before assembling my box I added some stamping.

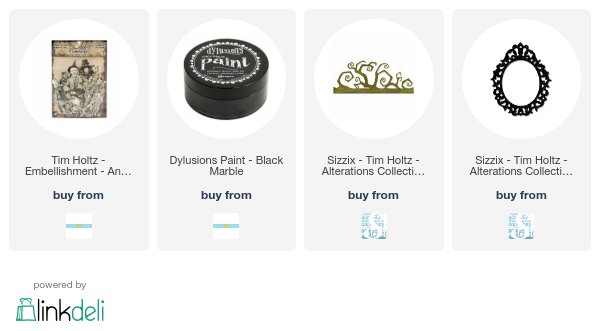
One of the focal points of my box was this Ghost Die - Tim Holtz Bigz Die from Sizzix.
I painted these with Dylusions Paint: White Linen.

I sanded the edges.

Then inked the edges with Black Soot Distress Ink.

For the inside of my trinket box I added some Black Soot Distress Crayon to 
these resin bones from Tim Holtz Idea-ology.

I added some mini Paper Dolls from the Tim Holtz Paper Dolls - Ancestors  Pack.


To add the light element behind the bone pile I made a small cut on the back of the box and inserted a tea light. I left it white for the photo but then later on painted and inked it to blend in more with box.

I added a small skull rub on to the boys face. The hand and spider are also rub ons.
A few Chit Chat stickers and a word token and my Haunted Trinket Box was ready to be displayed.
Here are the affiliate links for the products used for this project: