Thursday, 14 July 2016

All The J's - any my final canvas in my family series

Well, this series of canvases have been a lot of fun to make.
It has also helped me use up A LOT of chipboard letters I have been hoarding in my stash.

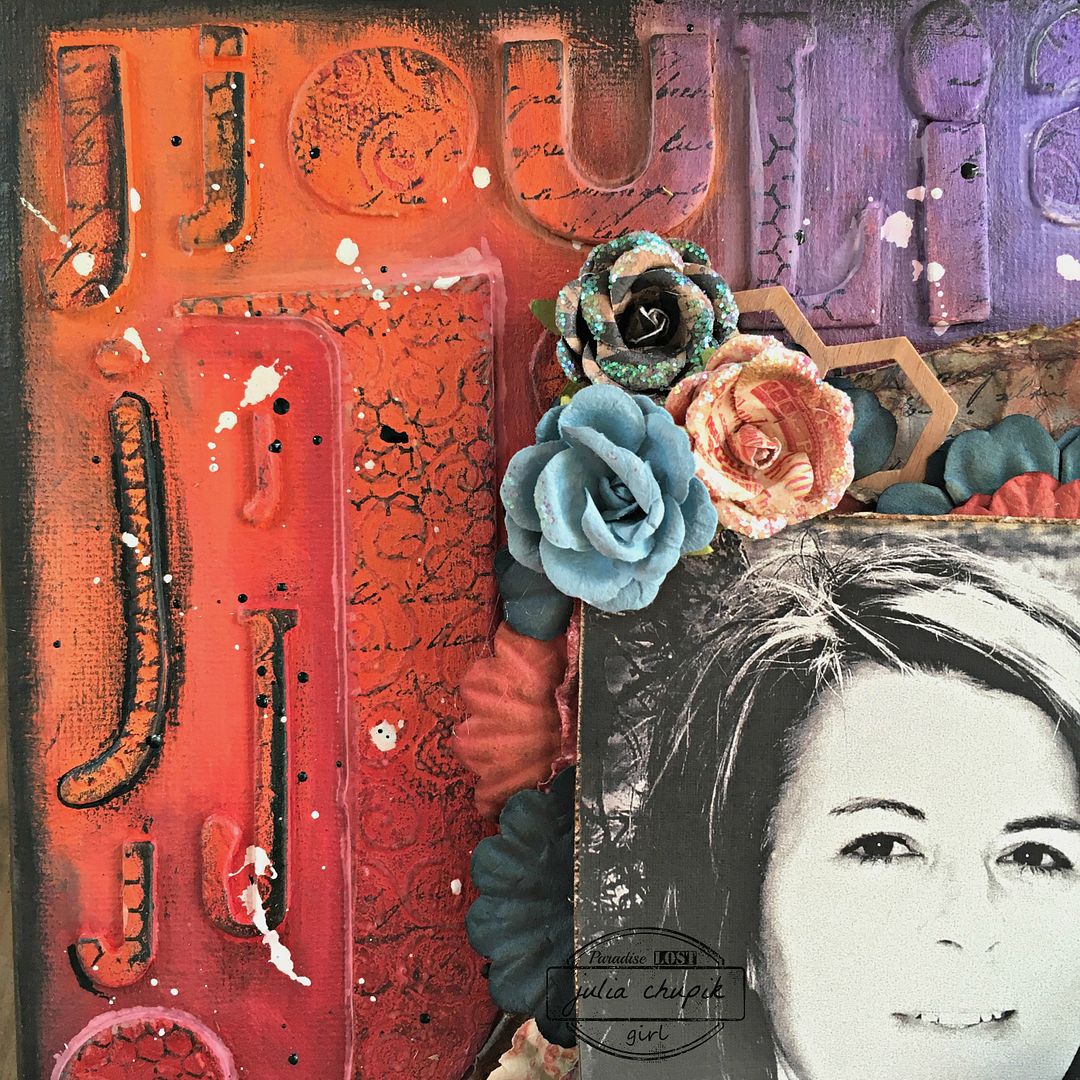
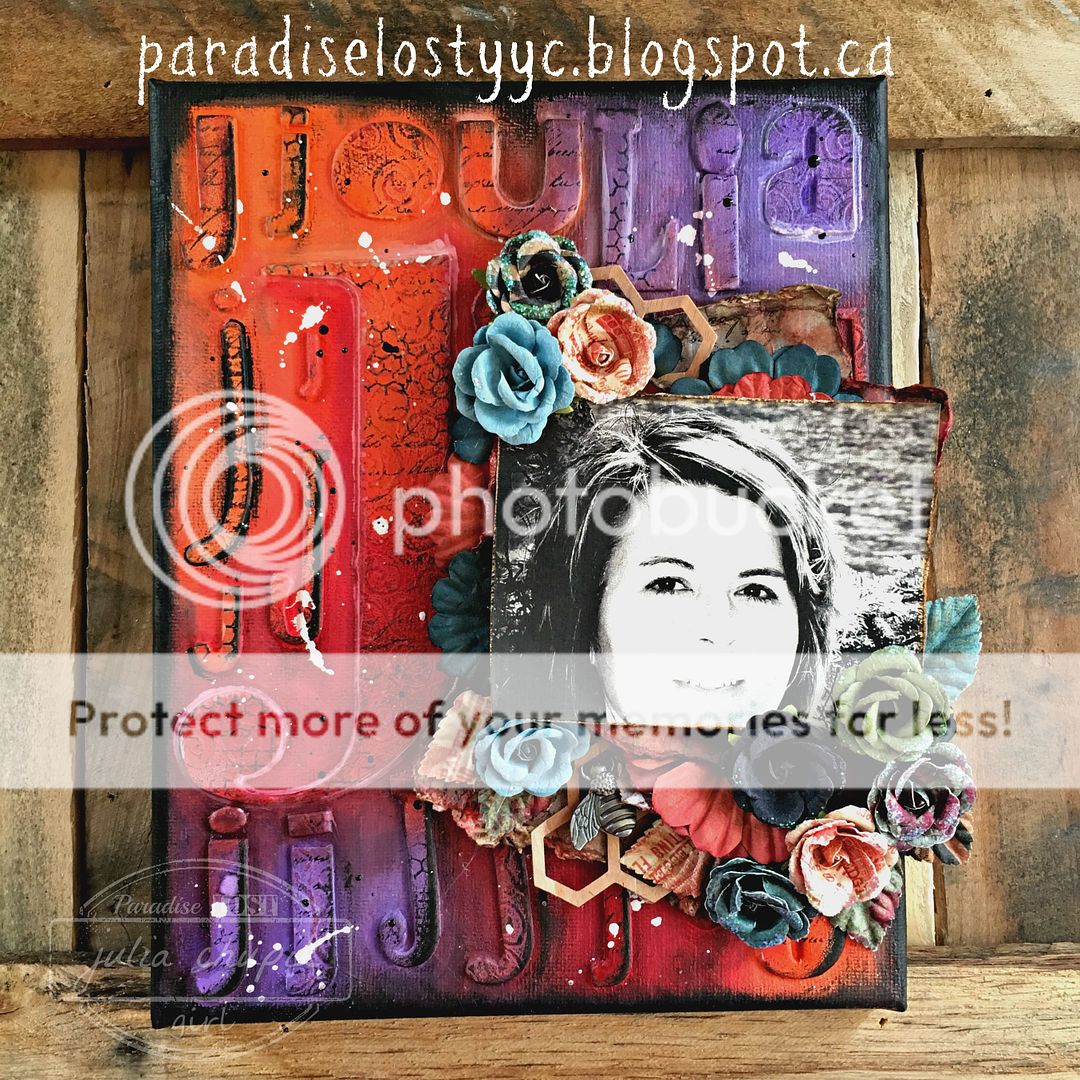
This canvas features a recent photo of myself that my husband took during our last trip out to 
Lake Louise, Alberta.

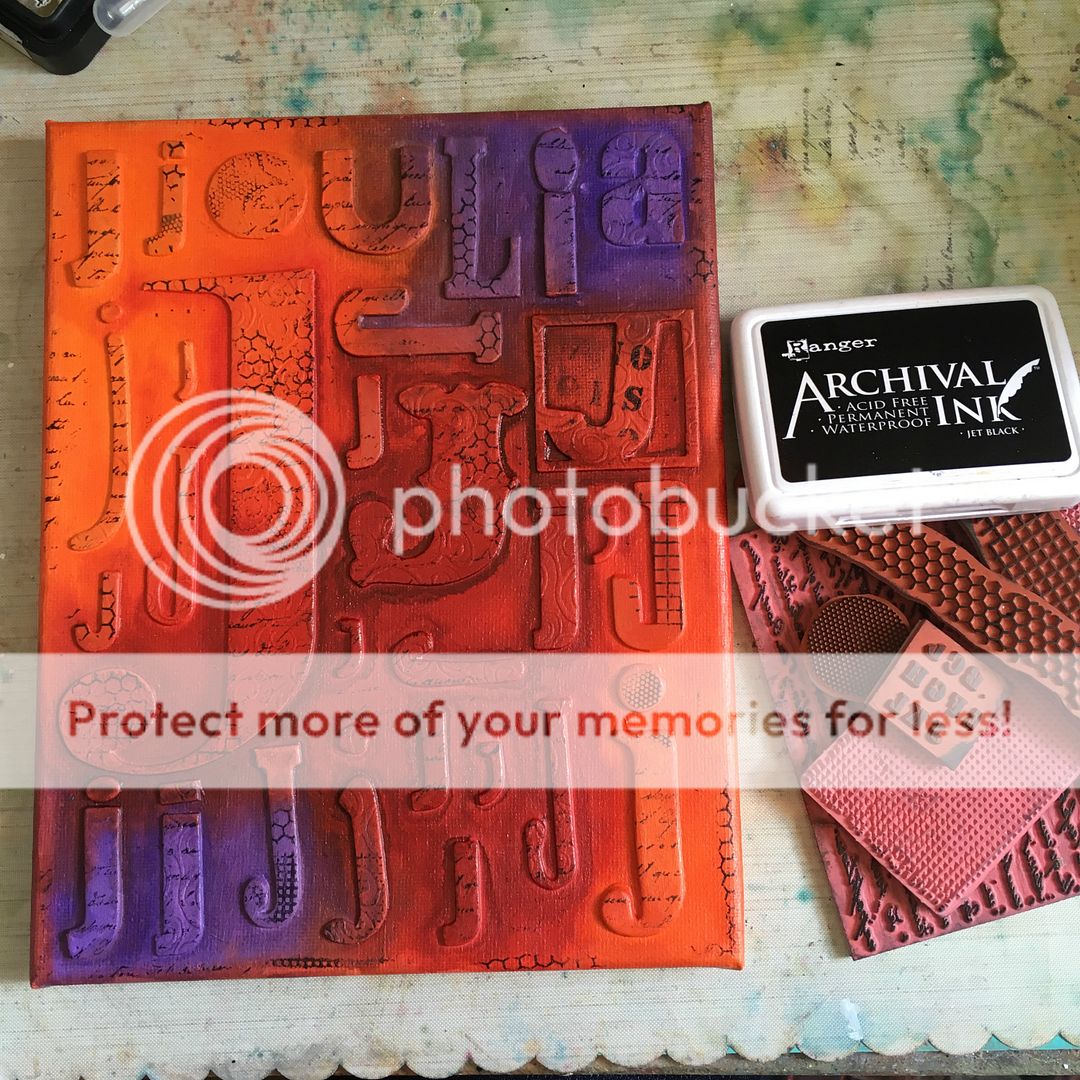
Before we get to the process photos here is the finished canvas ~

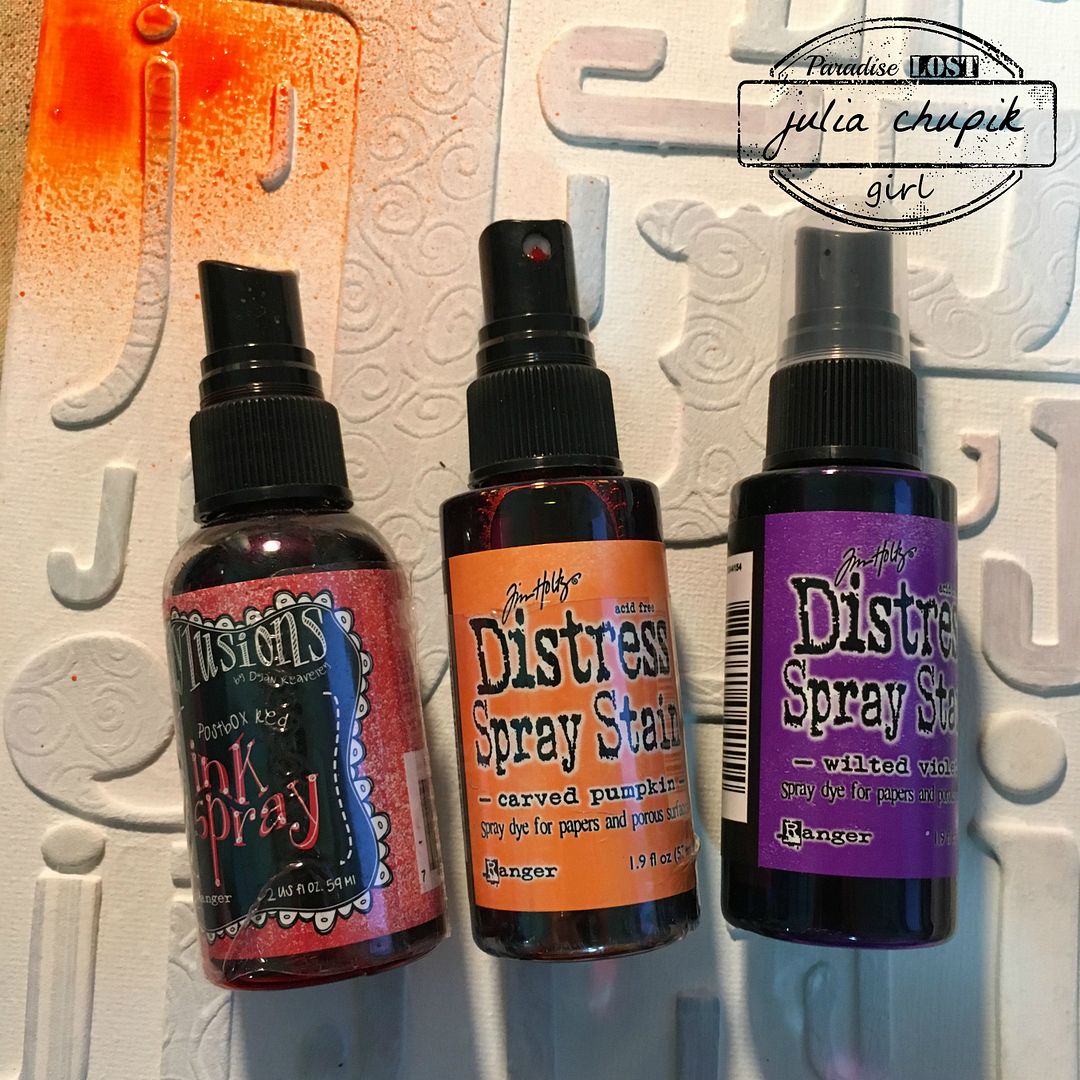
For this canvas I used Dylusions Ink Spray in Postbox Red and Distress Spray Stain in Carved Pumpkin & Wilted Violet.

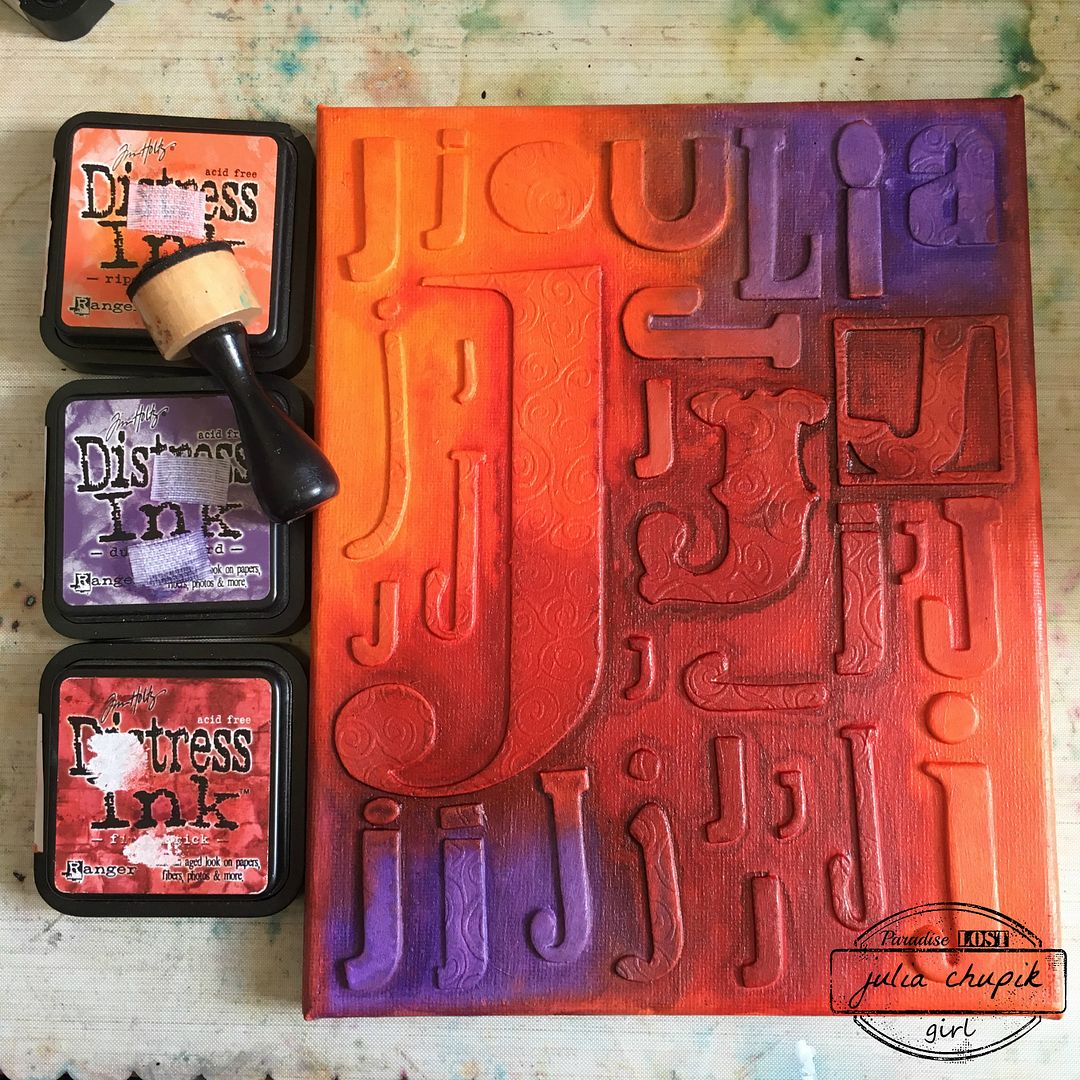
Once I was done with the sprays and dried the entire canvas with my heat tool - I starting applying Distress Ink with a blending tool.

Next, it was time to apply some texture stamps with Archival Ink.

At this point, I took a small paint brush and gesso and painted the entire background leaving the letters. It helped blend the background colours and make the letter pop.
Unfortunately, I forgot to take a photo. Ooops.

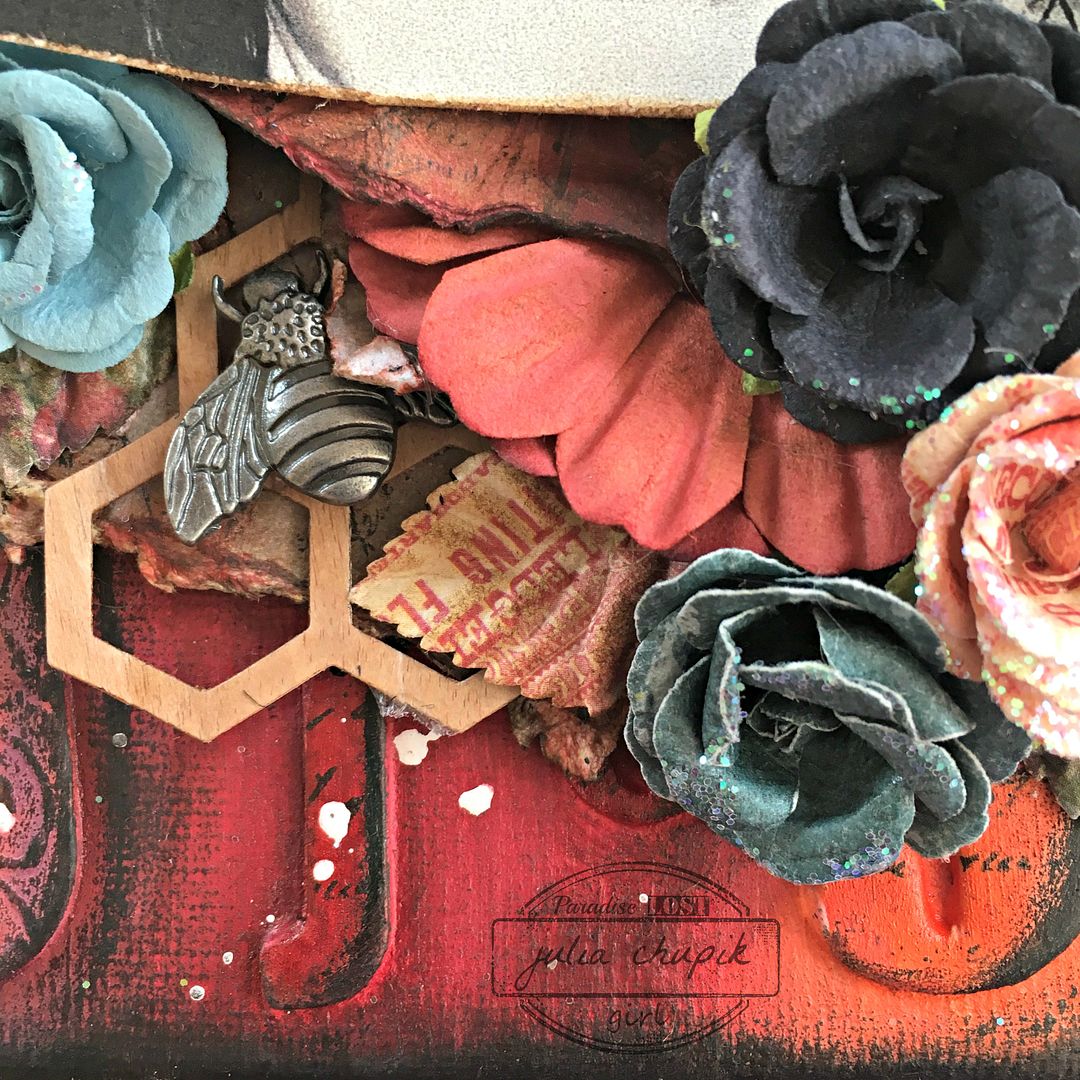
My focal point consisted of paper and flowers from the Prima Stationers Desk line.
They worked perfectly with the canvas. The metal bee embellishment was another stash find.

Monday, 11 July 2016

Tim Technique Remix - July

It;s time to share my take on this month's 12 Tags of 2016 Technique Remix from Tim Holtz.
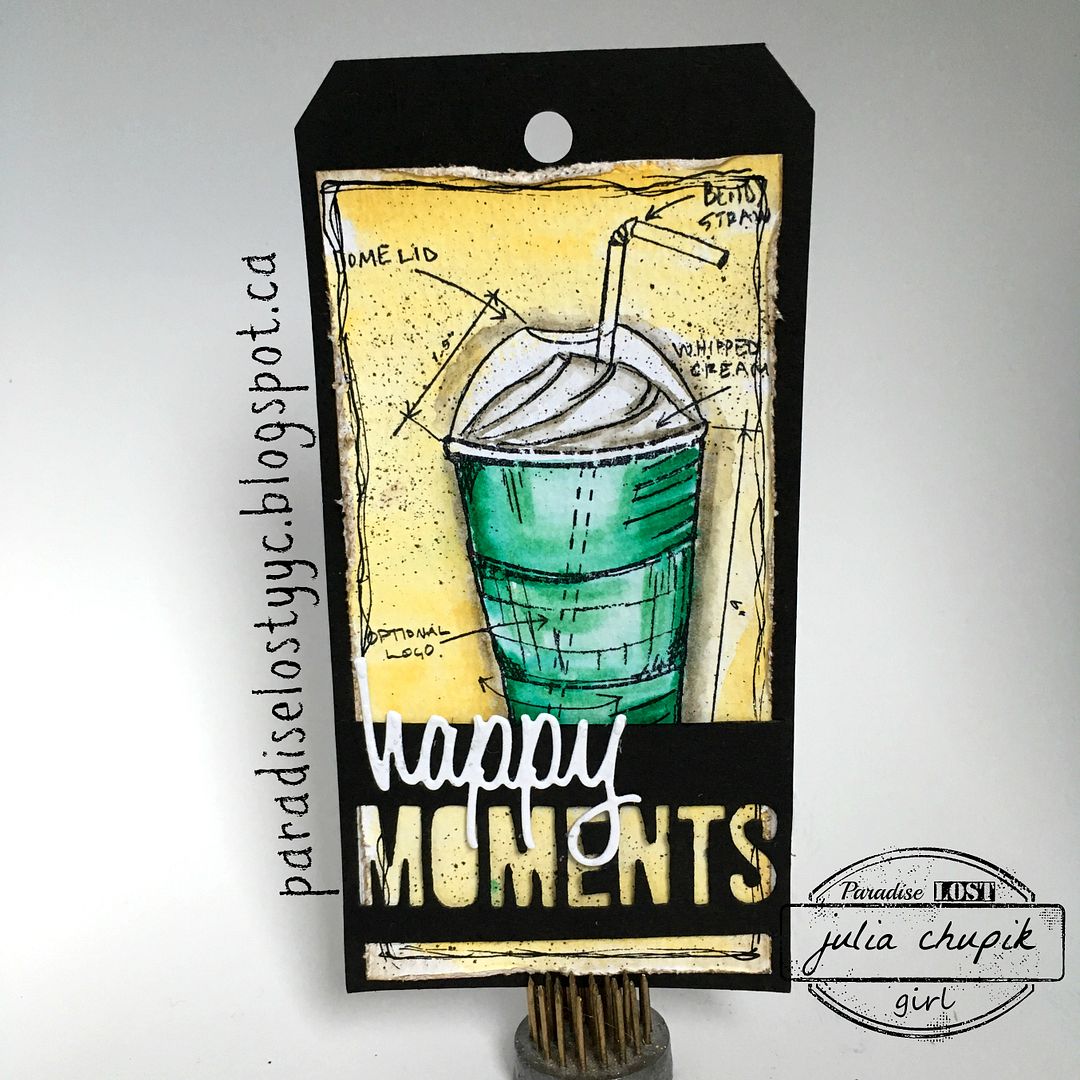
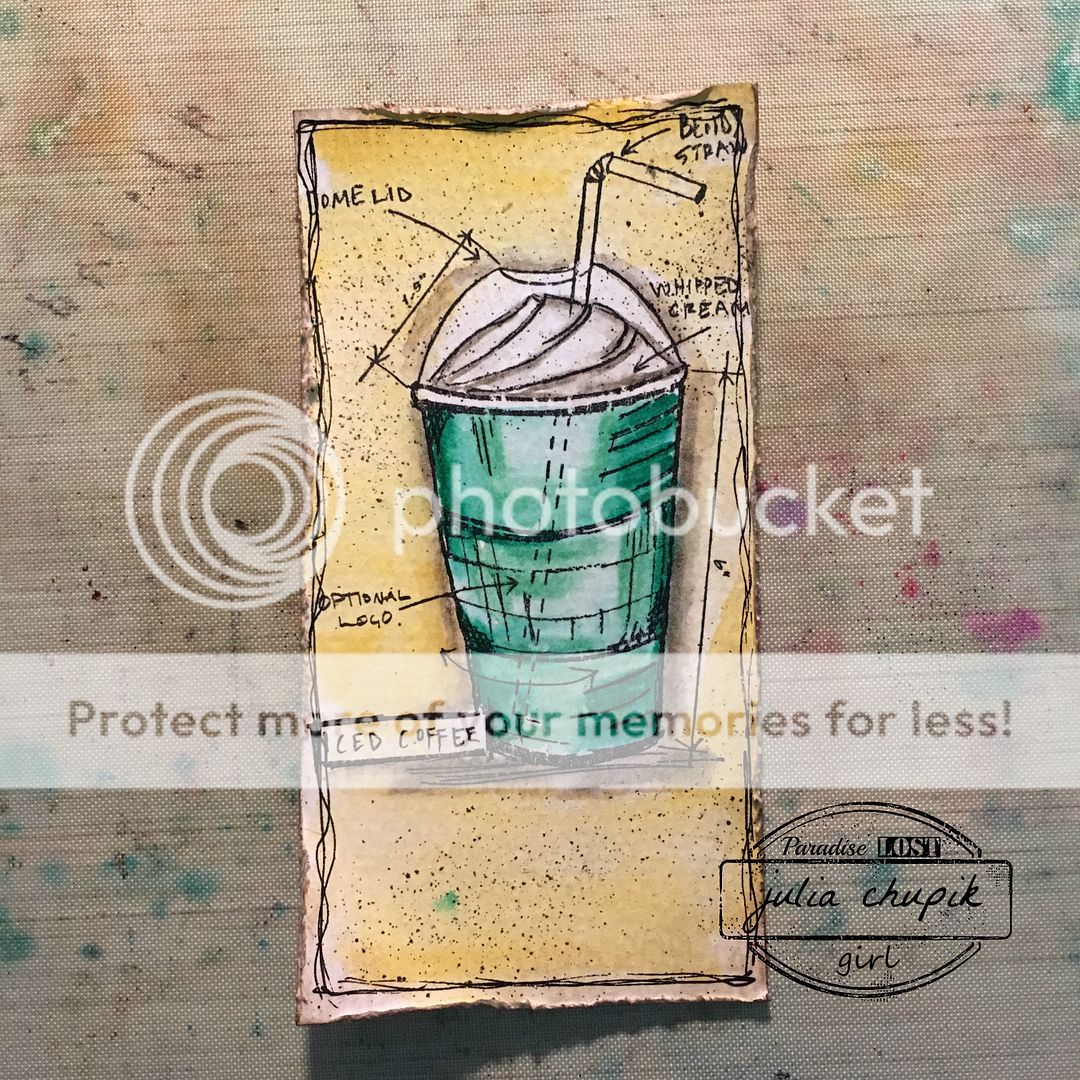
Instead of going with a travel theme like Tim I decided to pay homage to my favourite summer drink - the Green Tea Frappuccino from Starbucks. Soooo yummy!

Here is my finished tag - 

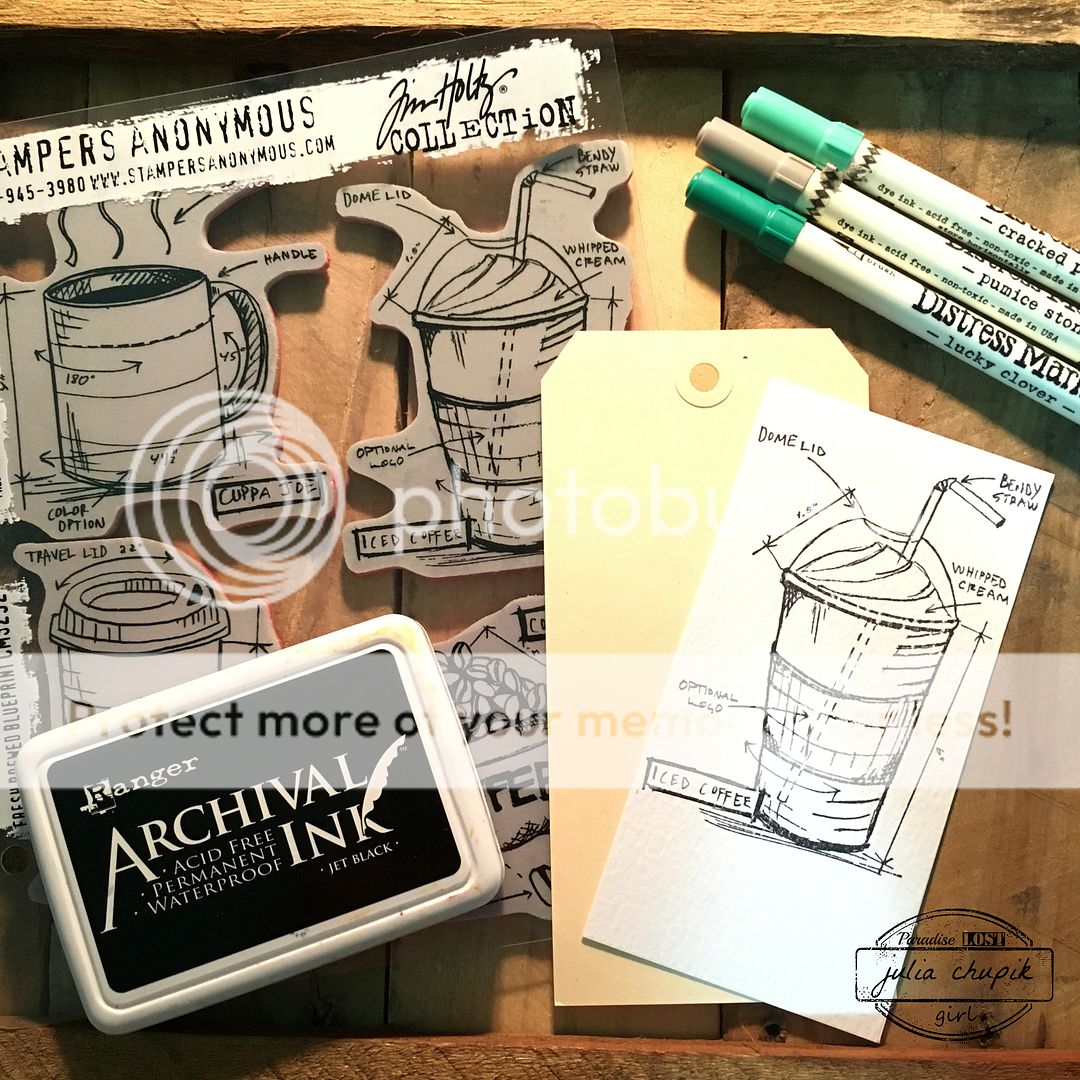
First, I gathered up all my supplies and stamped my frappuccino image on
so watercolor paper.

I love using my Distress Markers to watercolor - they are so amazing!

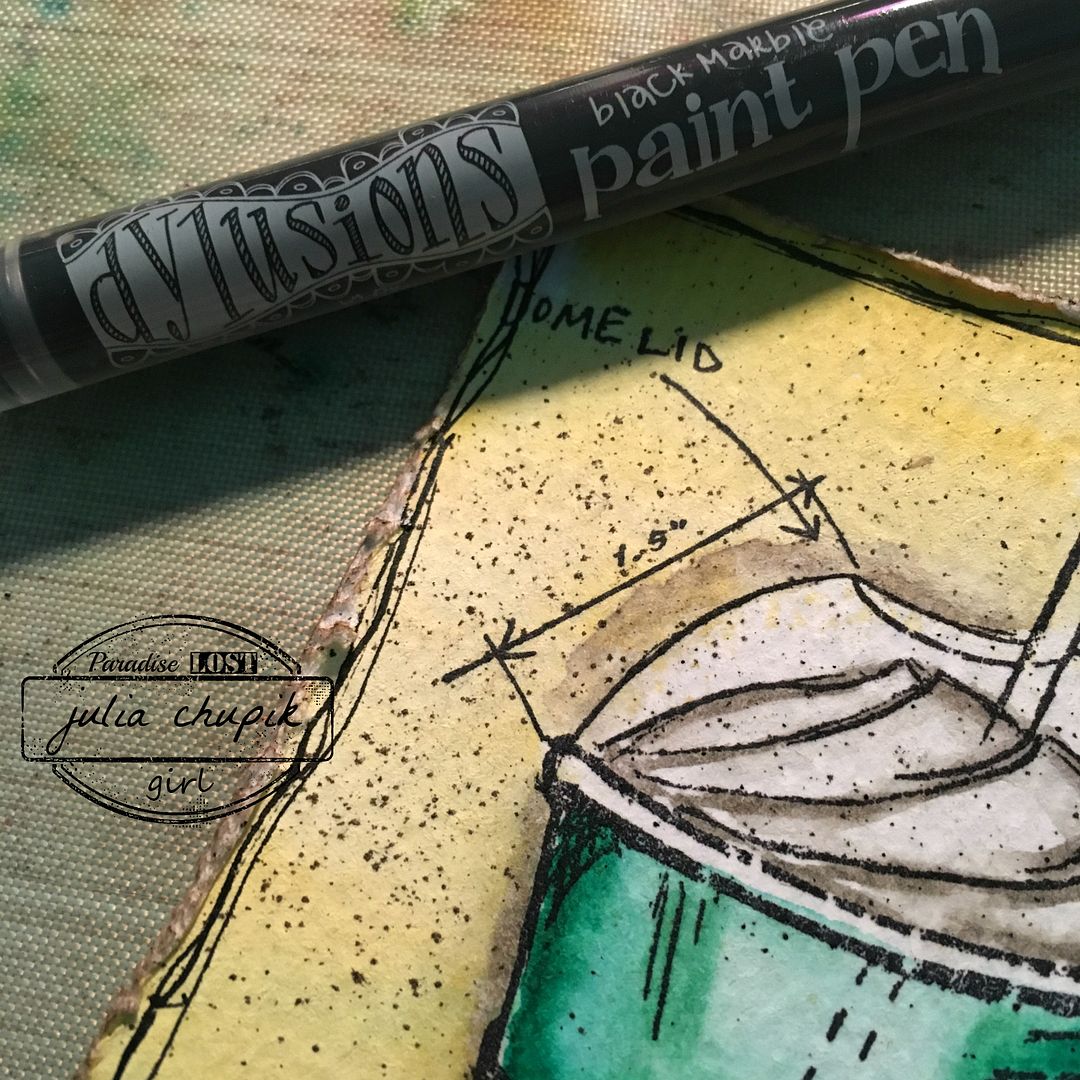
I used my new Dylusions Black Painter Pen to add some details to the edge because I was too lazy to drag out and set up and sewing machine. ;)

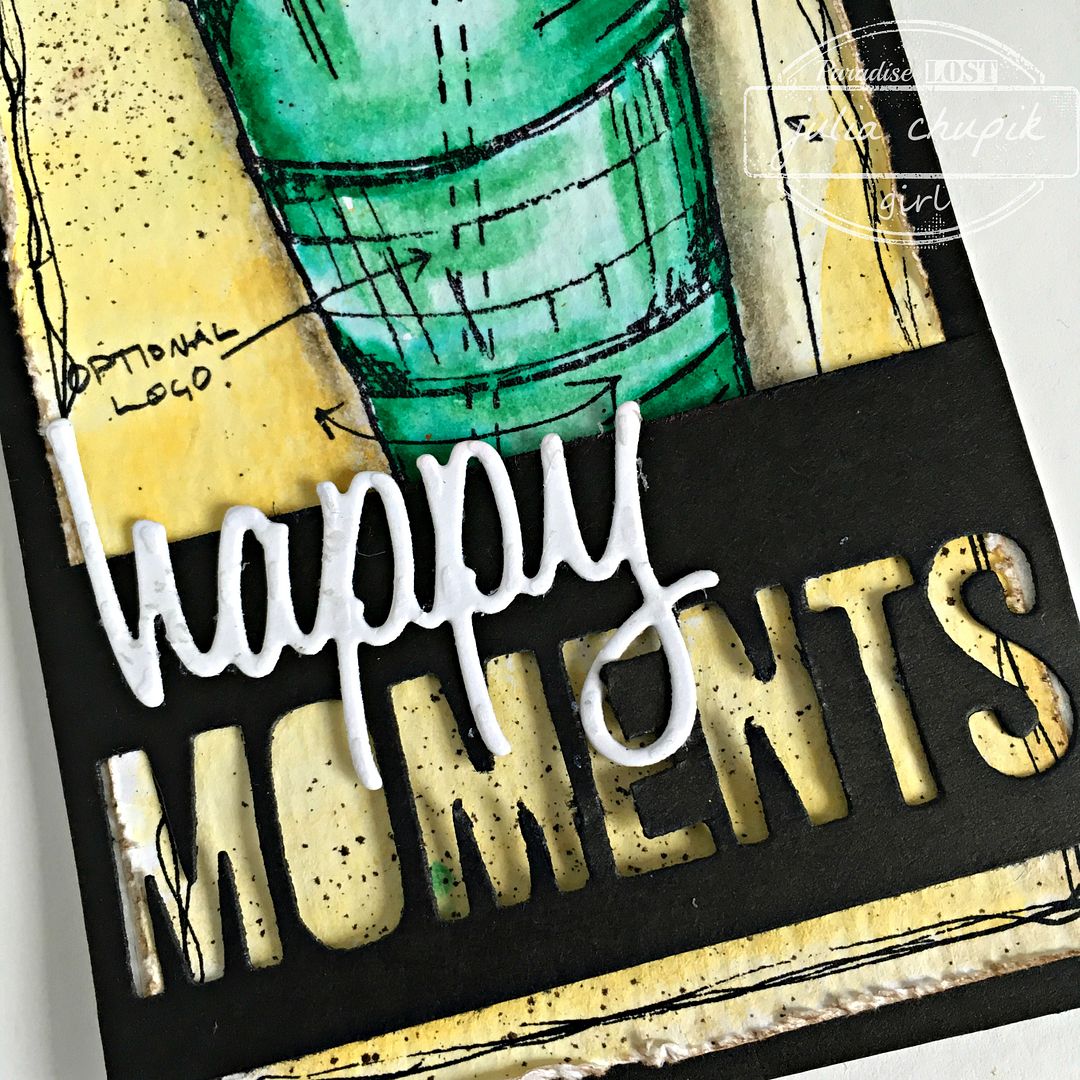
My sentiment is 'happy moments' - die cut using the Happy Holiday & Friends Thinlit die sets.


submitted to:


Friday, 8 July 2016

All The G's - another letter canvas.

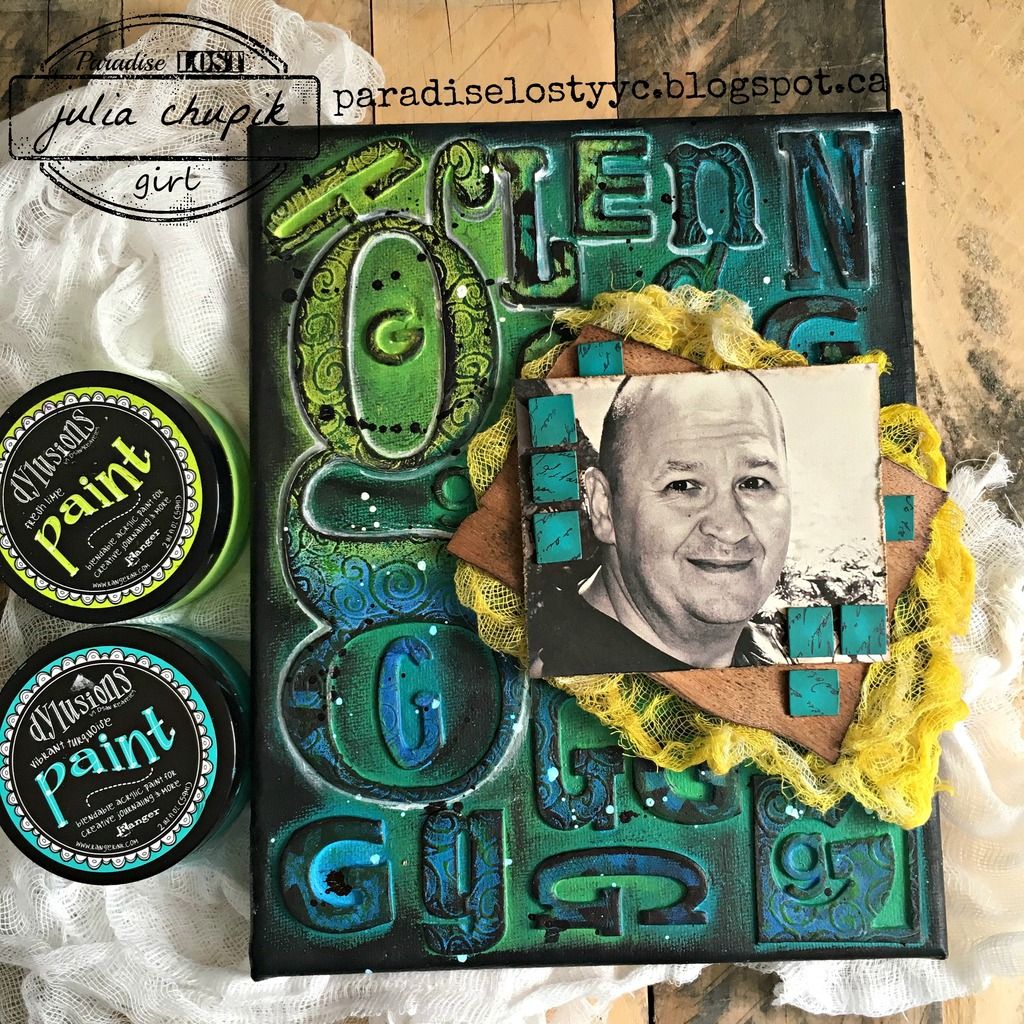
I'm back with another chipboard letter canvas - this time it's all the G's - and features a recent photo of my husband Glenn. 

Here is the finished canvas ~

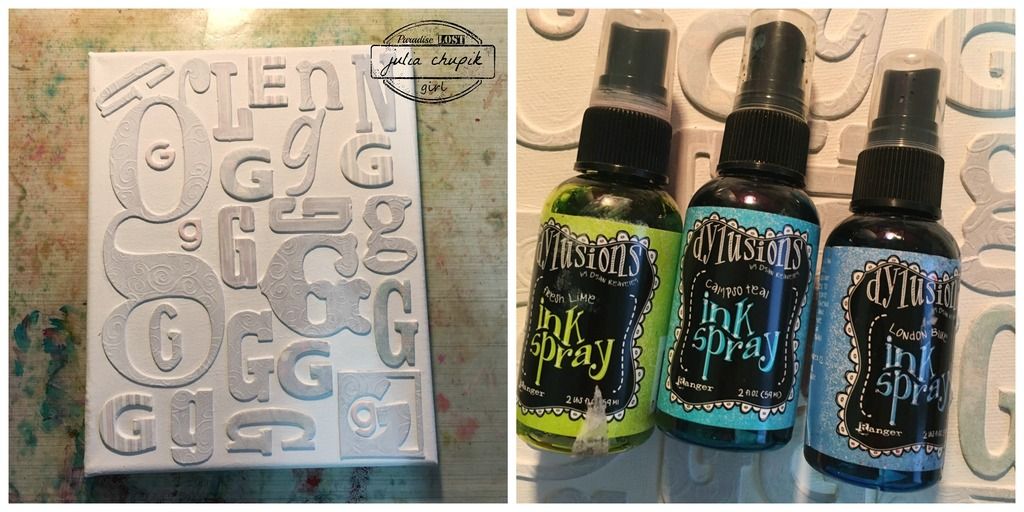
As with my other canvases - I started with a plain 8x10 canvas that I adhered every single chipboard 'g' that I could find in my stash. I used every single one! Once the matte medium was dry I covered the entire canvas in gesso.  
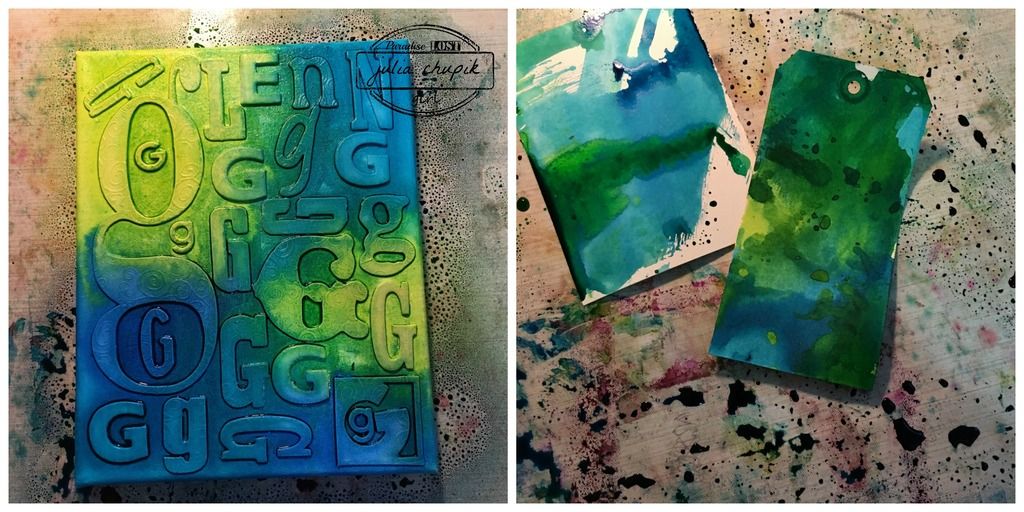
After the gesso was completely dry I began spraying my canvas with Dylusions Ink Sprays ~ Fresh Lime, Calypso Teal & London Blue.
I couldn't let all the awesome colour go to waste so I grabbed a couple of tags and my art journal to soak it all up for future projects.

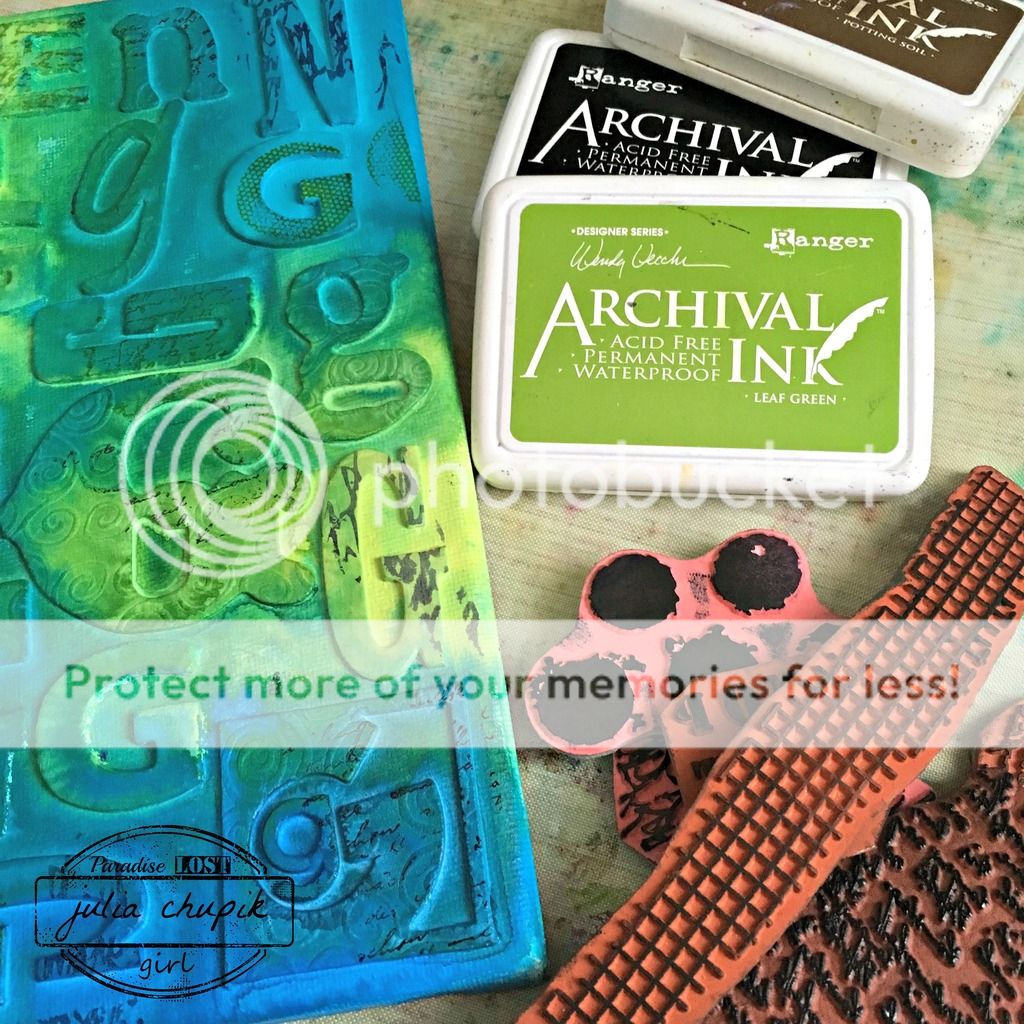
Next I added some stamping using some of my favourite texture stamps and Archival Ink in Jet Black, Leaf Green & Potting Soil.

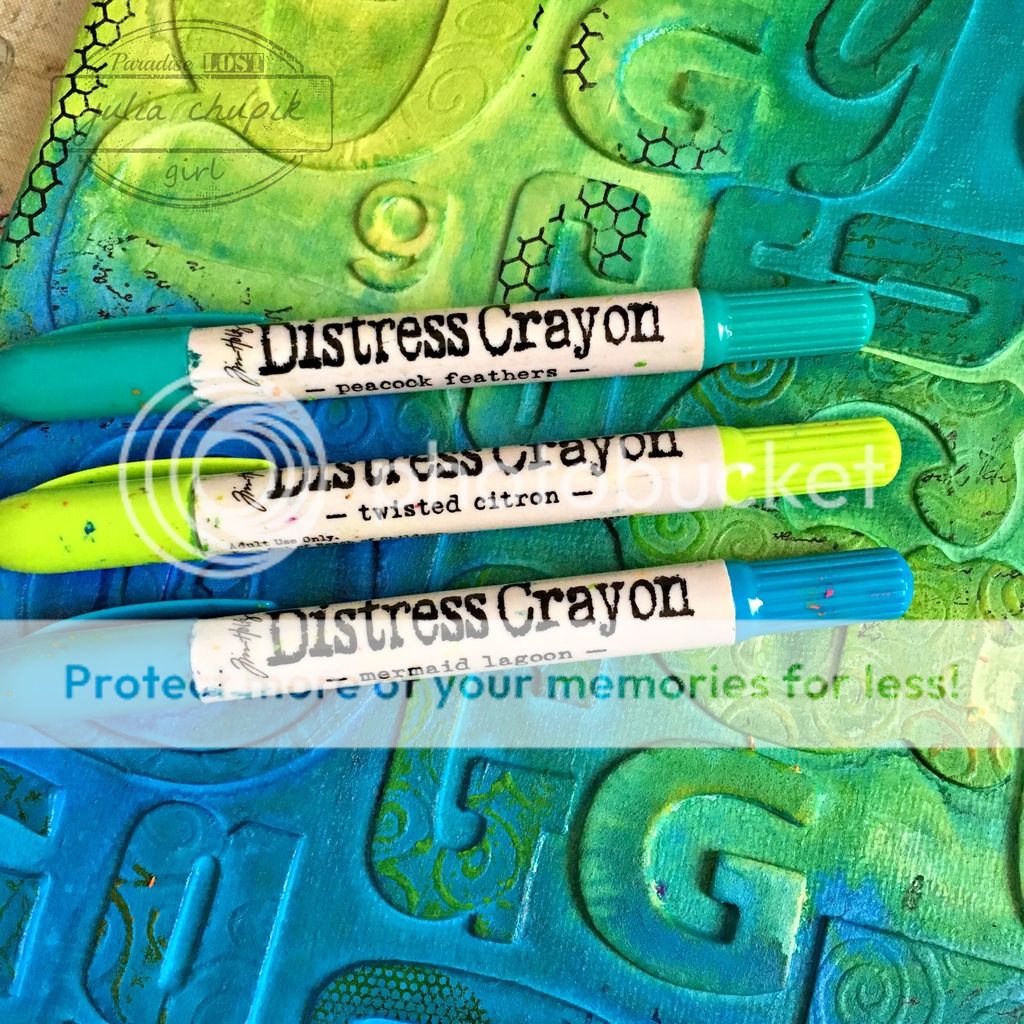
I grabbed my Distress Crayons next and used them to apply some highlights to the embossed textures on some the letters.

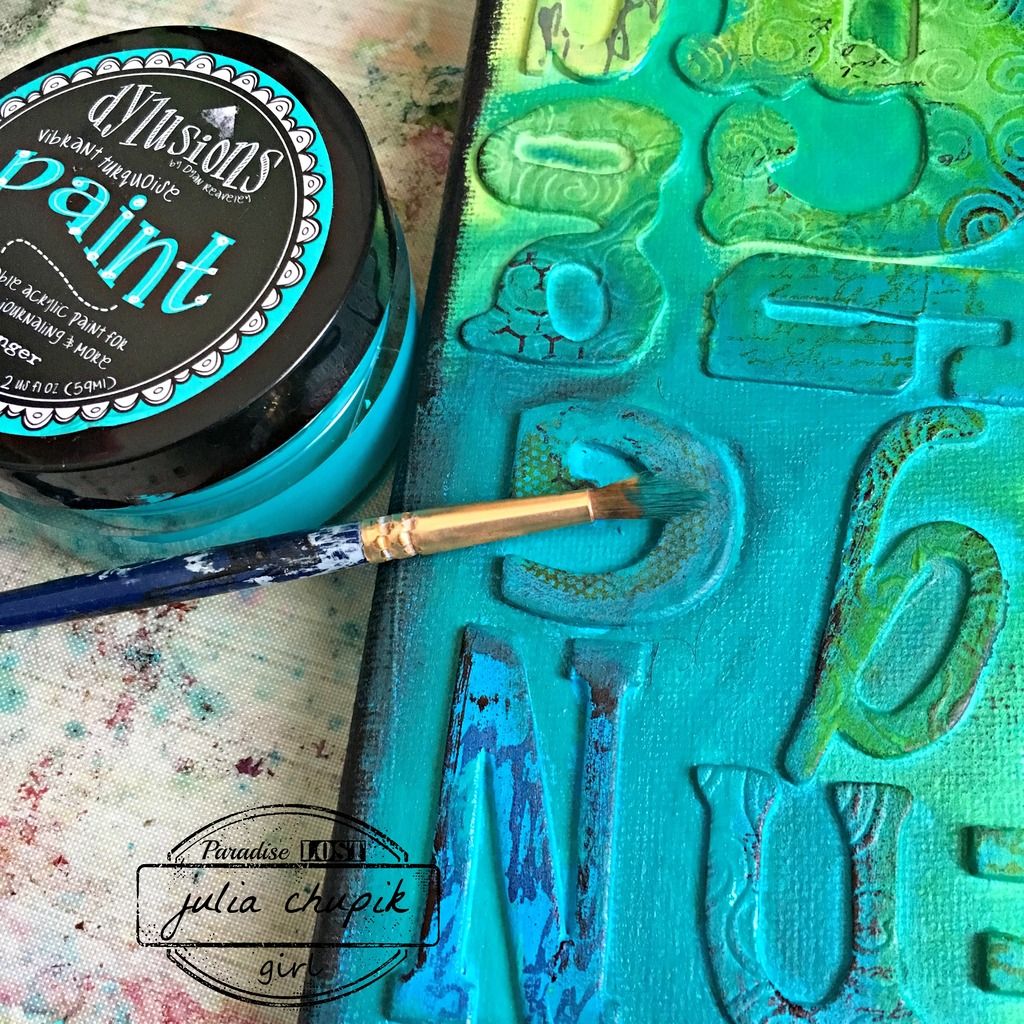
I even out the background & to help the letters pop, I painted around the letters with Dylusions Paint ~ Fresh Lime & Vibrant Turquoise. I love Dylusions Paints - they are so lush and smooth!


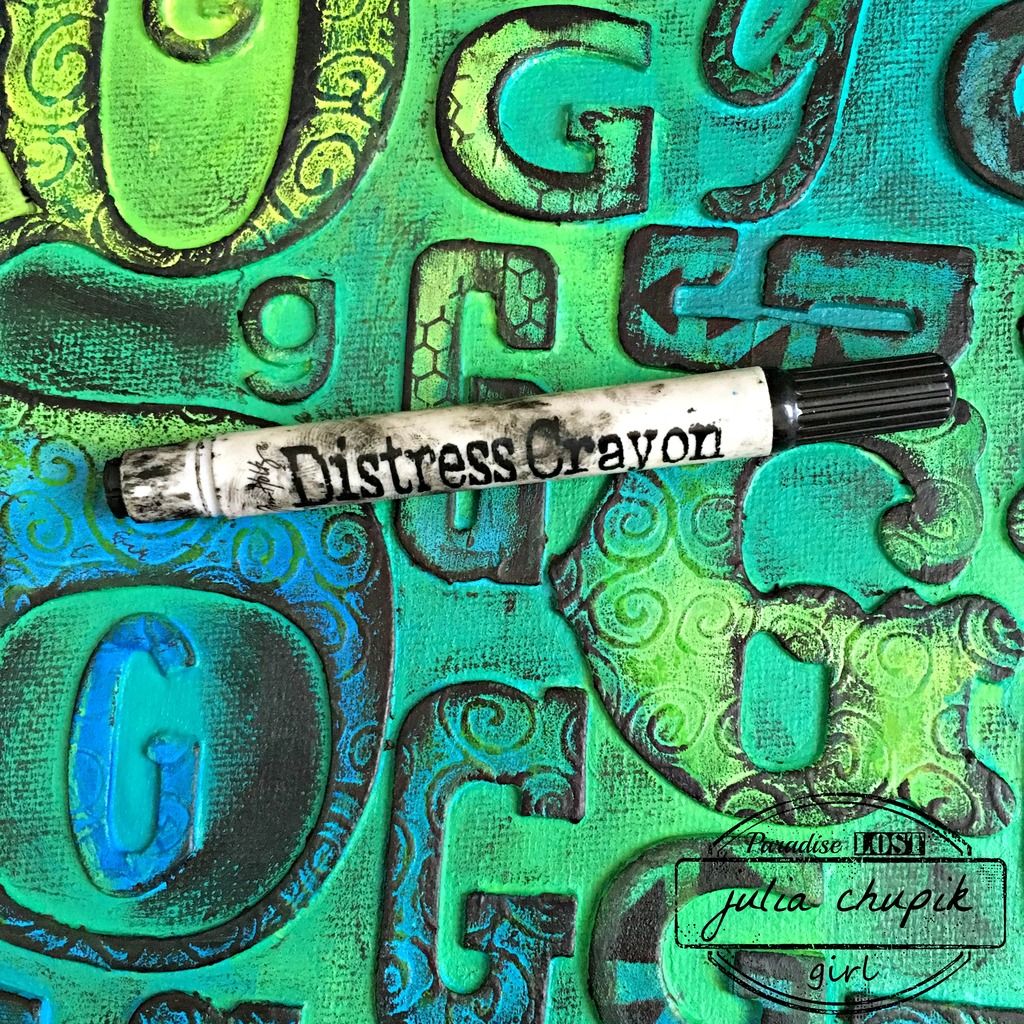
Next up - my trusty Black Distress Crayon to dirty things up a bit.

I used my white Sharpie paint pen to add highlights around the letters of his name and a few added splotches of paint in white and black to finish it off before adding the focal point.


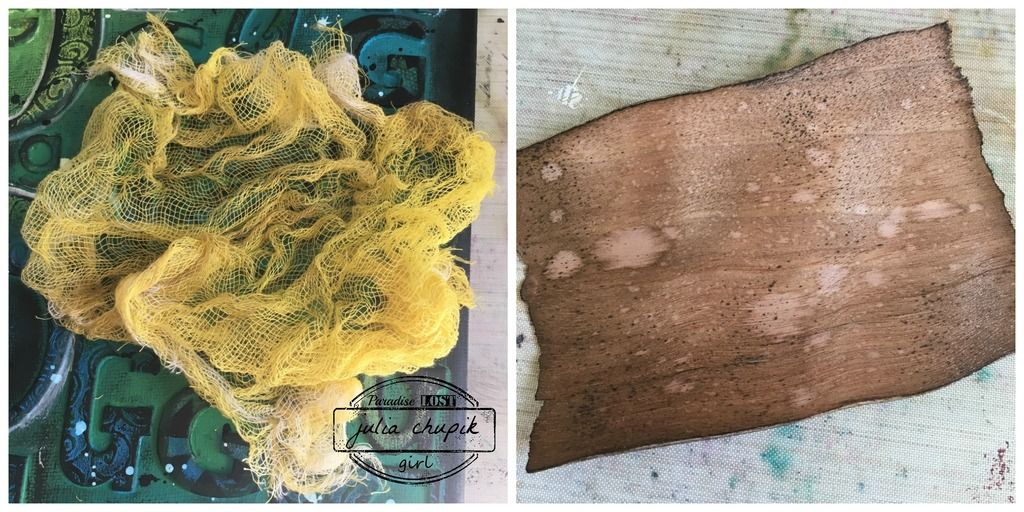
To anchor my photo to the canvas I took some cheese cloth and rolled it in some Squeezed Lemonade Distress Stain. To grunge it up I rubbed my Walnut Stain Distress Ink Pad over it.
my next layer is a piece of wood veneer paper from MME that I have had in my stash for quite sometime. I used Walnut Stain Distress Ink & my blending tool to add some colour then the spritz & flick technique to remove some colour and to add interest.

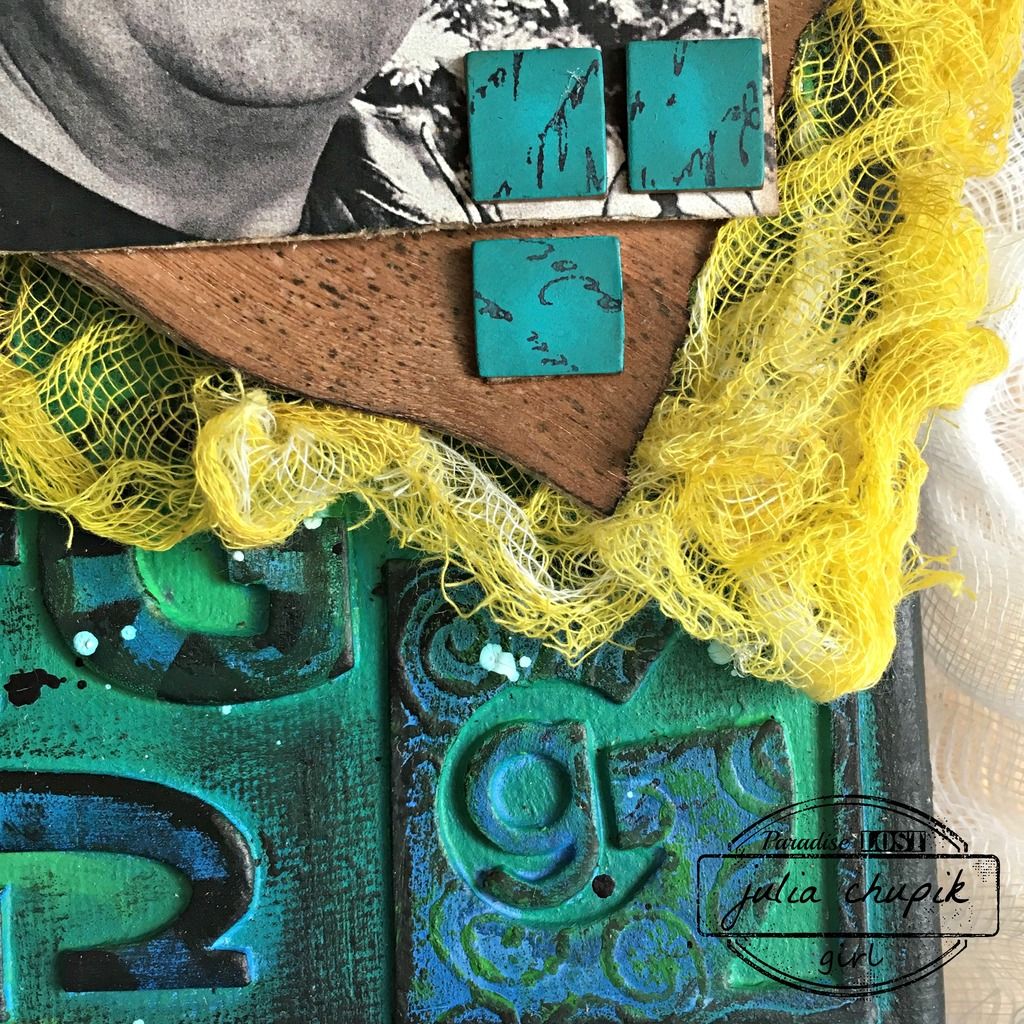
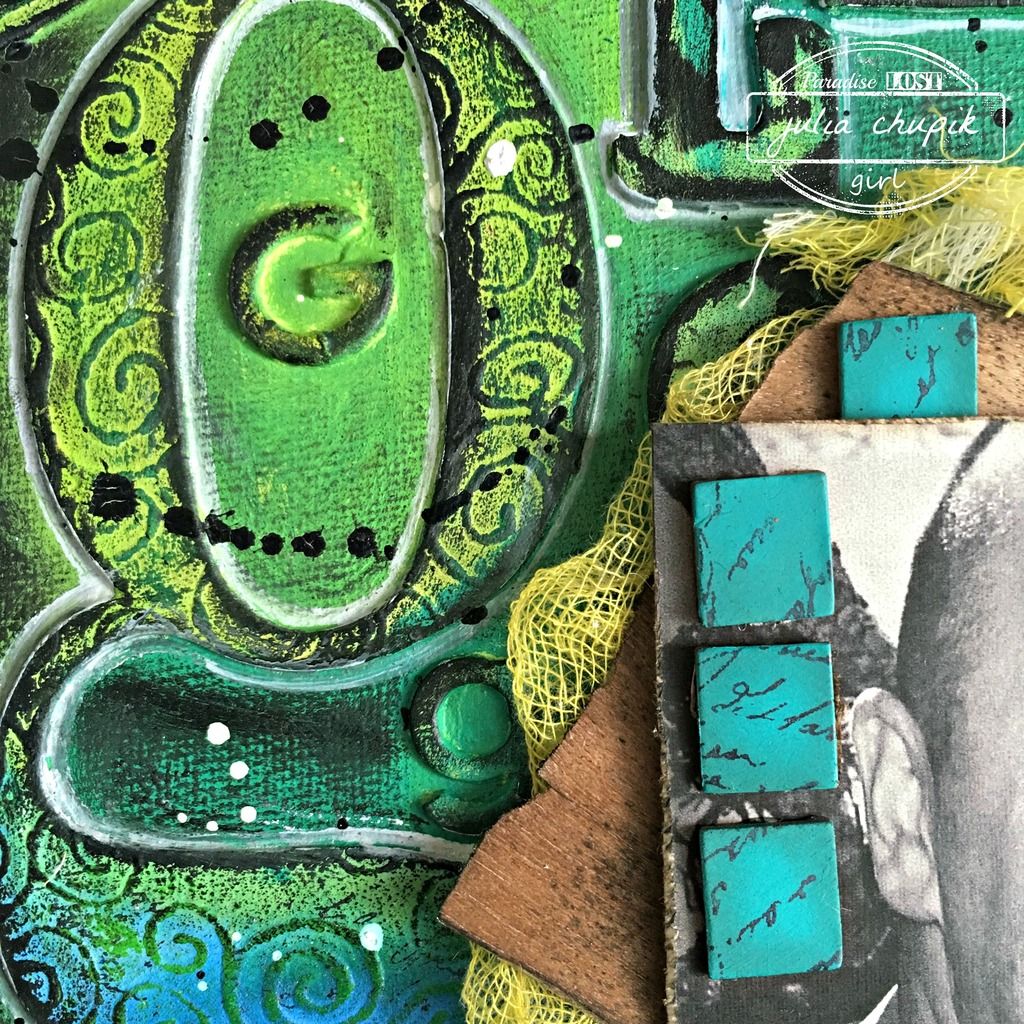
Here is a close up of the layers ~

And another one of the canvas ~ 

~Finished canvas~


Wednesday, 6 July 2016

Summer Of Creative Chemistry - Week 5

Summer of Creative Chemistry continues this month over at Online Card Classes and Tim's challenge for this week was to use 3 or more colours of Distress Paint & any technique from Day One of CC102. I looked back at the tags I created for Day One when I first did CC102 and the only technique I didn't try was Eroded Metallics. That's probably because I didn't have any of the Distress Metallic Paints at the time.

Since I had all the products I decided to focus this weeks project on that technique.


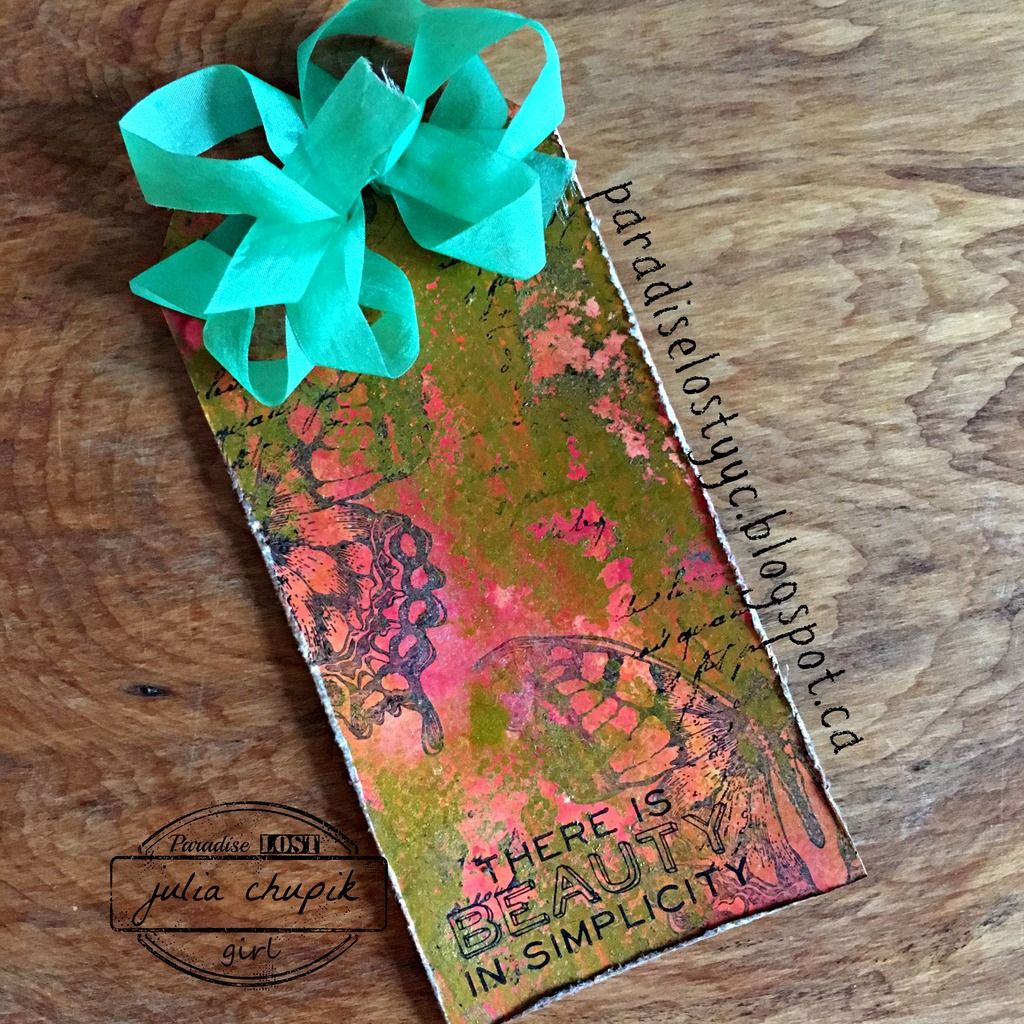
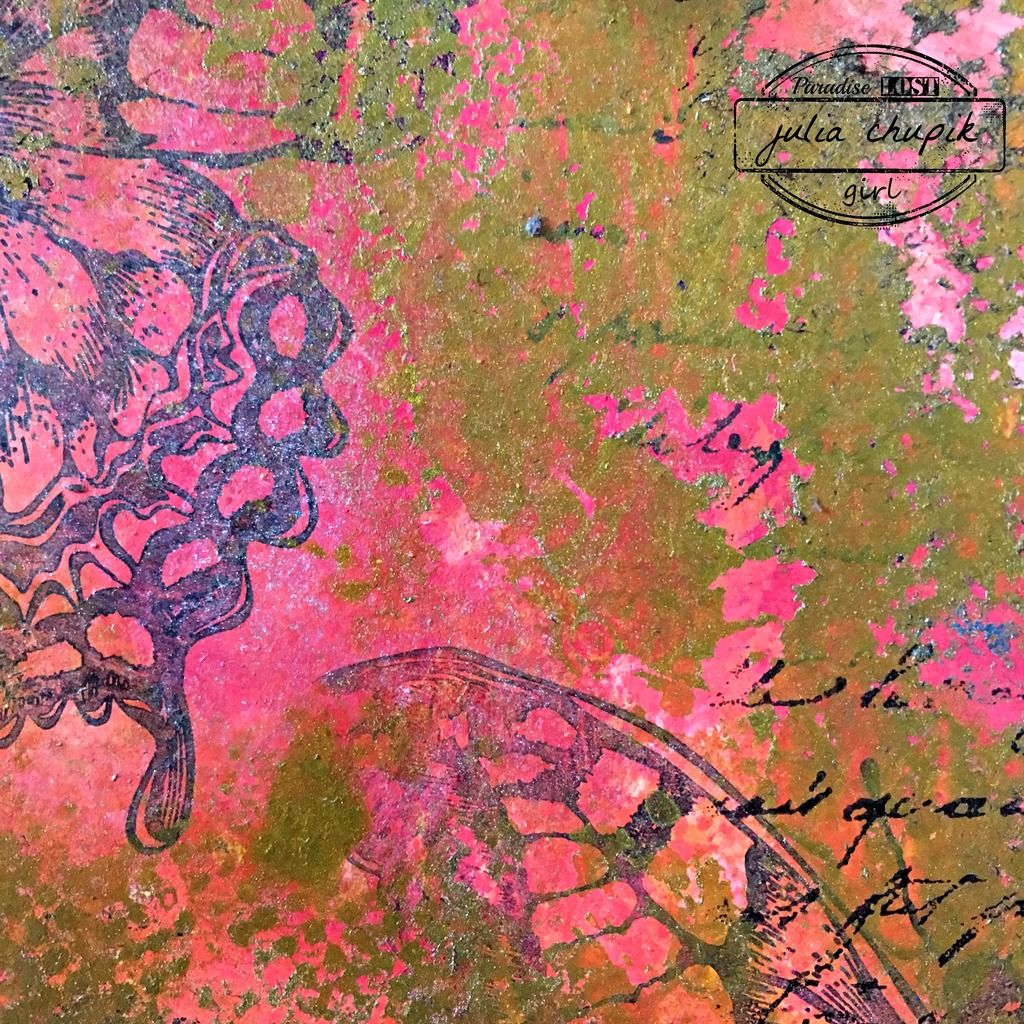
I started with 4 colours of Distress Paint - Squeezed Lemonade, Ripe Persimmon, Candied Apple & Carved Pumpkin. Following the technique in the class - I applied all of these paints to the tag and blended with my foam tool.


After thoroughly drying the paint layer with my heat tool, I stamped my images with Archival Ink.
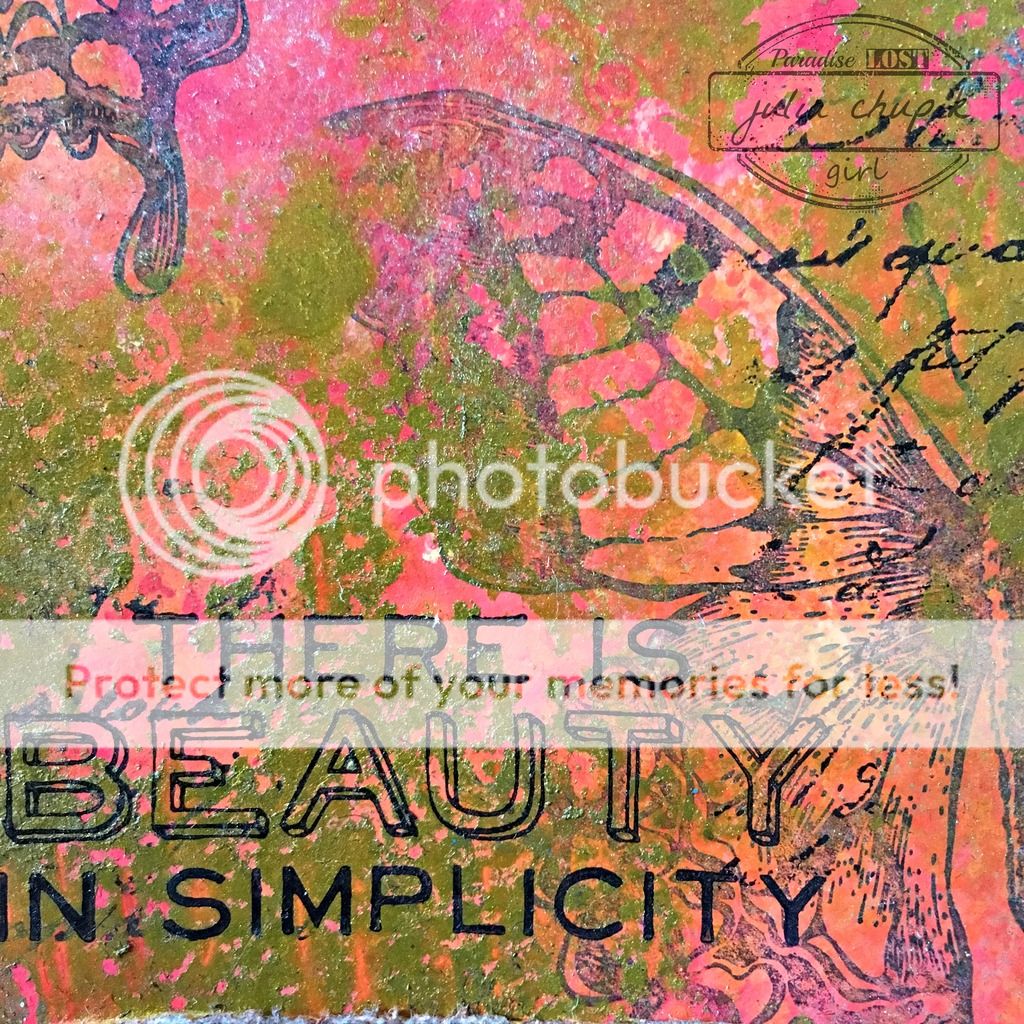
Following the directions from class I applied Tarnished Brass Distress Paint. Once this layer was dry I applied my sentiment & some random script stamping.


I love this technique! I can't wait to try it again with different colour combinations and different metallic distress paints.